Ultra-precise milliOhm meter - Calibration and full assembly
This is probably my final video with this device because now I completed everything I wanted. In this video I show you the assembly process using a microscope camera, so you will see the soldering from a closer perspective. I decided to order more components and finish all four PCBs I had left after building the first device. I also did a "calibration" using a very precise 1 Ohm resistor. So now, as the instrument is "calibrated", it can be used with a higher confidence and credibility.
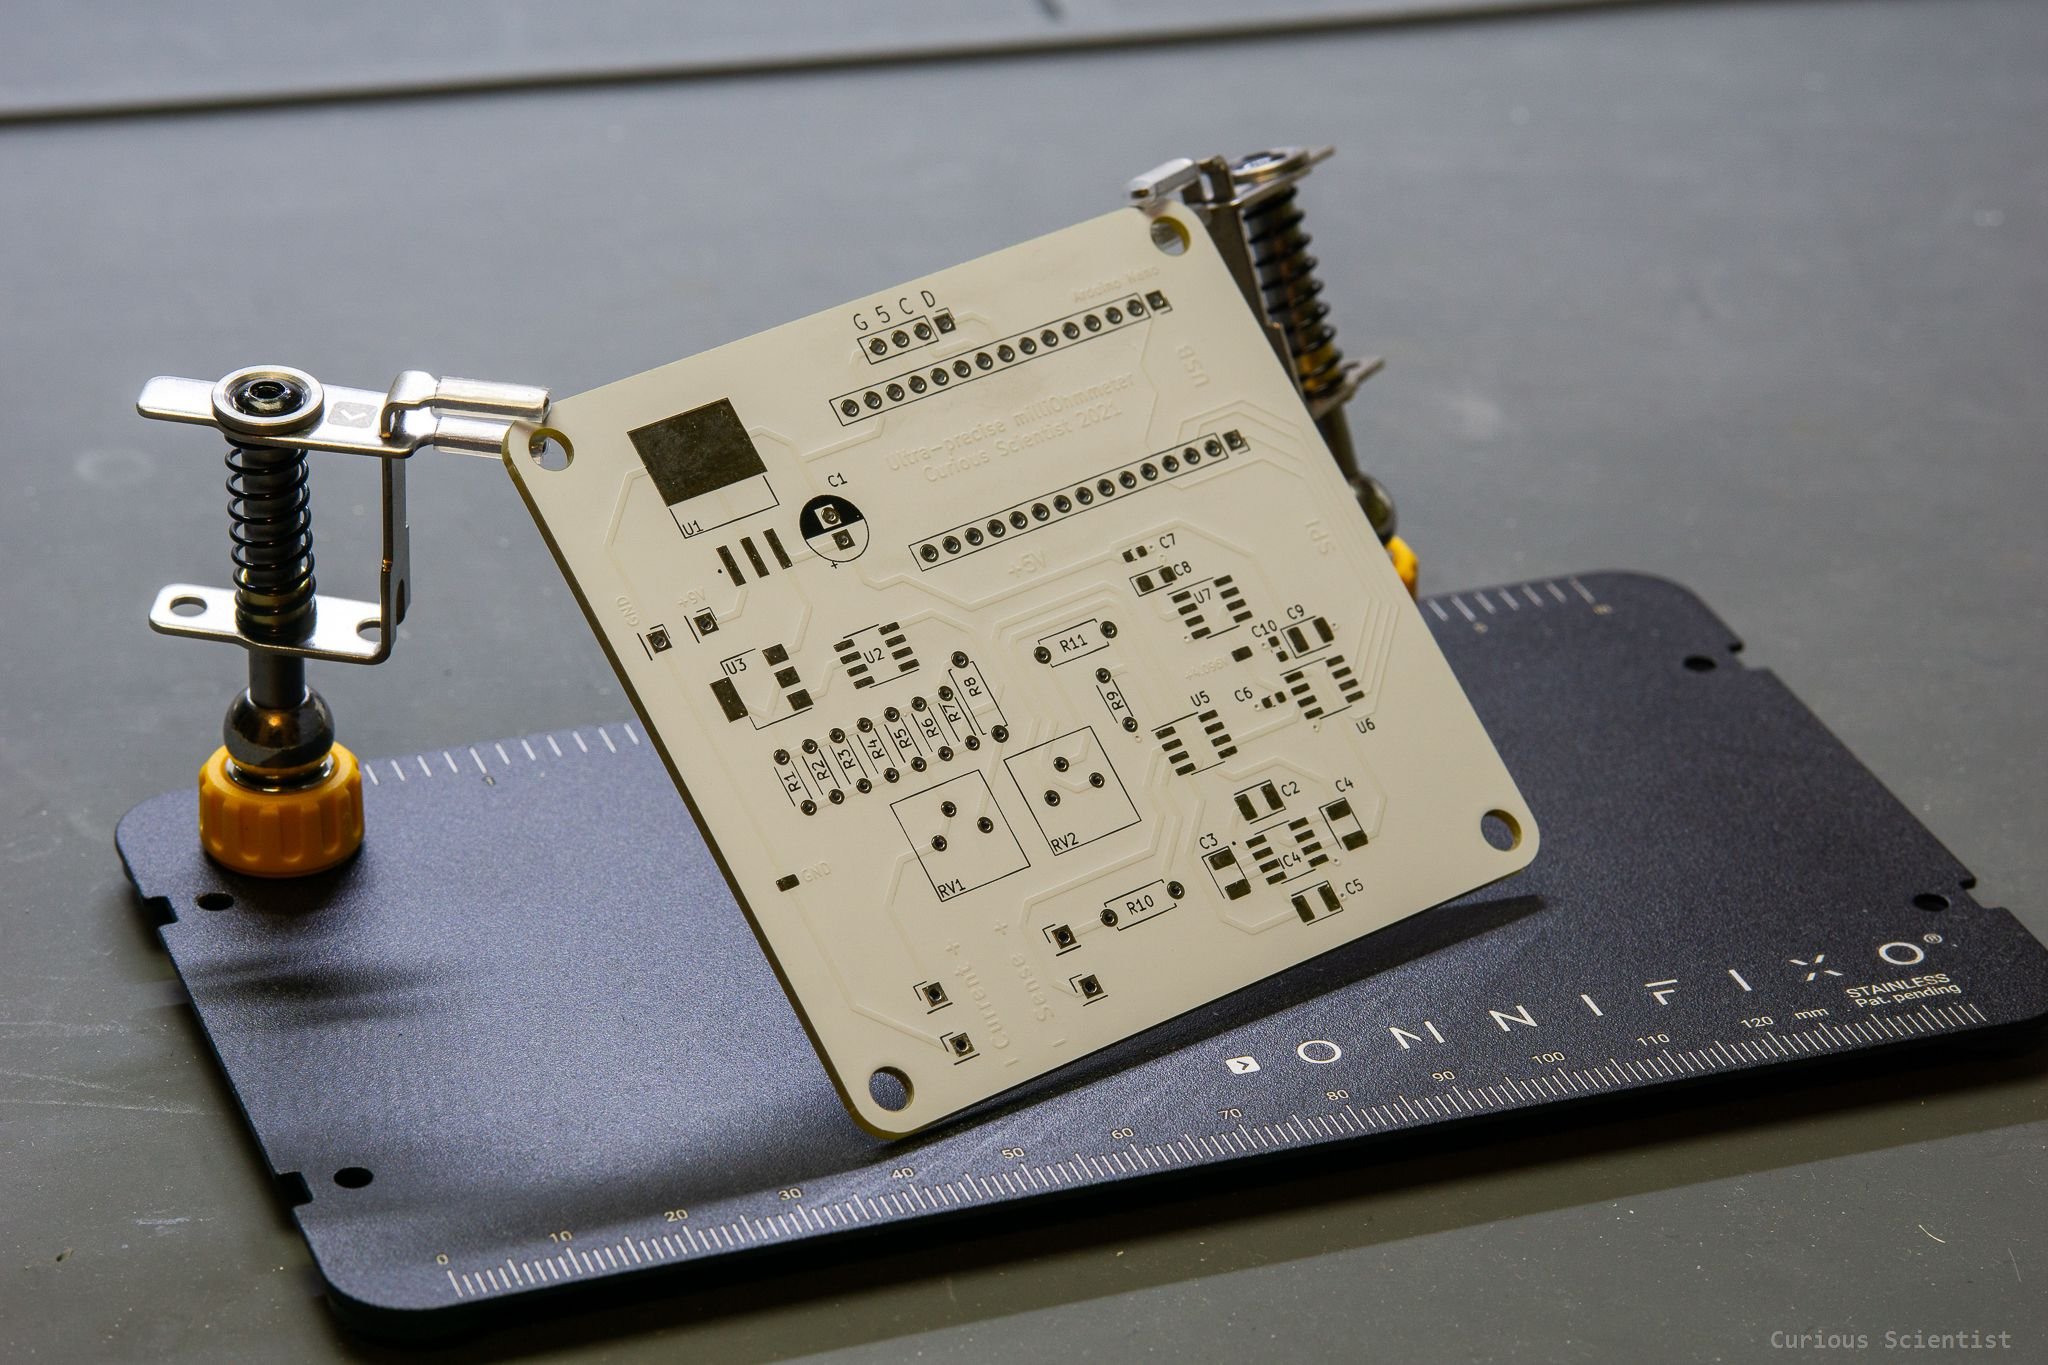
Click on the picture to get the PCB directly from PCBWay. The link is an affiliate link, so you also support me if you decide to buy the PCB. The link also contains the part list.