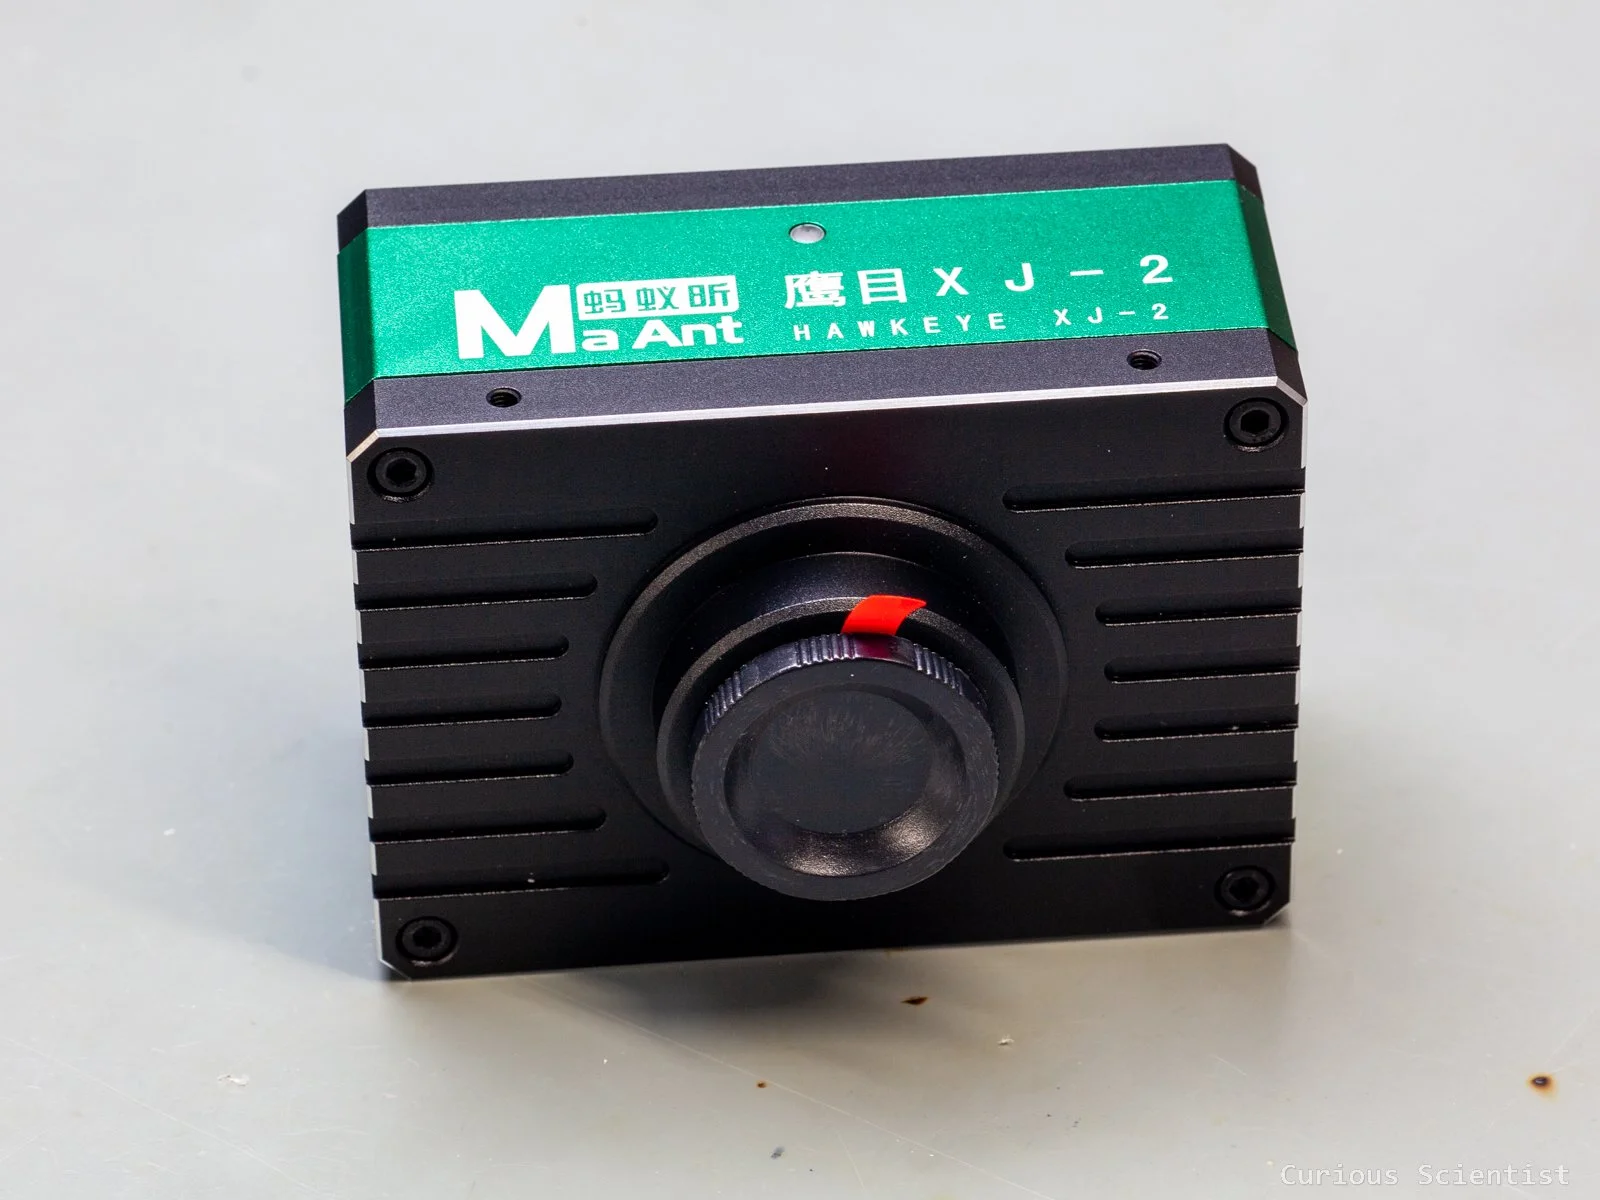
MaAnt XJ-2 Hawkeye 4k microscope camera
In this article, I show you my new gadget, which is a 4k-capable microscope camera. Earlier, I showed my customised Hawkeye Firefly Split V6 Pro camera, which allowed me to have a very capable microscope camera. But since then, I dedicated that camera to become a permanent part of my macro video setup, so I wanted to have another camera solely dedicated to my microscope. Since I did not want to spend too much money on it, but still wanted to have a decent camera, after some research, I ended up buying this one. This camera not only captures images and videos, but it can also be calibrated for different objective lenses, and it can be used for measuring different dimensions.
This is not sponsored content. I bought the camera myself, and I made this review to help other people who want to buy this camera.
Introduction
The MaAnt XJ-2 Hawkeye camera is based on a Sony IMX678 sensor. This is a 1/1.8” CMOS sensor, and it allows for capturing videos up to 4k resolution at 60 FPS.
The camera has several connectors:
HDMI output for videos
1x USB 3.0 for communication with the computer
2x USB 2.0 for flash memory and wireless mouse dongle
1x DC jack for power (12 V, 1 A)
The camera, apart from its basic image and video capturing capabilities, has many more useful options. The user can adjust the image appearance by modifying brightness, contrast, colour temperature and similar parameters. The camera also has HDR capabilities. It is also possible to apply a maximum of 10x digital zoom.
Furthermore, we can flip (mirror) the image along both vertical and horizontal axes. Also, to allow better guidance and navigation across the field of view of the camera, we can define grids with great freedom. The camera also has a large set of measurement tools. After a careful calibration, we can measure dimensions, distances, angles, areas, etc. The camera is able to store multiple calibrations, so it is a great tool for metallurgical microscopes that usually have 3-4 lenses.
The camera’s image can be split up into 2 or 4 zones, and the zones can be frozen individually. This is a great tool when we need a before/after picture in front of us, or if we want to have several areas of interest to be displayed on the monitor.
Camera body with all of its terminals. The housing of the camera feels very sturdy.
Package contents
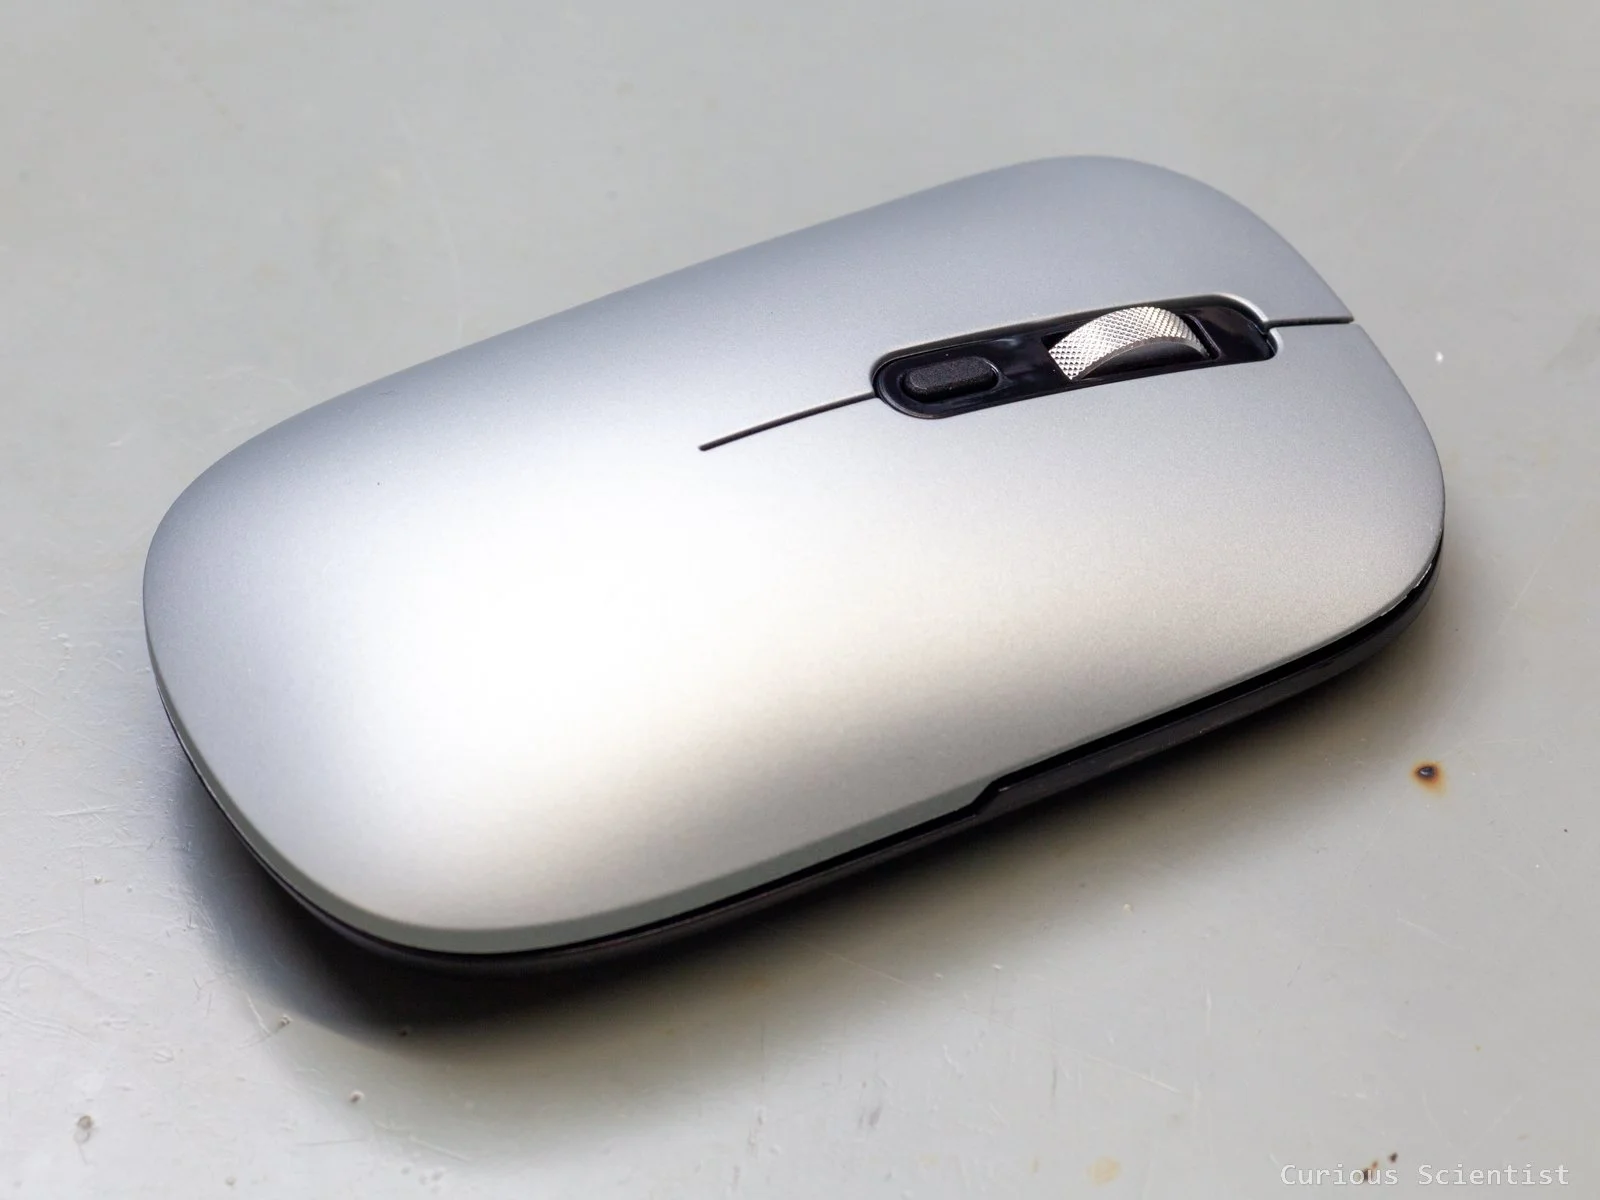
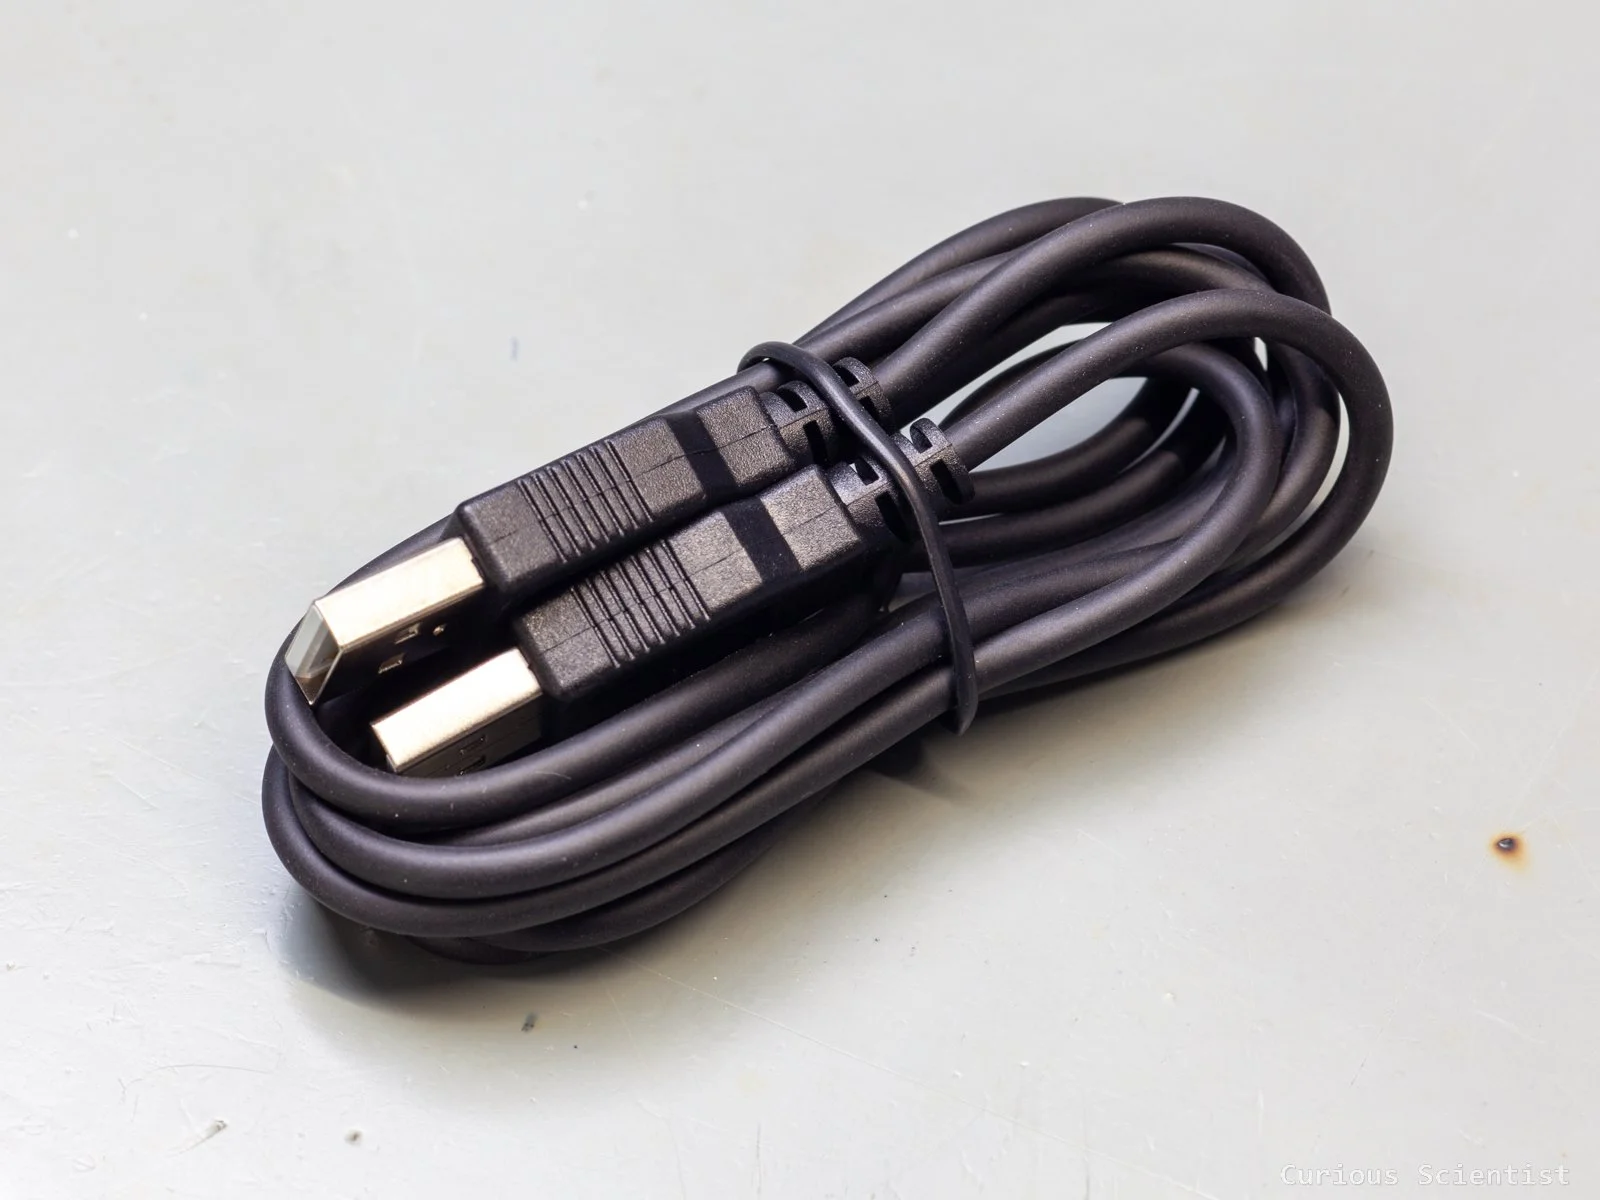
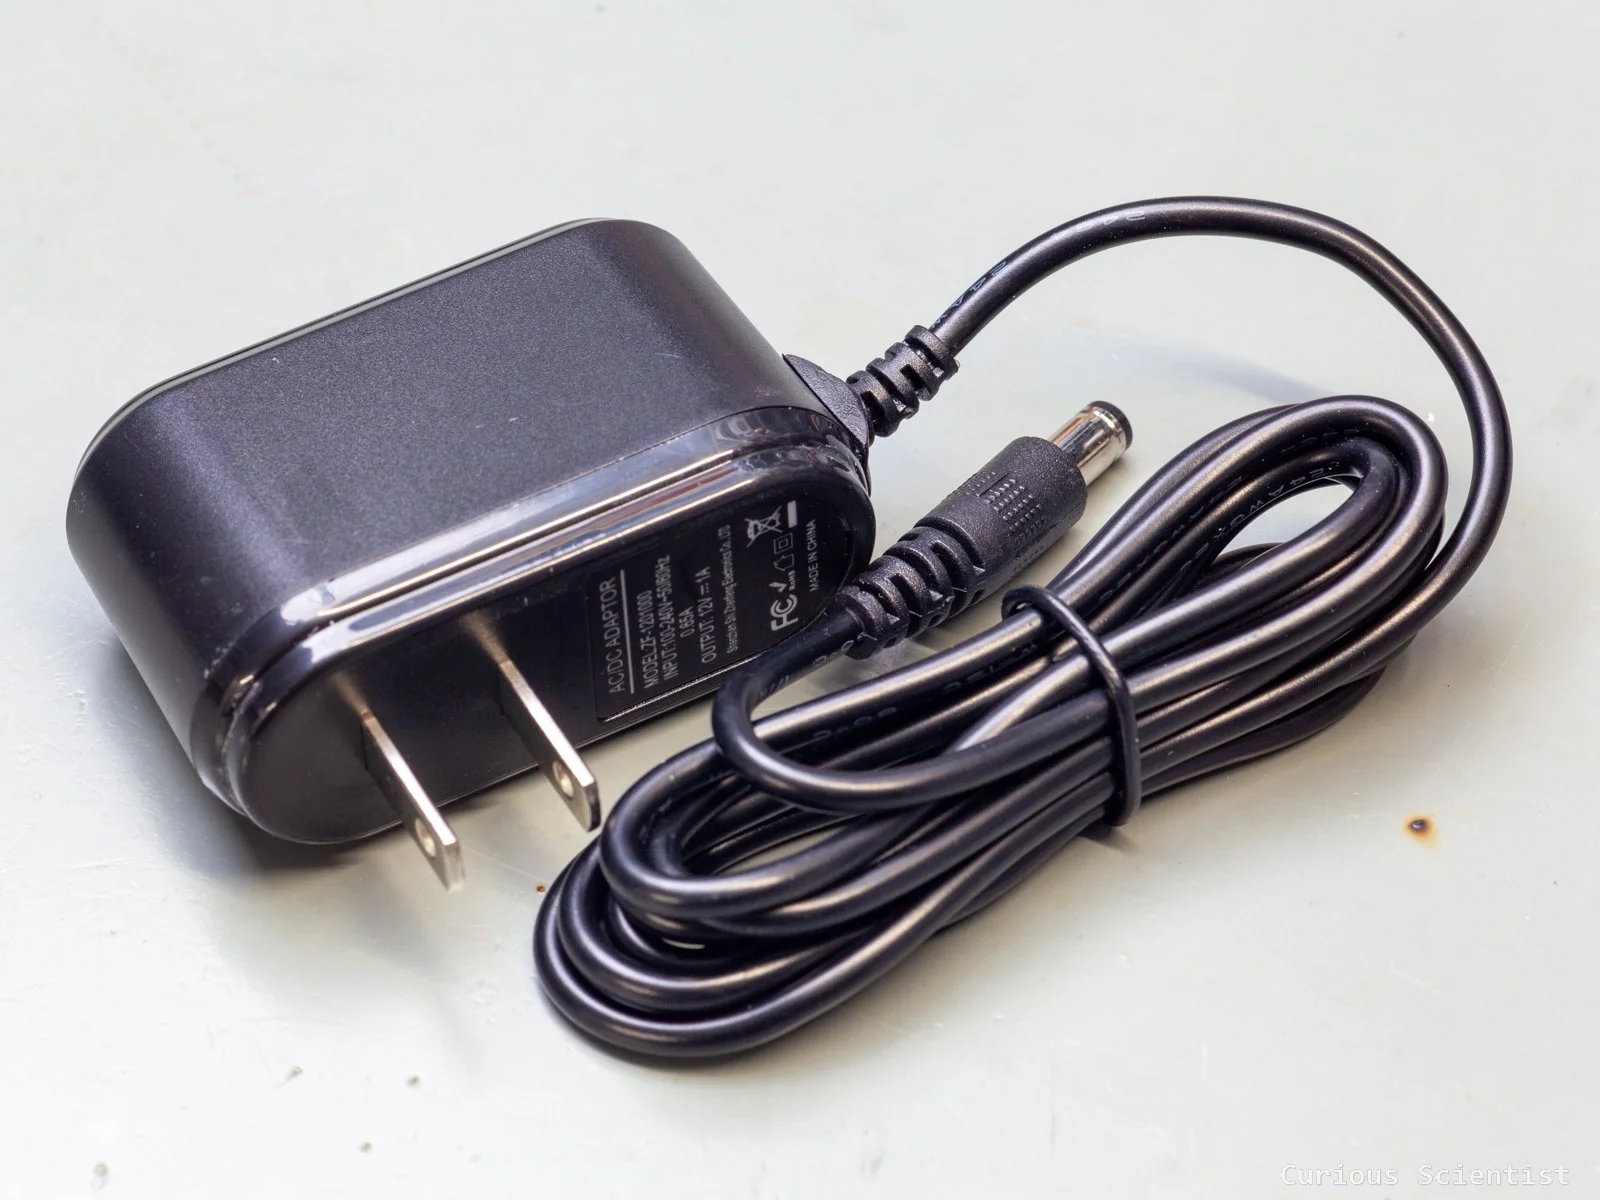
The package comes in a paper box that contains a few more smaller paper boxes and packaging. Obviously, it comes with the camera. The C-mount flange of the camera is covered with a threaded cup. What is more surprising is that under the cap, there is a further protection in front of the IR filter. There is a plastic sticker sitting on the IR filter. It is a good way to avoid any dust from settling on the IR filter. Then, a wireless mouse with a battery is also provided. This will play an important role soon when I show the camera in operation. Furthermore, there is a 12 V, 1 A power adapter supplied with the camera. Unfortunately, it needs an adapter because the power supply comes with a Chinese connector. I actually just used another power supply with similar properties to this one. The camera also comes with a male-male USB 2.0 cable, so we can connect it to a computer. There is a dedicated USB port on the camera for this purpose. I tested the camera both with a USB 2.0 and a USB 3.0 cable, but it did not make any difference in transfer speed and/or quality.
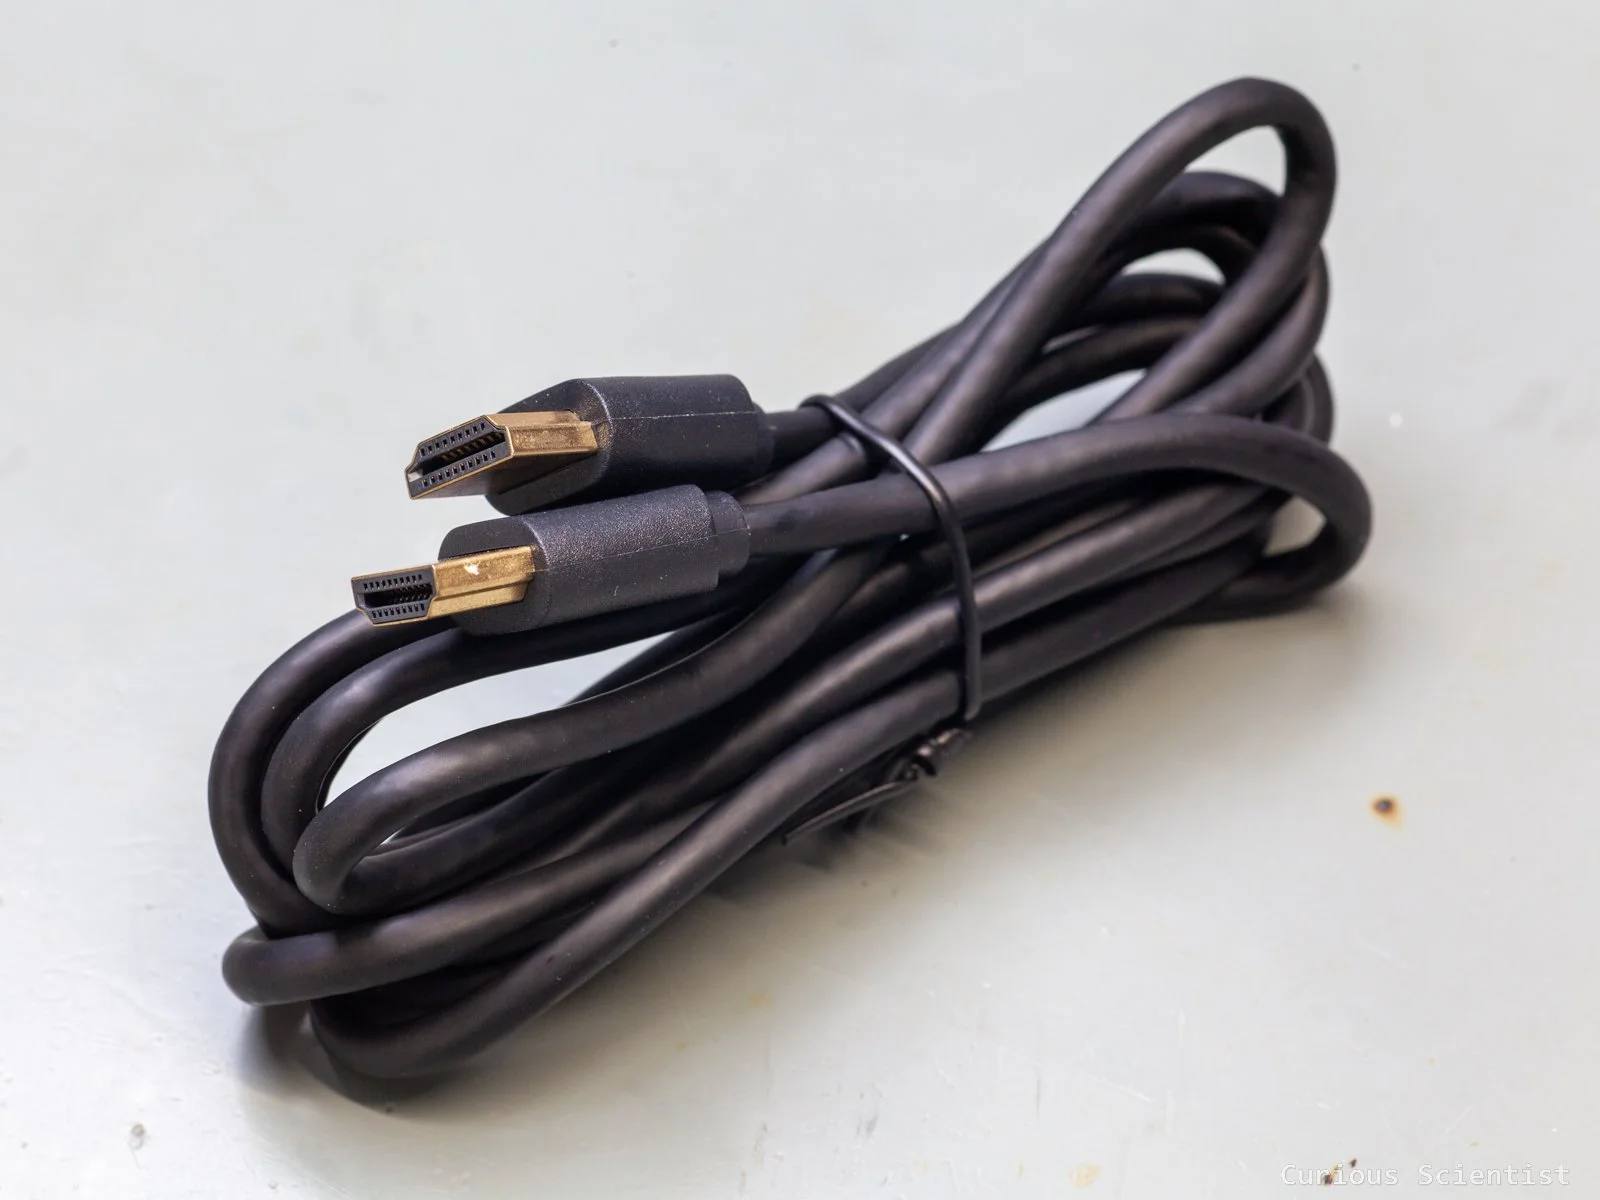
There is another cable, which is a male-male HDMI cable for connecting it to a monitor or to an HDMI capture card.
Protective foil in front of the IR filter. It is a nice extra detail.
User interface
The user interface is controlled by the mouse that came with the camera. However, the mouse can only be used when the camera is used via its HDMI port. When the camera is used in USB mode, there is dedicated software called S-Eye that can be used to control the camera and its settings. Or, you can even use the camera in USB mode via OBS, but then you can only capture its output. You won’t be able to use the measuring tools and other utilities through OBS. But more on this later.
First, let’s discuss the HDMI mode interface. This mode is when the camera is connected to a monitor or to an HDMI capture card. I want to emphasise that I have a 1080p HDMI capture card, so I can’t really show the real 4k output from the HDMI output. But, as I will show later, I will compare the different outputs captured from all the possible outputs (USB, HDMI and memory).
First, the simplest function that does not even need to be accessed from the menu is zooming, which can be done with the mouse wheel. This is fairly intuitive, and the camera allows a 10x magnification, regardless of the selected resolution (full HD or 4k). The image can only be stretched from its centre; there is no way to zoom in on a specific part of the image area.
Then, by pressing the left mouse button, a menu pops up at the bottom right corner of the display. This white dial contains 14 icons with different functions. Some of them are obvious, some need a bit more explanation. The zoom in and zoom out functions are the same as the zoom function via the mouse wheel. Pressing the buttons continuously allows us to smoothly zoom in or zoom out. It is smoother than the wheel-controlled zooming.
The freeze button is also obvious; it freezes the display. The HDR button applies HDR to the image to increase contrast. I did not find this useful so far because it turns the image a bit brighter, and that’s all. The browser button opens up the file browser. This is only relevant if we connect a USB stick to the camera, where the camera can save pictures and video. Surprisingly (for me, at least), I could use a memory card plugged into a card reader with the camera and save stuff on it properly. But of course, I tested it with a regular USB flash drive, and it worked as expected. The snap and record buttons are used to take a picture and start/stop video recording. When we press the snap button, a yellow text in the centre of the display indicates the status of the process. Usually, it should show something like “IMG00000.JPG Captured Success”. When we press record, a red text under the dial appears saying “REC” and next to it we can see the elapsed time of the recording. When we press record again to stop the recording, a yellow text appears at the centre of the display saying something like “VID00000.avi Captured Success”.
The magnifier button opens a fun tool. As I mentioned earlier, there is no way to zoom in on a certain part of the picture. However, with this magnifier tool, we can magnify any random part of the image with some limitations. The magnified area is based on the position of the cursor of the mouse. The magnified area is shown in a small square window. It seems that the magnifier’s magnification can not be adjusted, and the camera applies the maximum magnification. However, we can still zoom in on the image when the magnifier is enabled. But I must note that the image inside the magnifier started to glitch as I zoomed in more. To get rid of the magnifier, one must press the right mouse button.
The division button divides the output into two panels. First, when we click on the division icon, the top right corner becomes the live camera image, and the rest of the screen becomes the file browser where the most recent pictures can be seen. Then, we can select the picture we want to add as the image in the left panel. This can be used as a comparison tool. The right panel shows the live image of the camera. We can select the panels by double-clicking them. When they are selected, we can use the mouse wheel to zoom into them. Since the pictures are now half of their original width, we can use the mouse and pan across their width. We we pan, the icon of the mouse changes from a pointer to a hand. This way, we can align both the camera image and the static image according to our requirements. One thing that we should pay attention to is that once we start navigating on the display, the bottom panel that allows us to switch between the images or to jump out from the 2-panel mode disappears. To get it back on the display and to be able to quit the 2-panel mode, we should bring the pointer of the mouse to the bottom of the display at the centre. The navigation panel will pop up, and we can go back to the main display.
The quarter button seems to have a similar effect. It divides the screen into four parts. In the beginning, all four panels show the exact same image, which is the output of the camera. Then, each panel can be frozen by double-clicking it. The image shown in the panel at the moment of double-clicking will be frozen into the panel, while the rest of the unfrozen frames still show the camera image. All four panels can be frozen and unfrozen in any order. So, for example, we can make the top left corner panel as our live image panel, and use the rest for other purposes, and so on… Unfortunately, the snap button does not work, so I can not save the image of the four panels. Furthermore, I was not able to zoom in or use the magnifier with the 4-panel view.
In the centre of the dial, there are “more advanced” functions and menus. The AE sets the exposure. We can switch between manual and auto modes. Unfortunately, when we switch to manual mode, there is no way to directly manipulate the exposure mode from the main display. So, it is a bit useless function in my opinion. The AWB sets the auto/manual white balance, similarly to the exposure. Again, there is no way to directly manipulate the colour temperature when we switch to manual mode, so it is a bit useless. It would be nice to have a slider popping up after we switch to manual mode, both for AE and AWB.
S-EYE 2.0. This software is used to control the camera via USB.
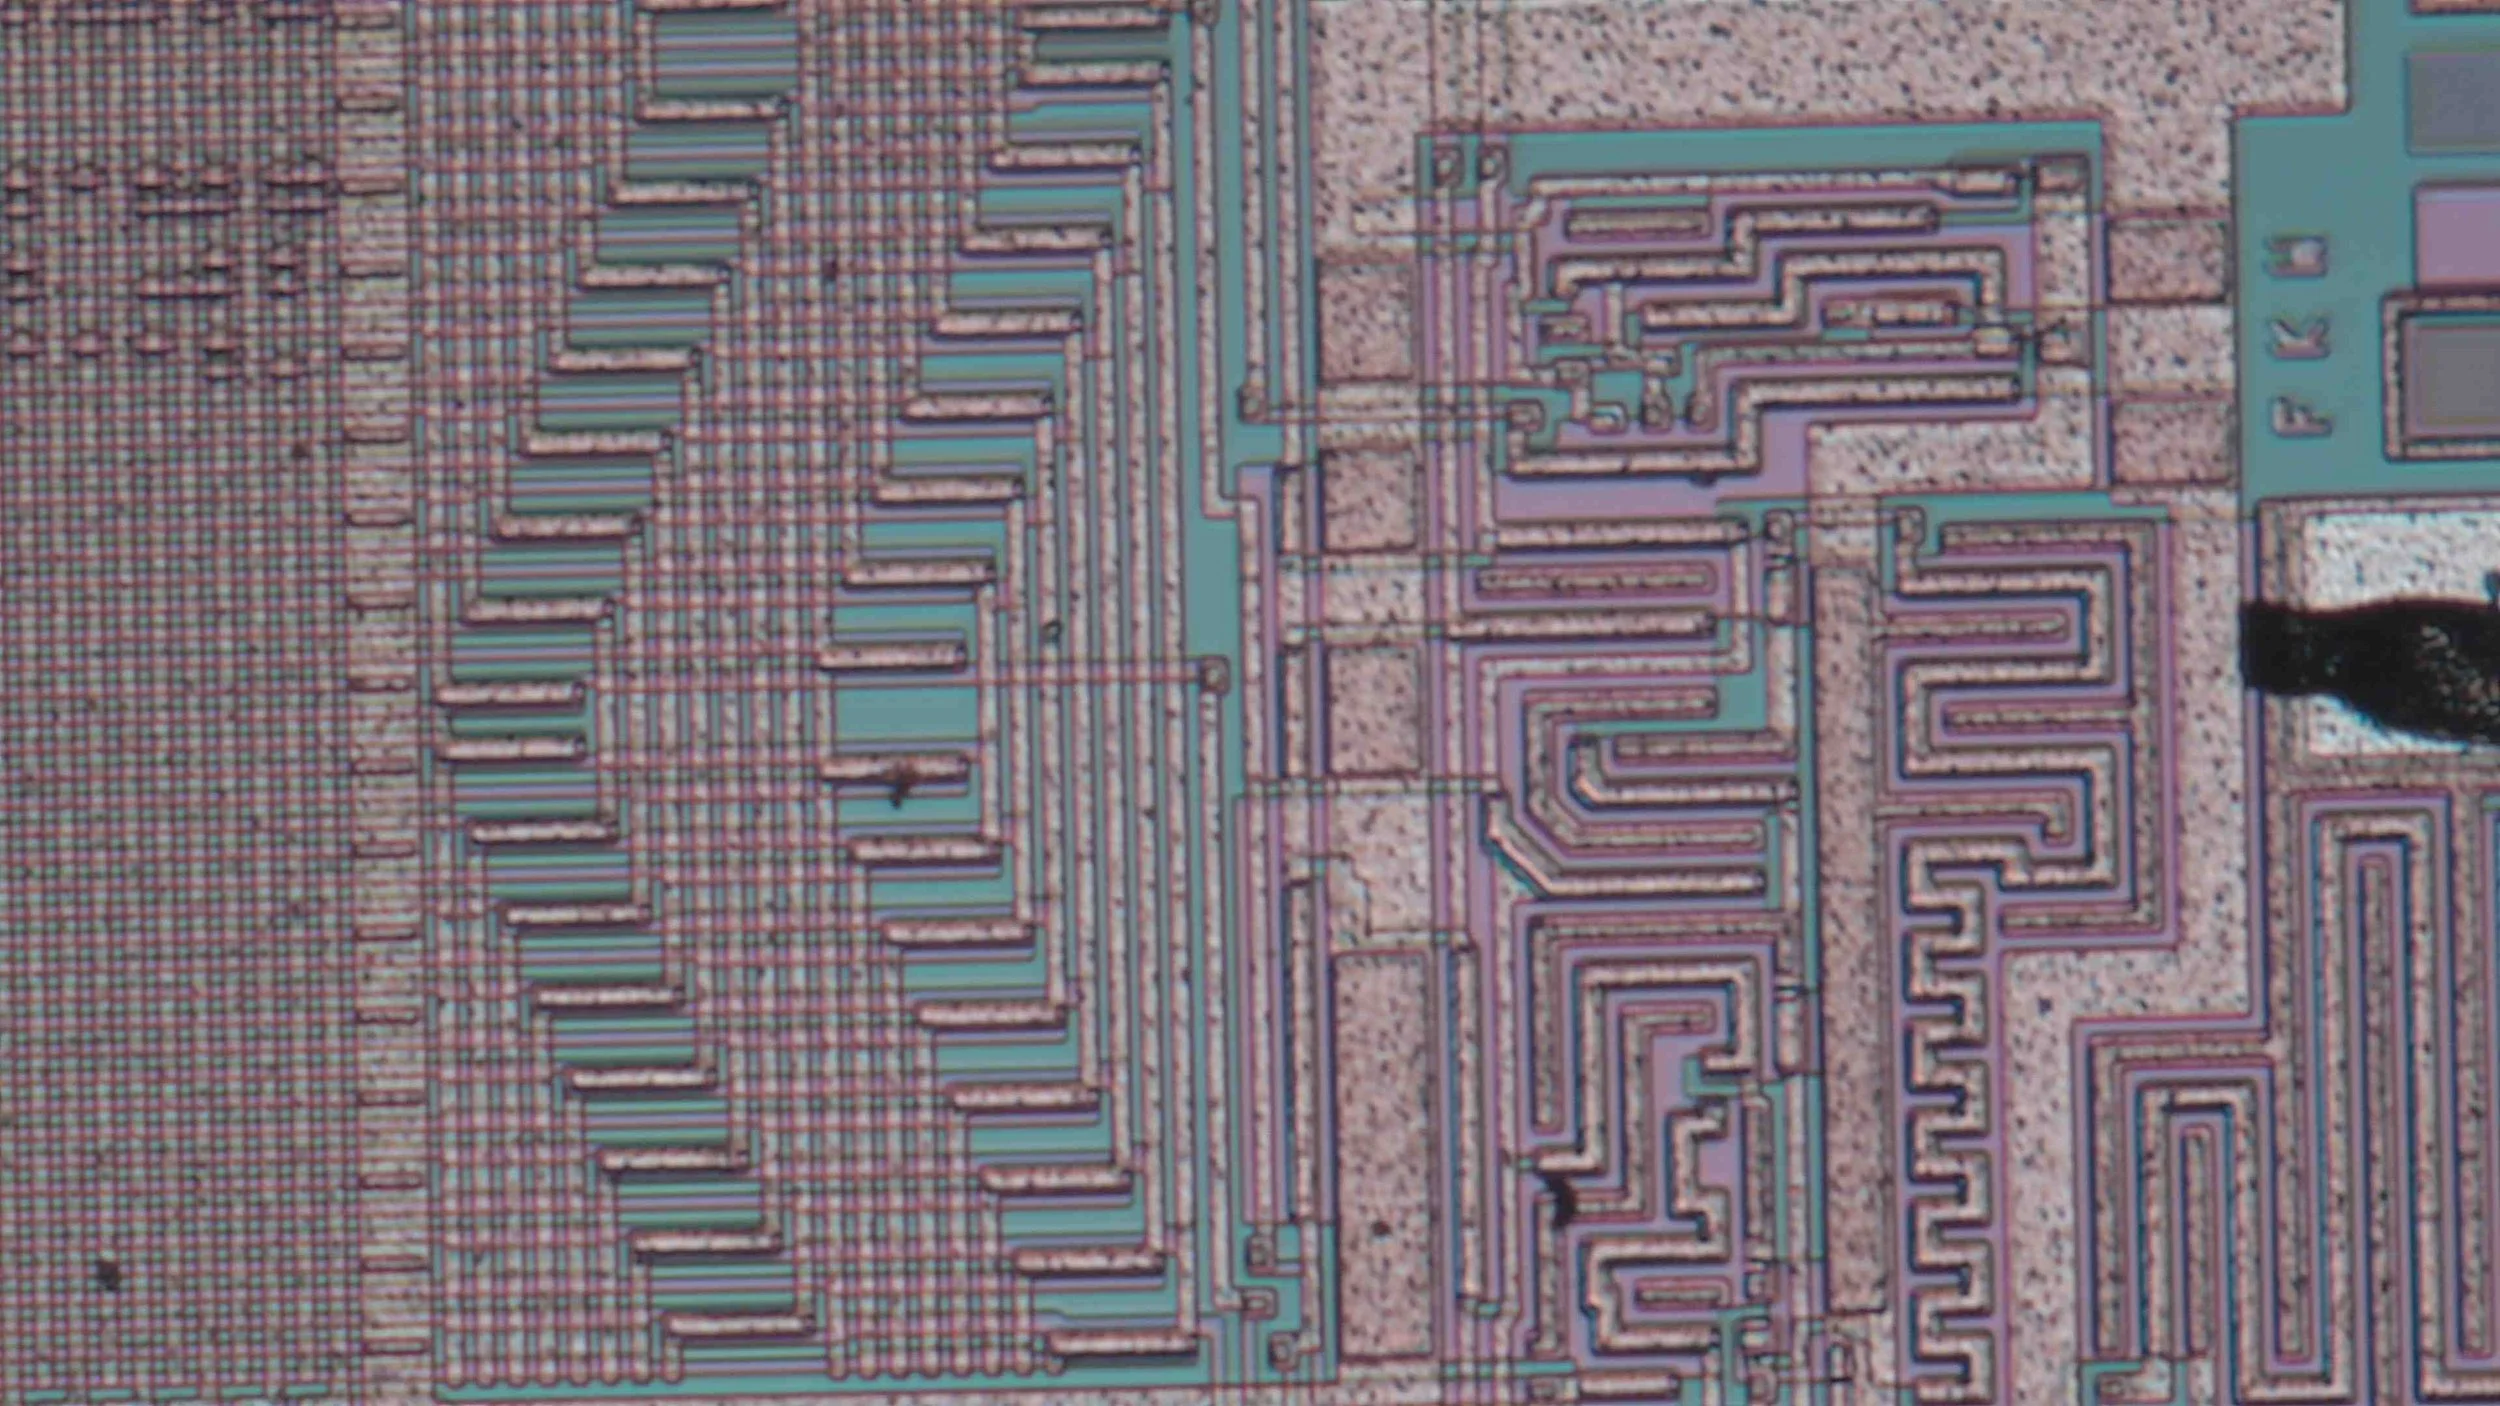
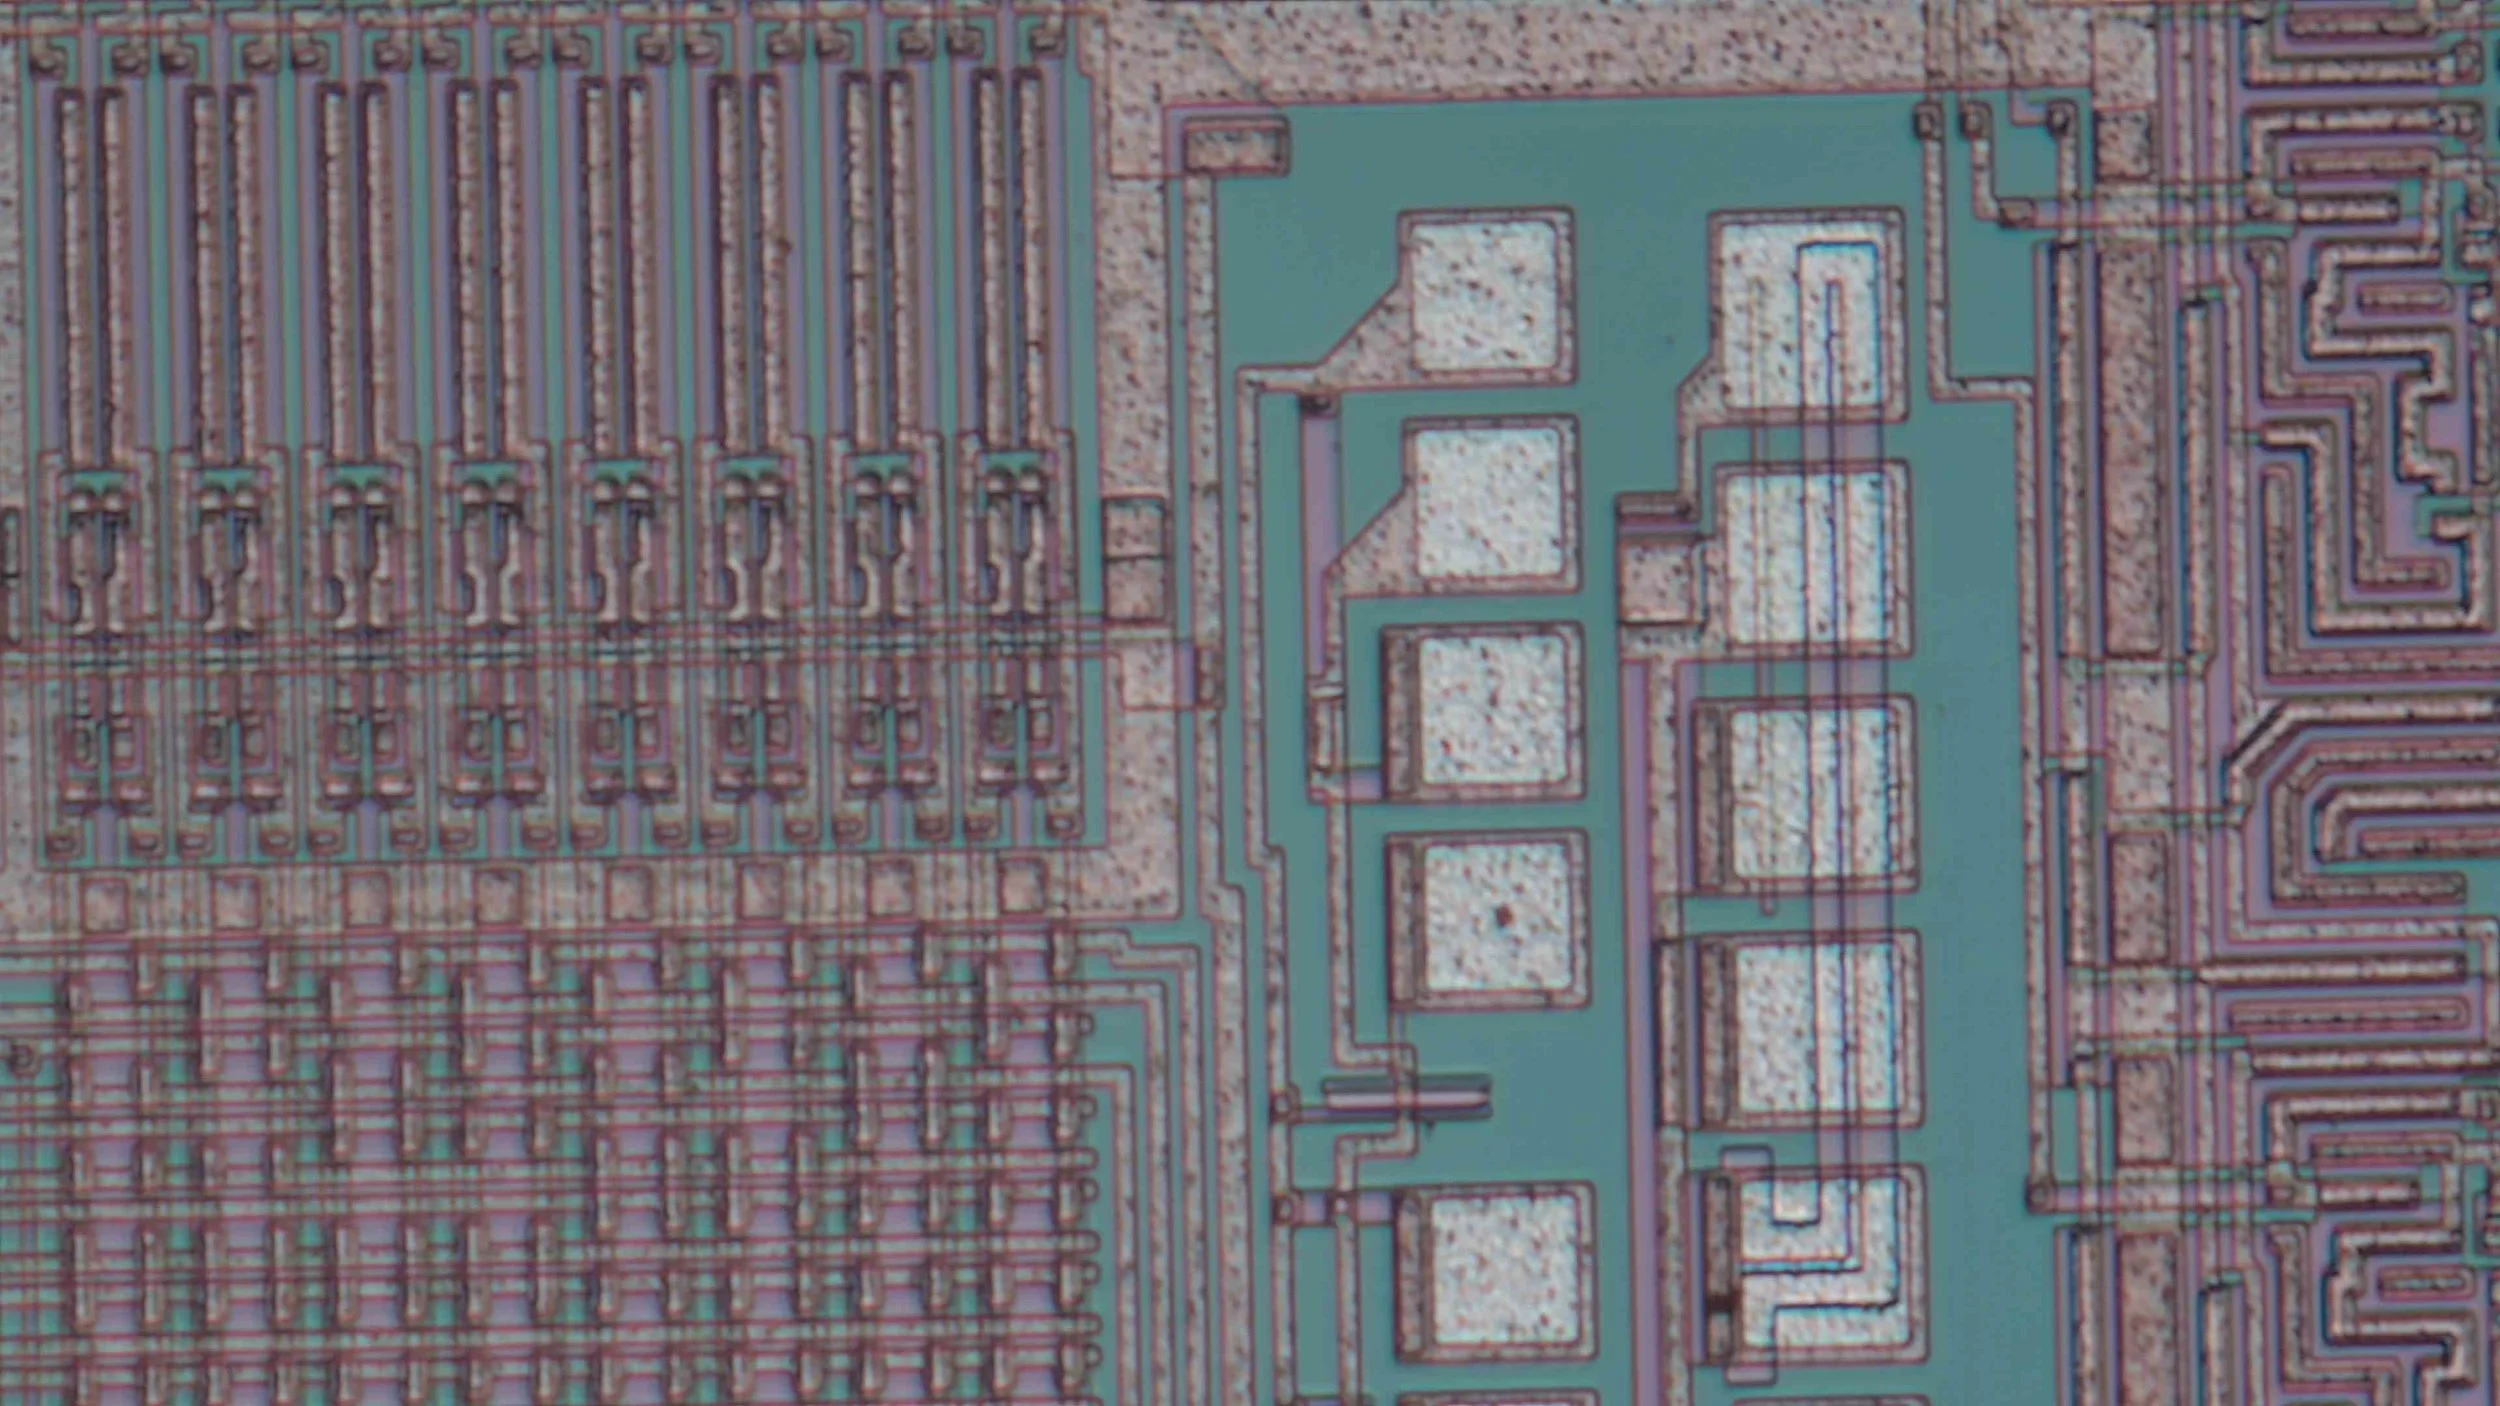
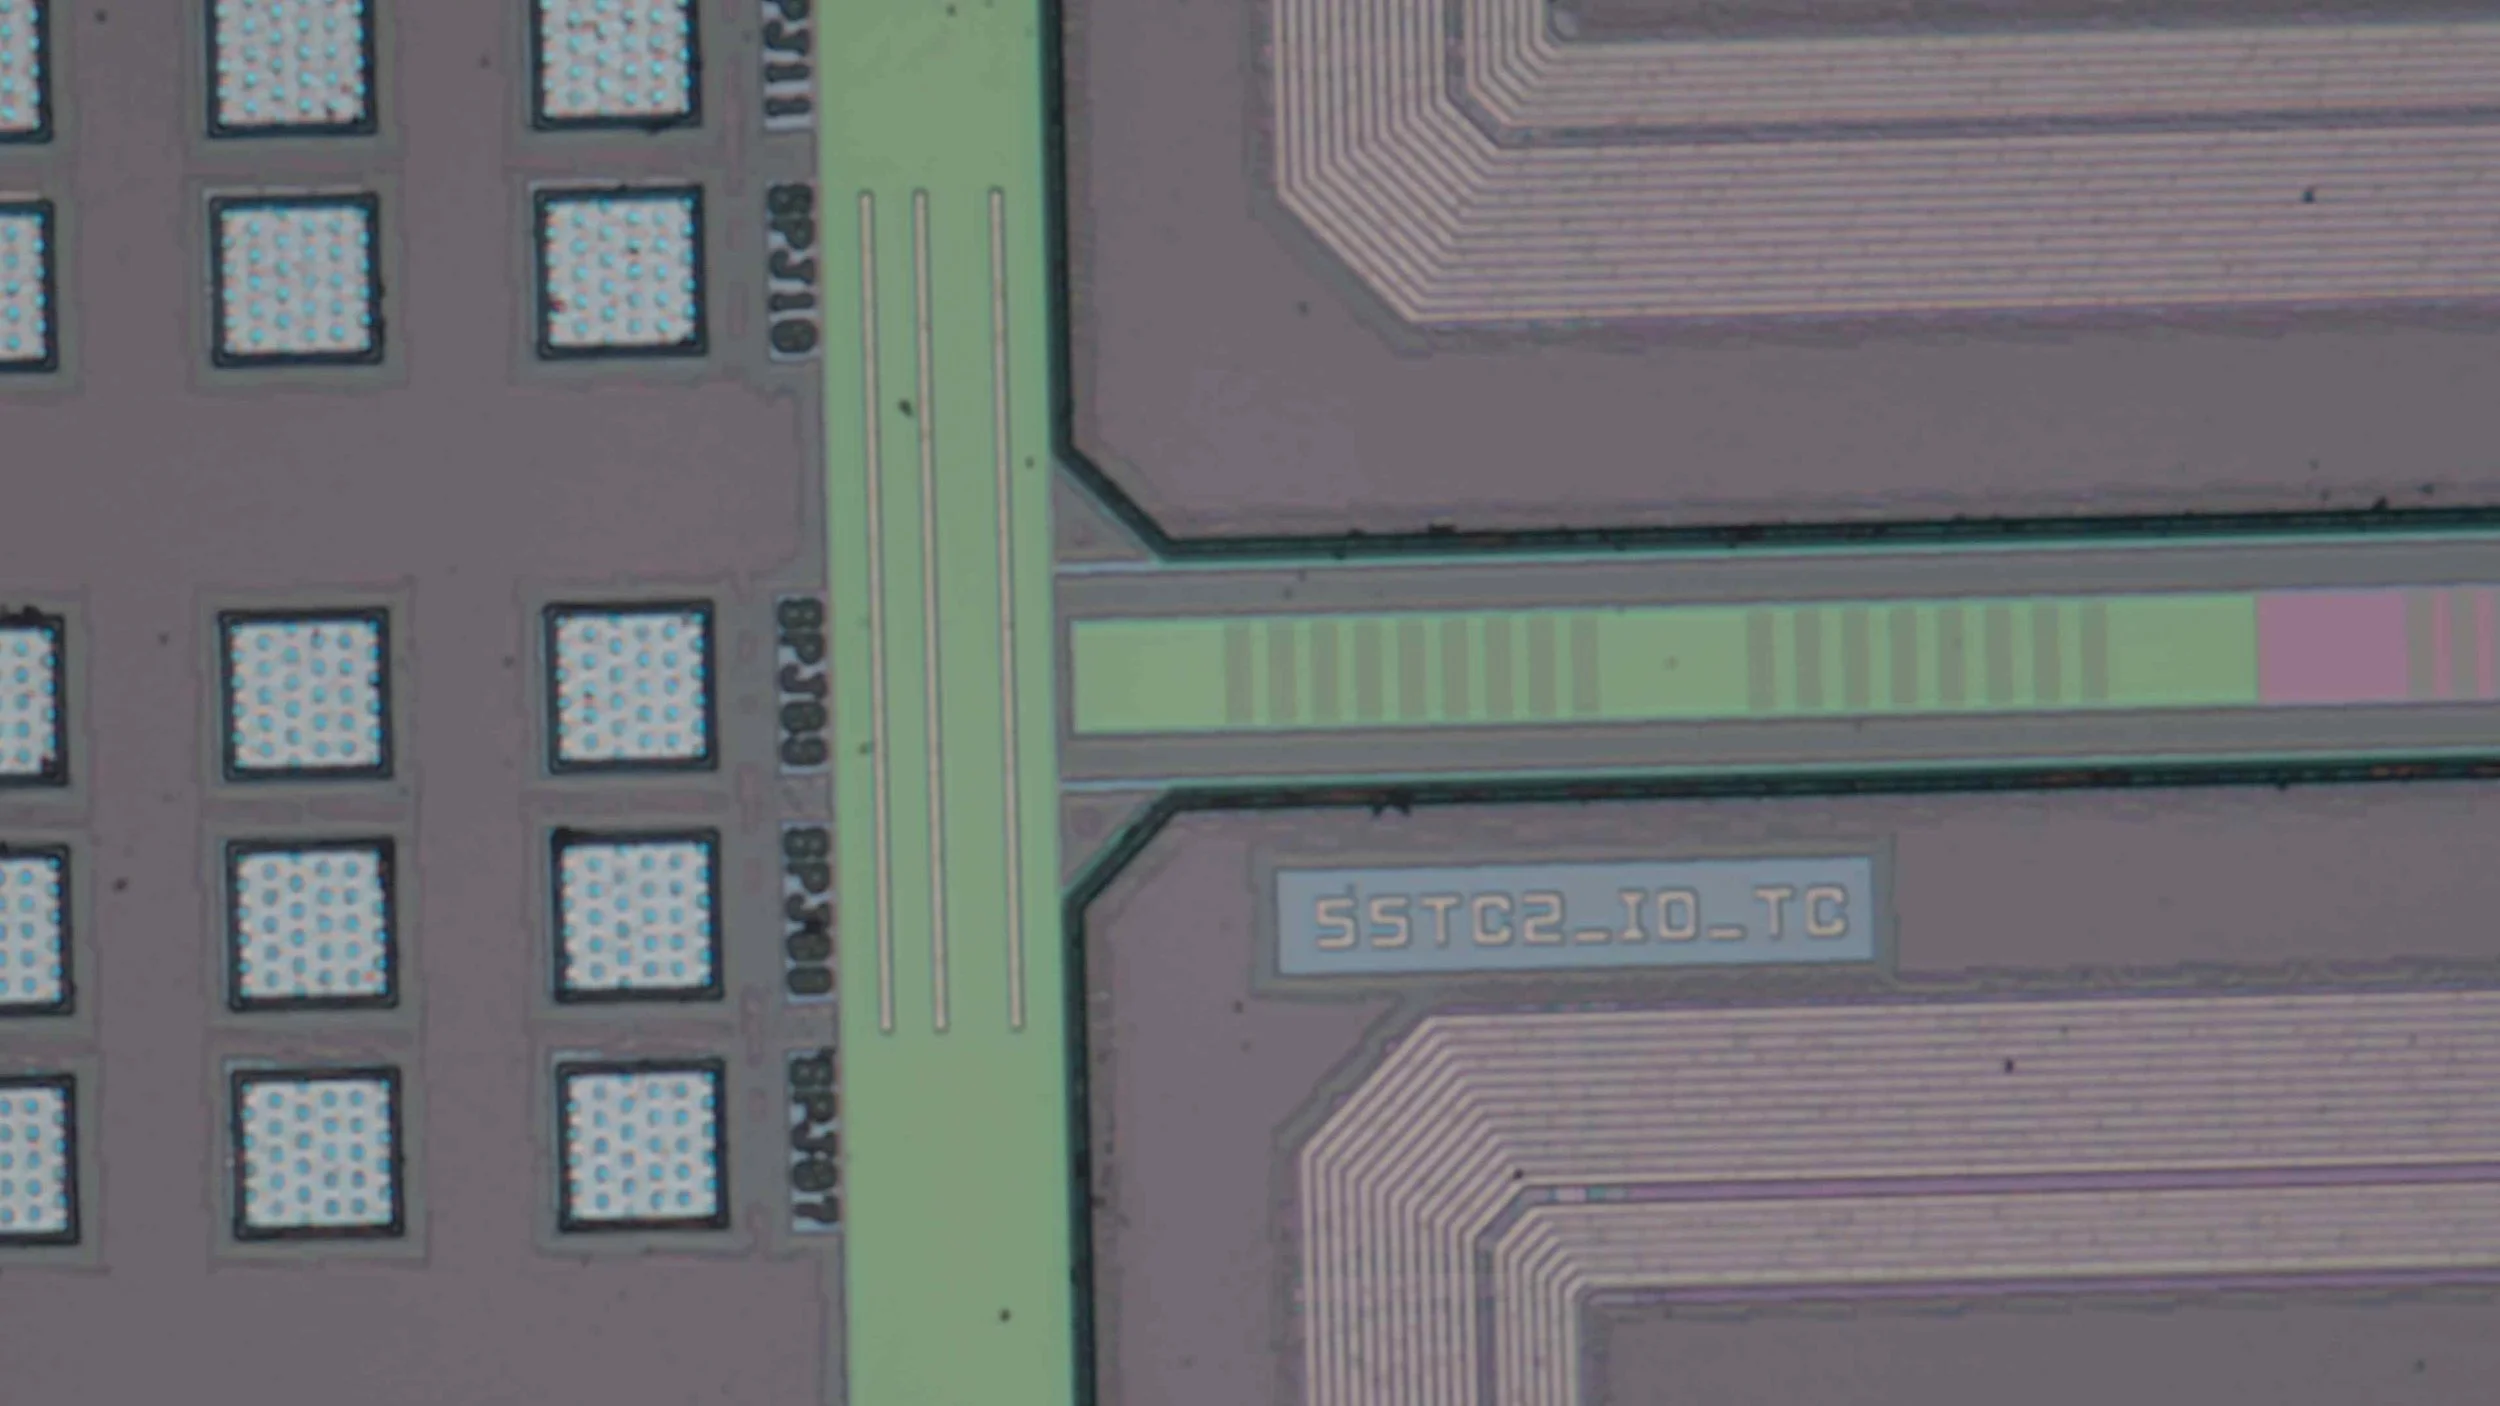
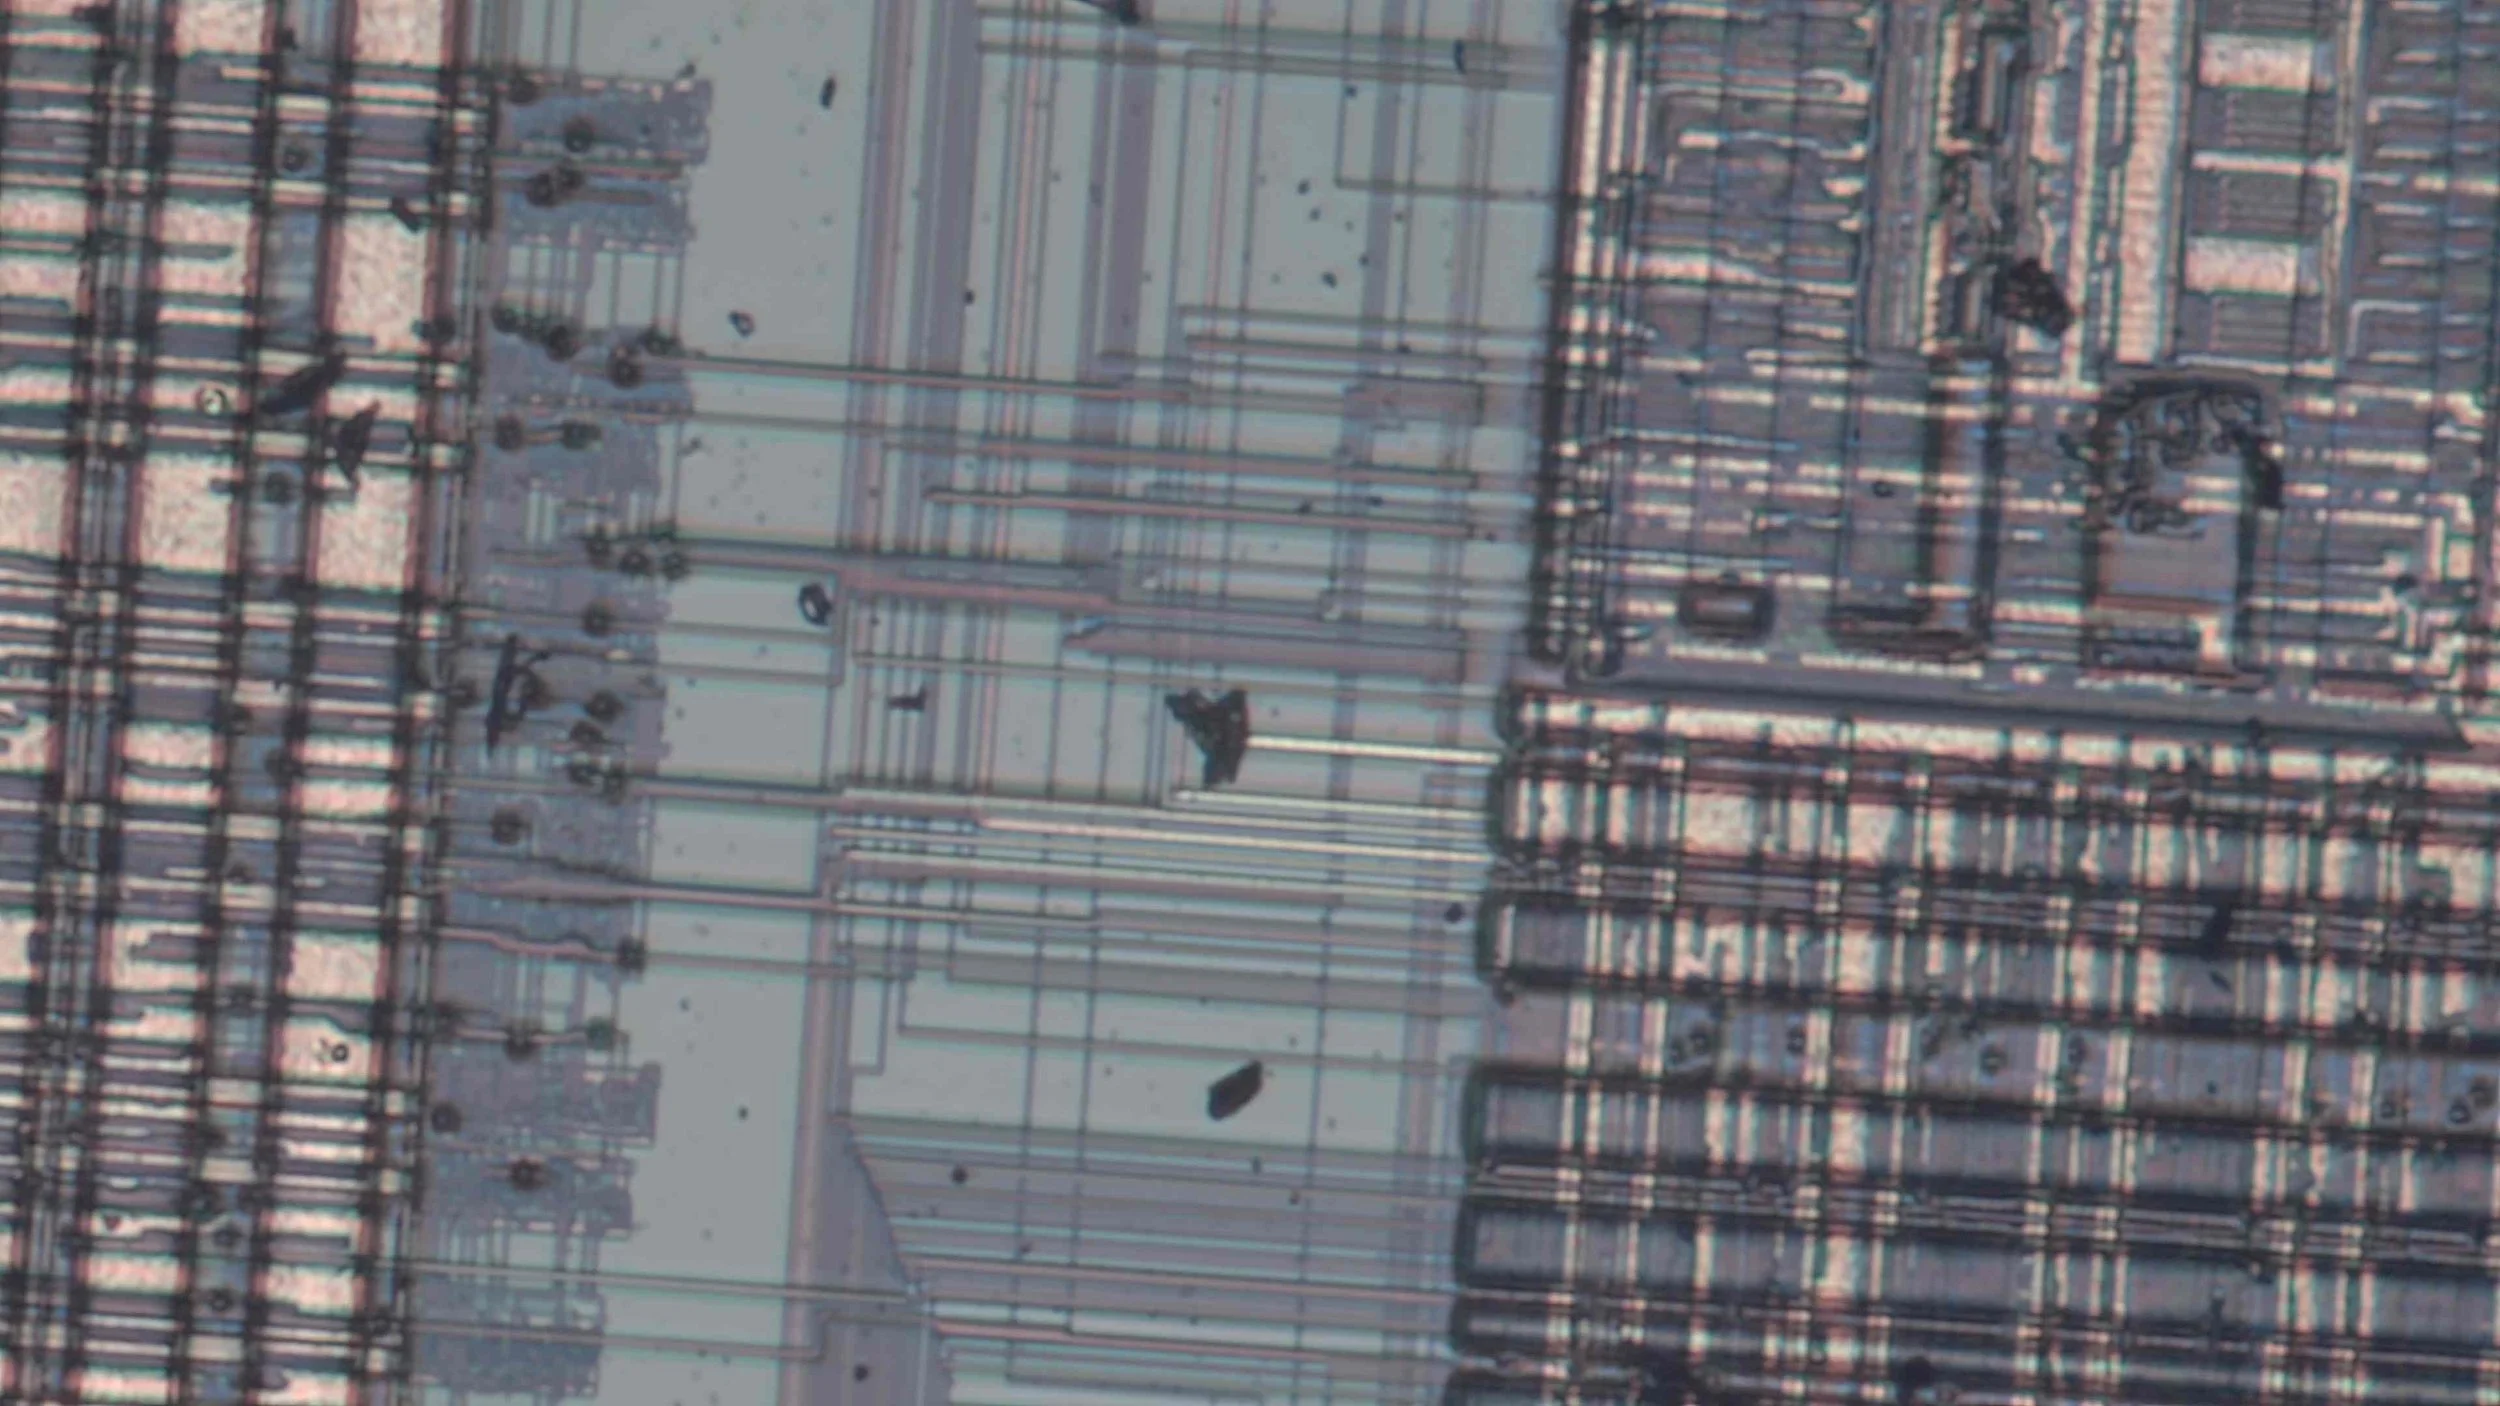
Menu dial. The background picture is a structure of a chip under the microscope.
Magnifier tool in action.
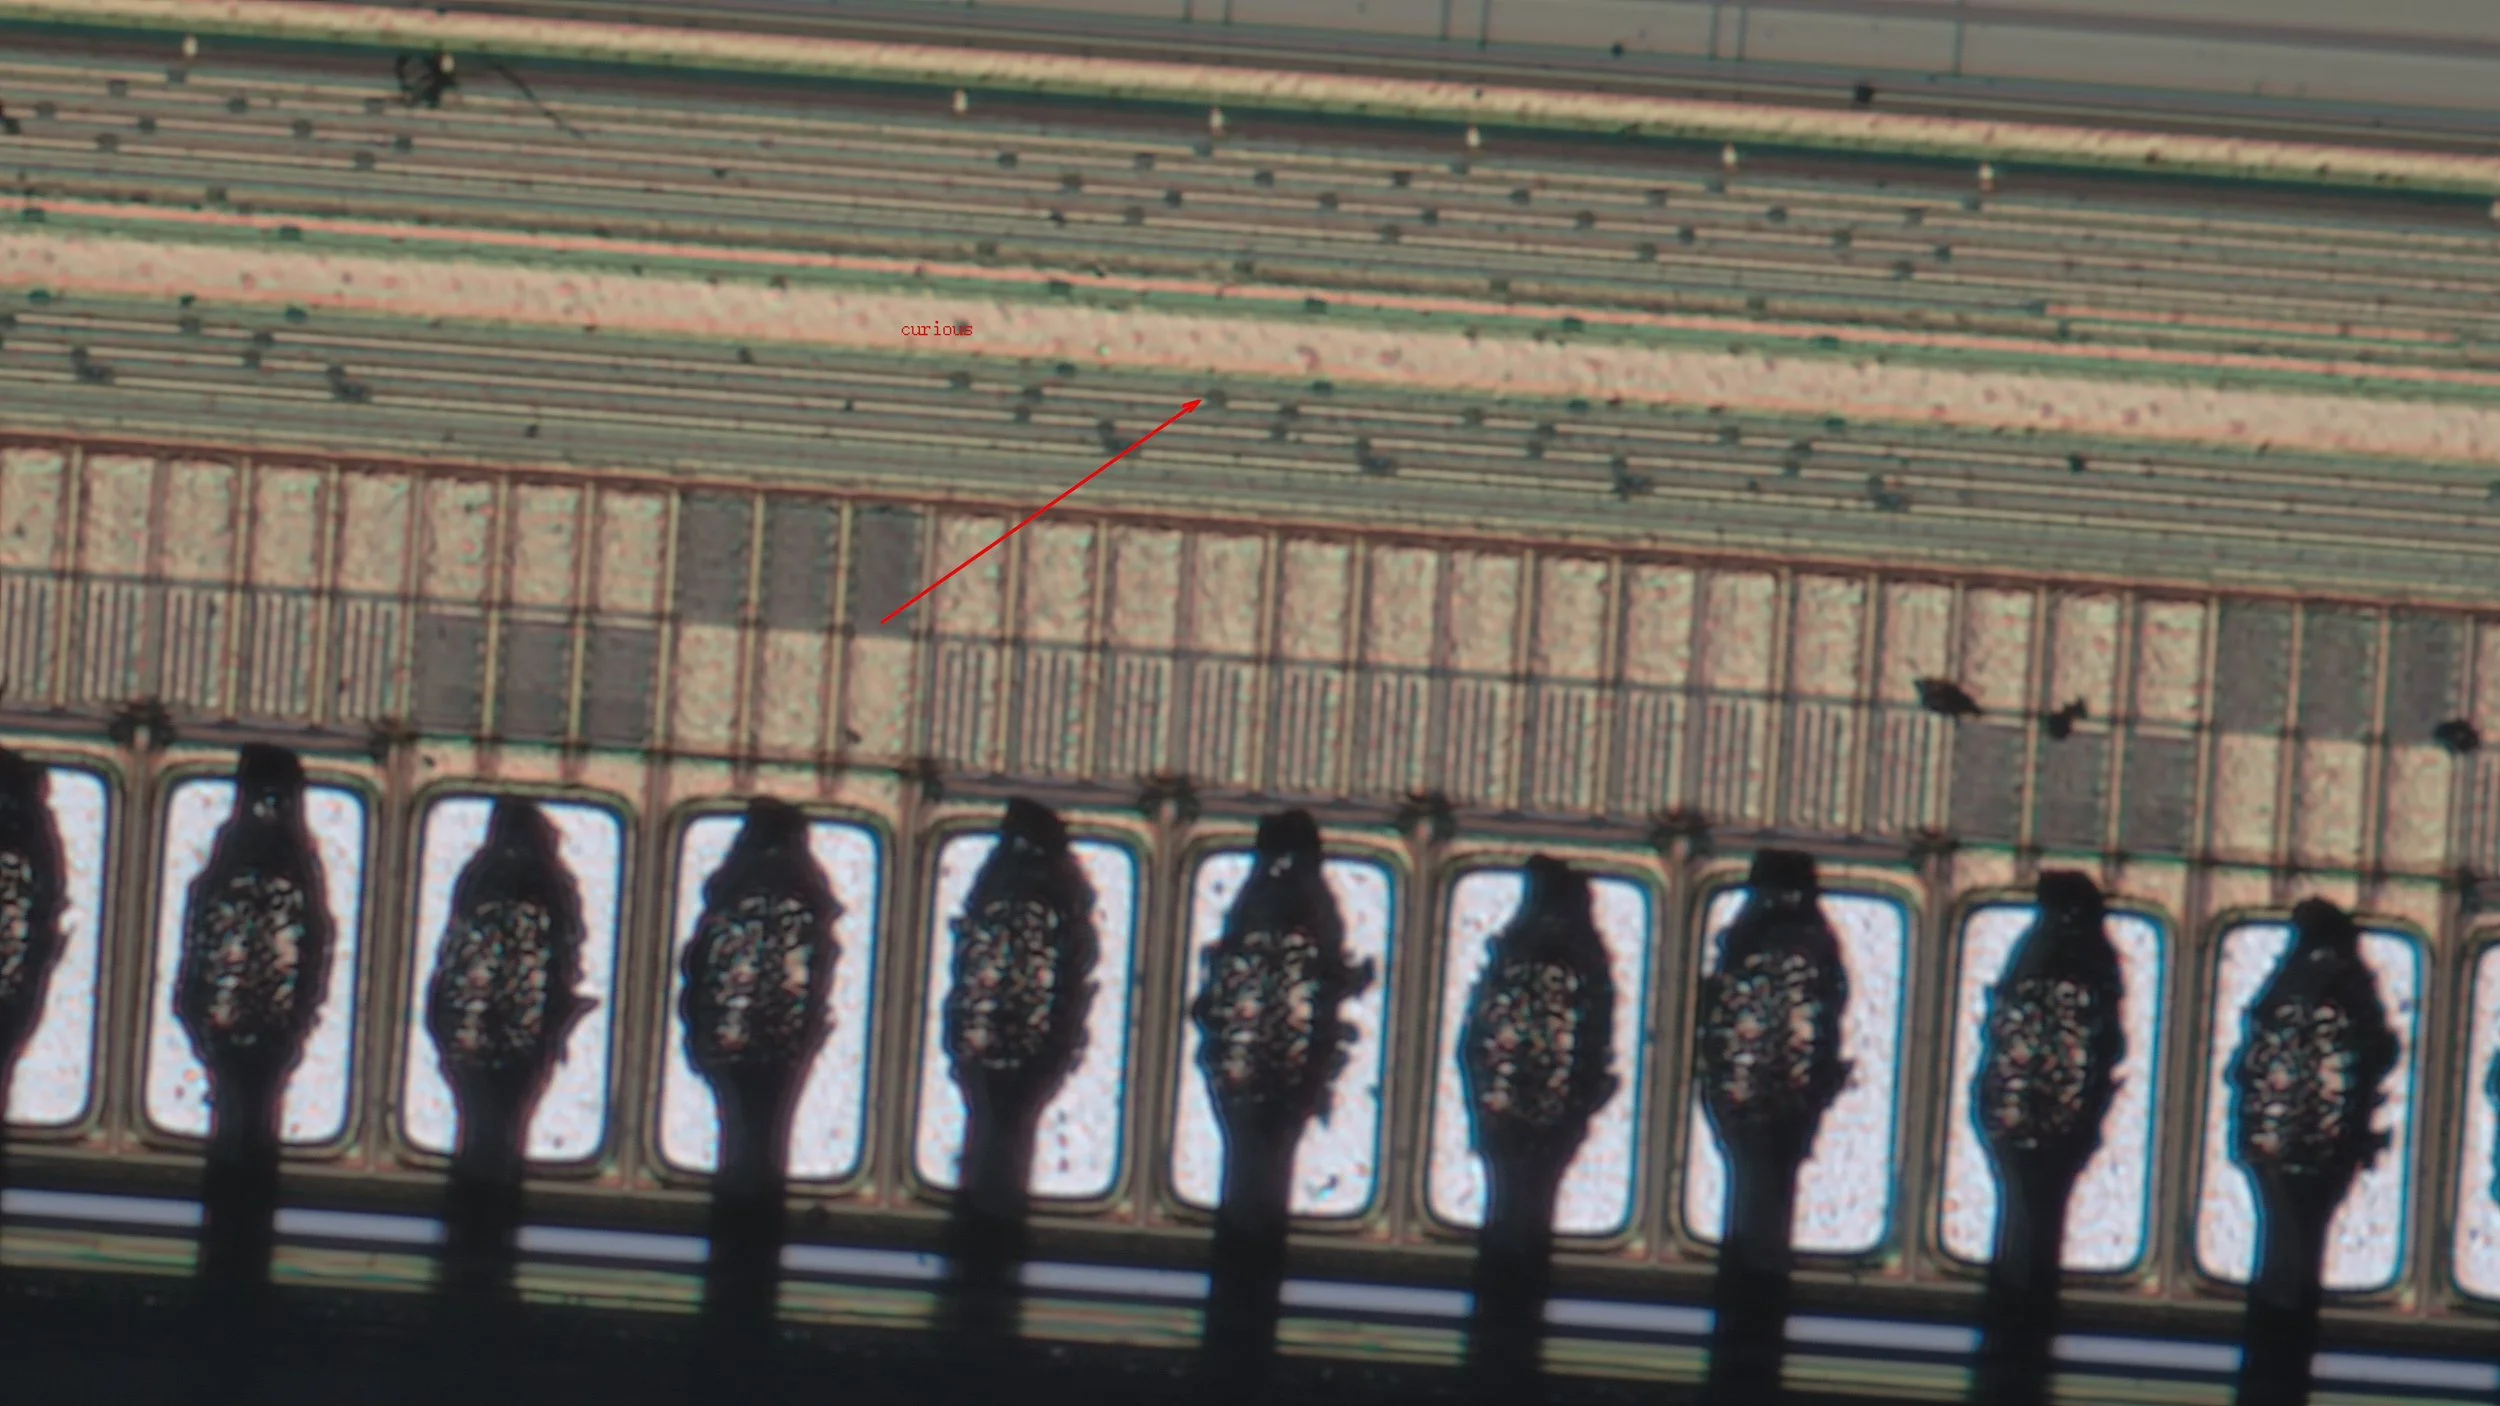
The measure button opens a new panel with more options. This window allows us to measure different features on the screen. And it provides a huge set of different measuring tools with extensive options. We can measure line length, circle diameter, polygon area, angle, etc. We can place an arrow, write text or do freehand drawings on the display. Each graphical feature can be adjusted. Line colour, line width, font size, etc. All are freely adjustable.
What is more important is that we can calibrate the camera so we can have a proper pixel-to-millimetre conversion. We can save the calibration, and in fact, we can save several of them. In my case, I have four different lenses in my microscope (5x, 10x, 20x, and 50x), so I can save the calibration for each lens and get an accurate measurement and scale bar. I can calibrate the distances for all four of them and then save all four individual calibrations and recall them for each individual lens. Very useful!
I have a calibration slide that has a scale bar with 0.01 mm divisions on it. It is suitable even for the 50x lens. The slide can be calibrated using the ruler icon when selecting a calibration mode. We can draw a line along a known length, and then we can enter the details in the small calibration window that appears when we select the calibration mode. Both the name and the length fields are text-based fields, so we can enter arbitrary values. This is nice, for example, if the magnification factor is not in the drop-down list in the name field.
Calibration window
The settings button also opens a further window. This window allows the user to manipulate the camera. The settings window is divided into three tabs. The first tab, Image, allows us to set the exposure, adjust the white balance and the colours, and to adjust the image properties such as brightness and contrast, or sharpness, etc. There’s also an option to flip and mirror the image or to apply a flickering filter if the light is affected by the mains frequency. When we use the AE and AWB buttons in the main menu, the manual mode jumps to the last stored manual setting in this menu. Still, I would prefer an on-screen adjustable slider instead of a cumbersome navigation to the menu.
Under the flags tab, we have a very interesting feature. I guess this is some mistranslation, but it does not control any flags, but we can draw guidelines and a grid on the display. Basically, we can build a custom crosshair (“centre ruler”), or we can assemble a custom grid over the image. Each vertical and horizontal line can be individually adjusted. We can change their colour and width. Also, we can turn them on and off individually.
Finally, under the other tab, we can adjust the file name of the saved images, we can adjust the ratios for the objective and eyepiece, and set the size of the monitor. These settings allow us to show the proper magnification on the display. We can also change language, adjust the resolution of the output and the recording and check the version of the camera.
If we somehow manage to get lost with all these settings and totally mess them up, we can always restore the default values with the restore settings button and start over.
The measure panel.
The three tabs of the settings panel
Image quality
This is the most important aspect of the camera. I am going to investigate the following things:
Image quality of still pictures at full HD (1920×1080) and 4K (3840×2160) resolution
Both saved to flash memory and via USB (software capture)
Image quality of video at full HD resolution via USB, on memory and via the HDMI capture card
Image quality of video at 4K resolution via USB and memory card (I don’t have a 4k HDMI capture card, so I can not inspect it)
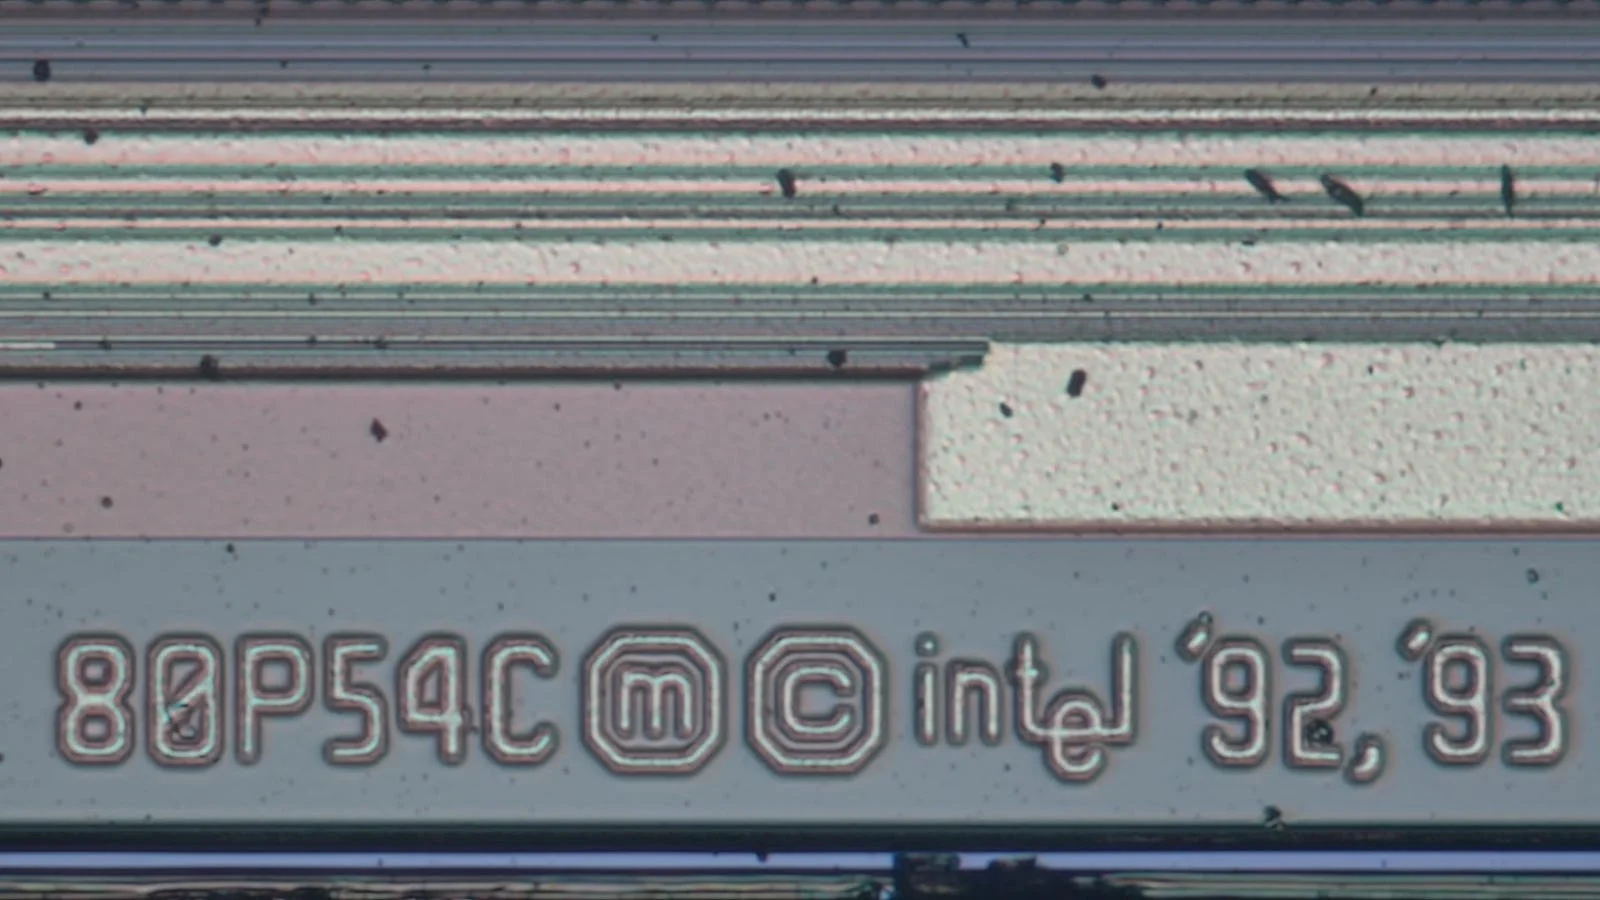
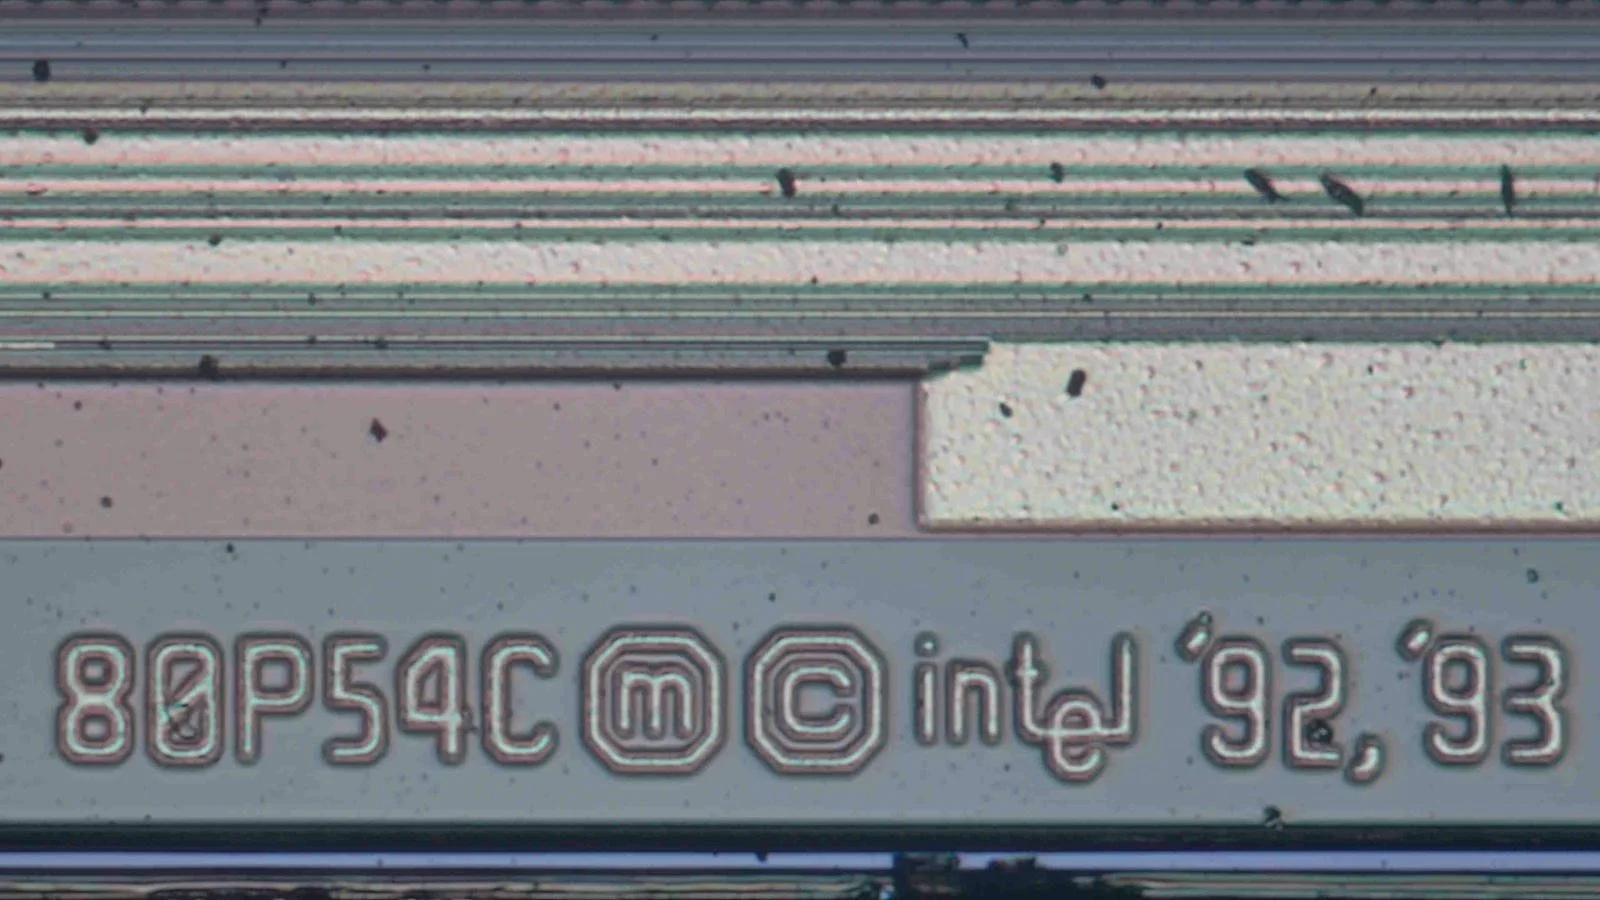
When it comes to still images, we can definitely notice differences, but not in the expected way. In terms of file size, there is a factor of 4 between the two images. When I saved them as TIFF, the FHD file was 5.9 MB, and the 4K was 23.7 MB. Before uploading the pictures, I compressed both to JPG, and reduced their resolution to 1600x900 pixels. But what is important is that the 4K picture is worse. It is full of compression-related artefacts. Especially around the text on the image, we can see a weird cloud-like pattern. This pattern is very typical when heavy compression is applied to pictures. Unfortunately, I could not find a way to save a photo on the memory card with anything other than 4K resolution, so I just attached a few images so you can decide how good the images are.
The differences in video are more dramatic, since we are looking at moving images.
First, and foremost, the videos saved on a memory stick are ridiculously low bitrate, so their quality is really bad. I collected some very simple raw clips which show the footage saved on a memory stick and saved via the S-EYE software.
The above collection of videos clearly shows the differences between resolutions and bitrates. The 4K footage suffers from heavy compression, and it is probably not worth using it, unless you use the 4K resolution via the HDMI port with a large 4K monitor.
I think I found the reason behind the bad video quality by digging a bit deeper into the USB device and its capabilities.
The main issue here is the dwMaxVideoFrameBufferSize. The value 0x000100000 means that the maximum size of one decoded frame buffer is 1 MB. For 4K MJPEG, this is very small, which implies a very strong compression. We see this when we switch from FHD to 4K resolution. The picture becomes noisy, filled with artefacts and glitches.
Funnily enough, the FHD mode gets much more, 4 MB frame buffer size. Lower resolution, but more details (less compression), so of course, the FHD footage looks better. The bottleneck is probably the camera itself and not the USB. The camera should encode both 4K and FHD with a rate of 60 FPS. But while 1 FHD frame is 2.1 Mpixels, a 4K frame is 4x larger, 8.3 Mpixels. So, the encoder must process 4x more data (pixels) within the same time frame. To sustain this, a heavy compression must be applied. And on top of this, we can also see a heavy drop in FPS. Instead of the advertised 60 FPS, I could only get ~45 FPS. Now, interestingly, the frame drop does not appear in OBS. I get the same artifact-scattered video, but it is at stable 60 FPS.
Click on the image to open the affiliate link that helps you to buy the camera!
Snapshots via the S-EYE software
Snapshots from the camera
  ===>Video Streaming MJPEG Frame Type Descriptor<===
bLength:                           0x1E
bDescriptorType:                   0x24
bDescriptorSubtype:                0x07
bFrameIndex:                       0x04
bmCapabilities:                    0x00
wWidth:                          0x0F00 = 3840
wHeight:                         0x0870 = 2160
dwMinBitRate:                0x04650000
dwMaxBitRate:                0x0F000000
dwMaxVideoFrameBufferSize:   0x00100000
dwDefaultFrameInterval:      0x00028B0A = 16.666600 mSec (60.00 Hz)
bFrameIntervalType:                0x01
*!*WARNING:  if bFrameIntervalType is 1 then dwMinBitRate should equal dwMaxBitRate
===>Additional Discrete Frame TypeData
dwFrameInterval[1]:          0x00028B0A = 16.666600 mSec (60.00 Hz)
          ===>Video Streaming MJPEG Frame Type Descriptor<===
          --->This is the Default (optimum) Frame index
bLength:                           0x1E
bDescriptorType:                   0x24
bDescriptorSubtype:                0x07
bFrameIndex:                       0x01
bmCapabilities:                    0x00
wWidth:                          0x0780 = 1920
wHeight:                         0x0438 = 1080
dwMinBitRate:                0x02710000
dwMaxBitRate:                0x02710000
dwMaxVideoFrameBufferSize:   0x003F4800
dwDefaultFrameInterval:      0x00028B0A = 16.666600 mSec (60.00 Hz)
bFrameIntervalType:                0x01
===>Additional Discrete Frame TypeData
dwFrameInterval[1]:          0x00028B0A = 16.666600 mSec (60.00 Hz)
Bonus content
As a bonus, I recorded some test footage using five different lenses. I picked some popular and easy-to-access microscope lenses, some fixed focal distance camera lenses and a somewhat special zoom lens. All lenses are C-mount lenses so they can be directly mounted on the camera without any adapters.
This test was more about how the different lenses render the image and how the sensor of the camera interprets the image. It is supposed to give you the impression of how the footage looks with the different lenses. Each lens has its own speciality.
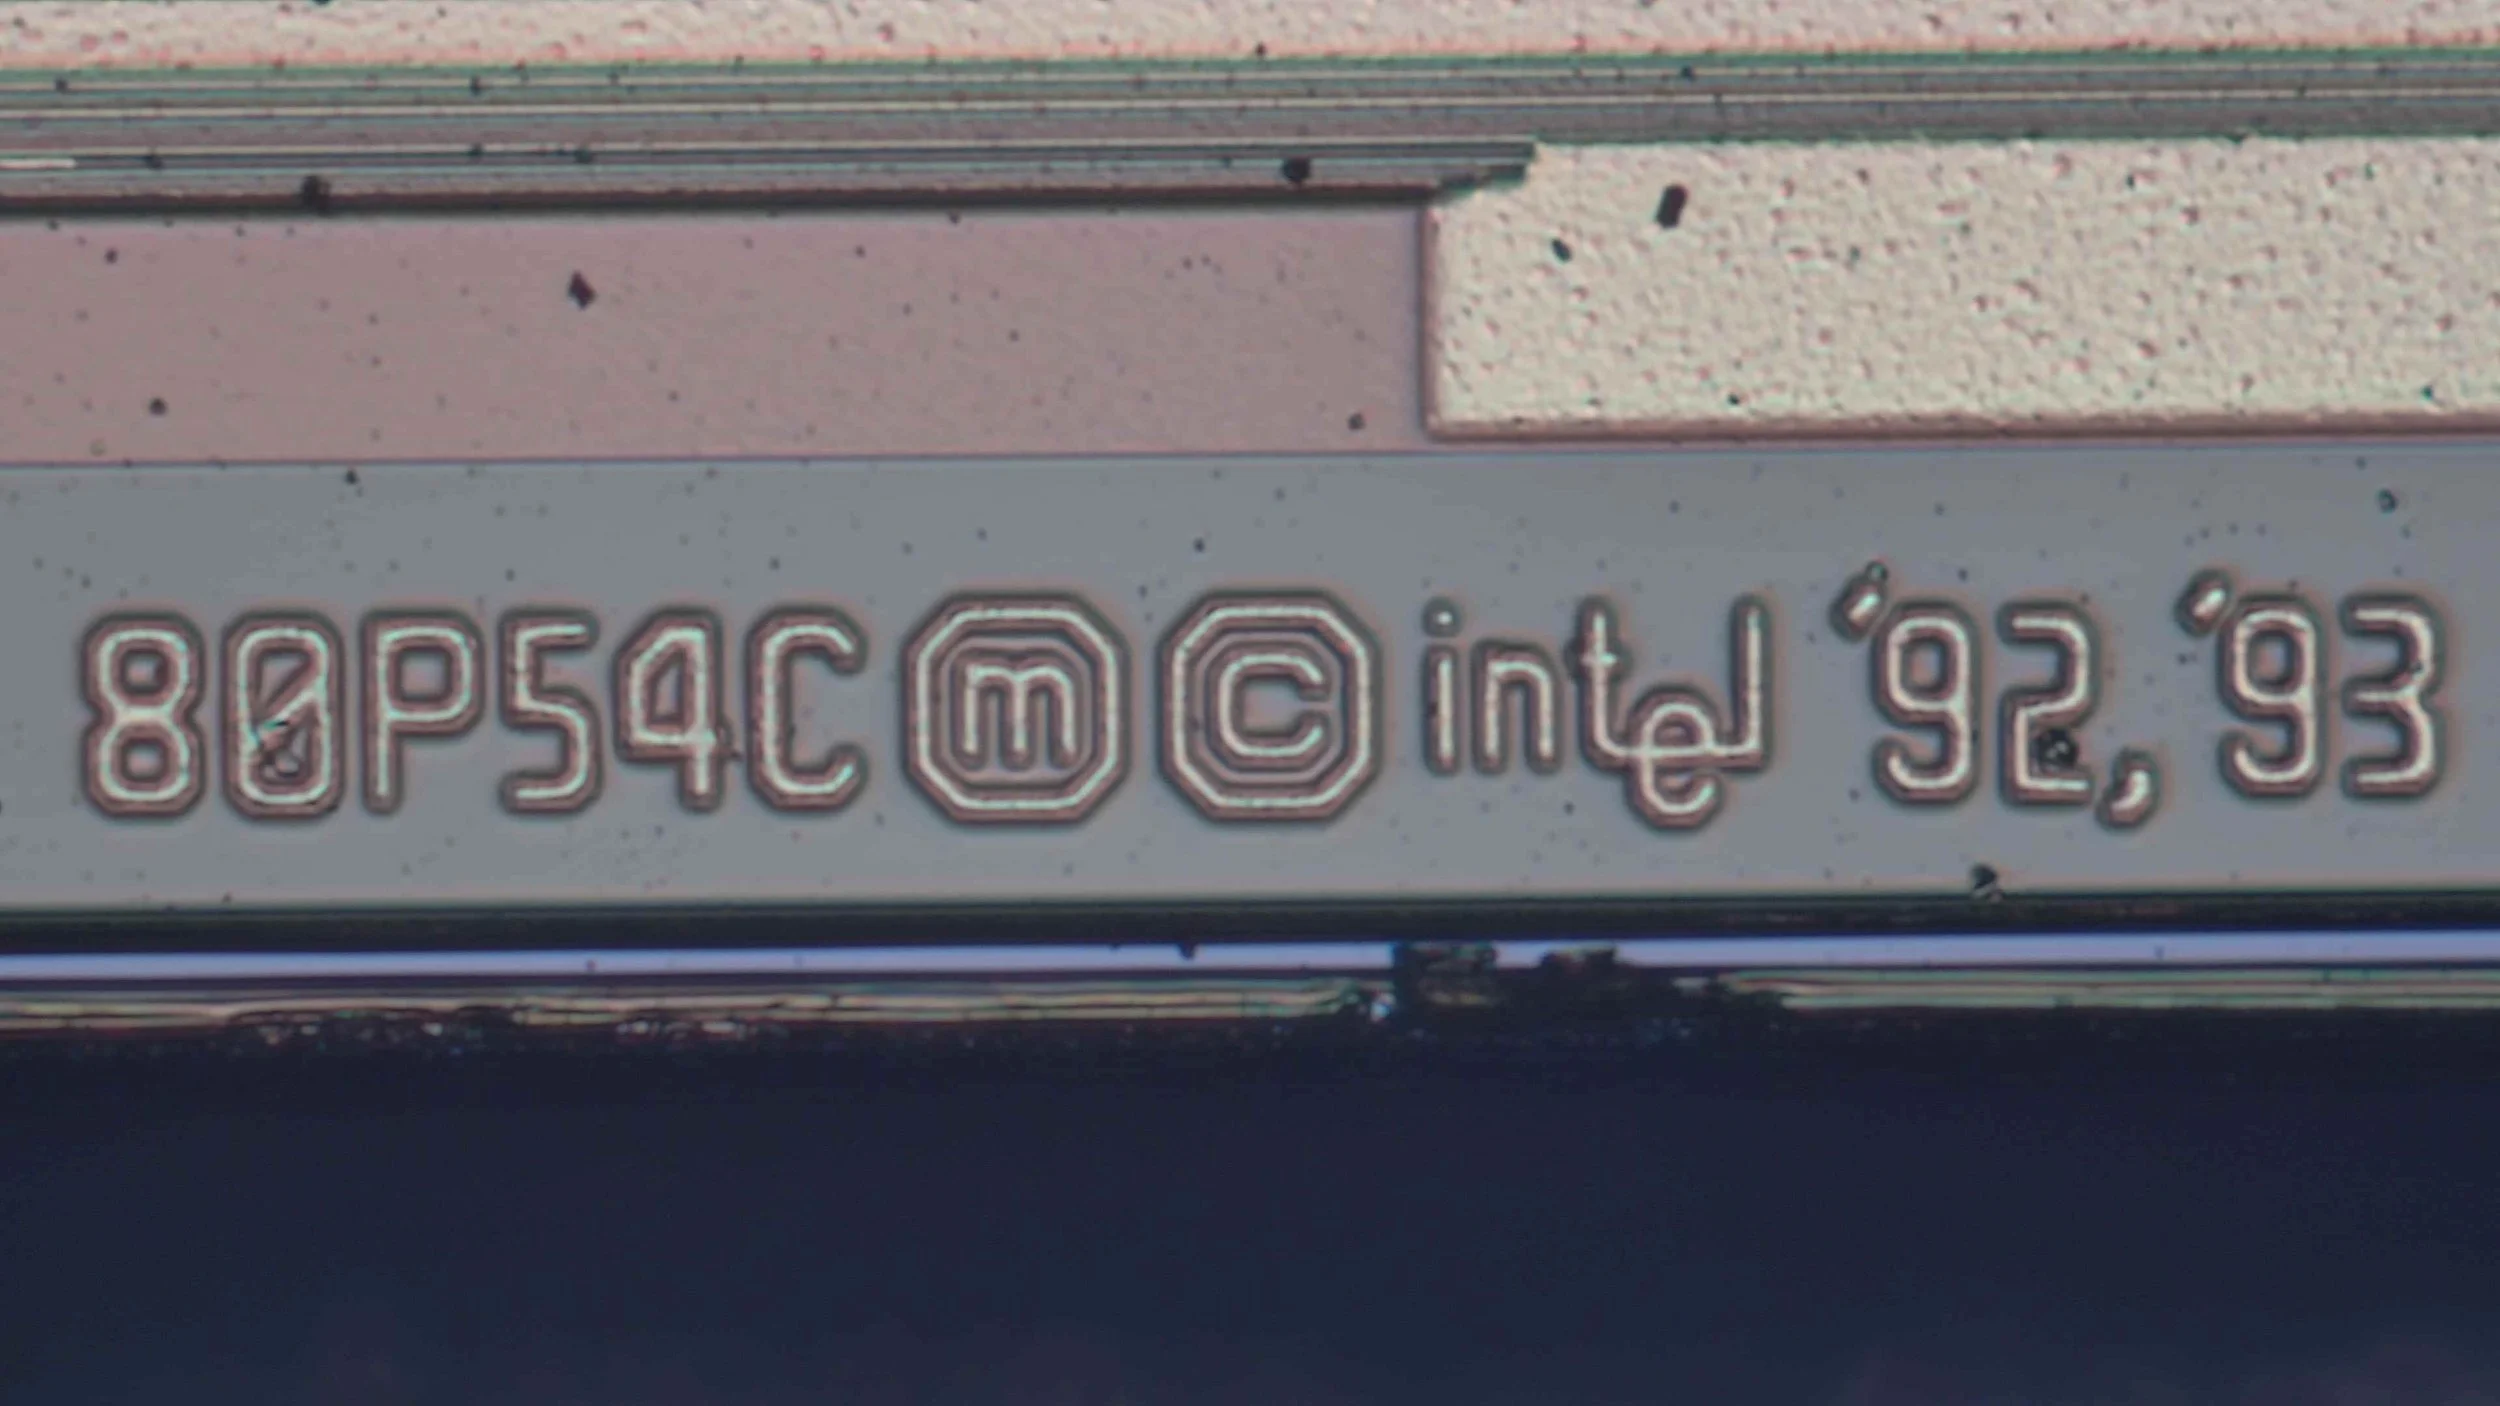
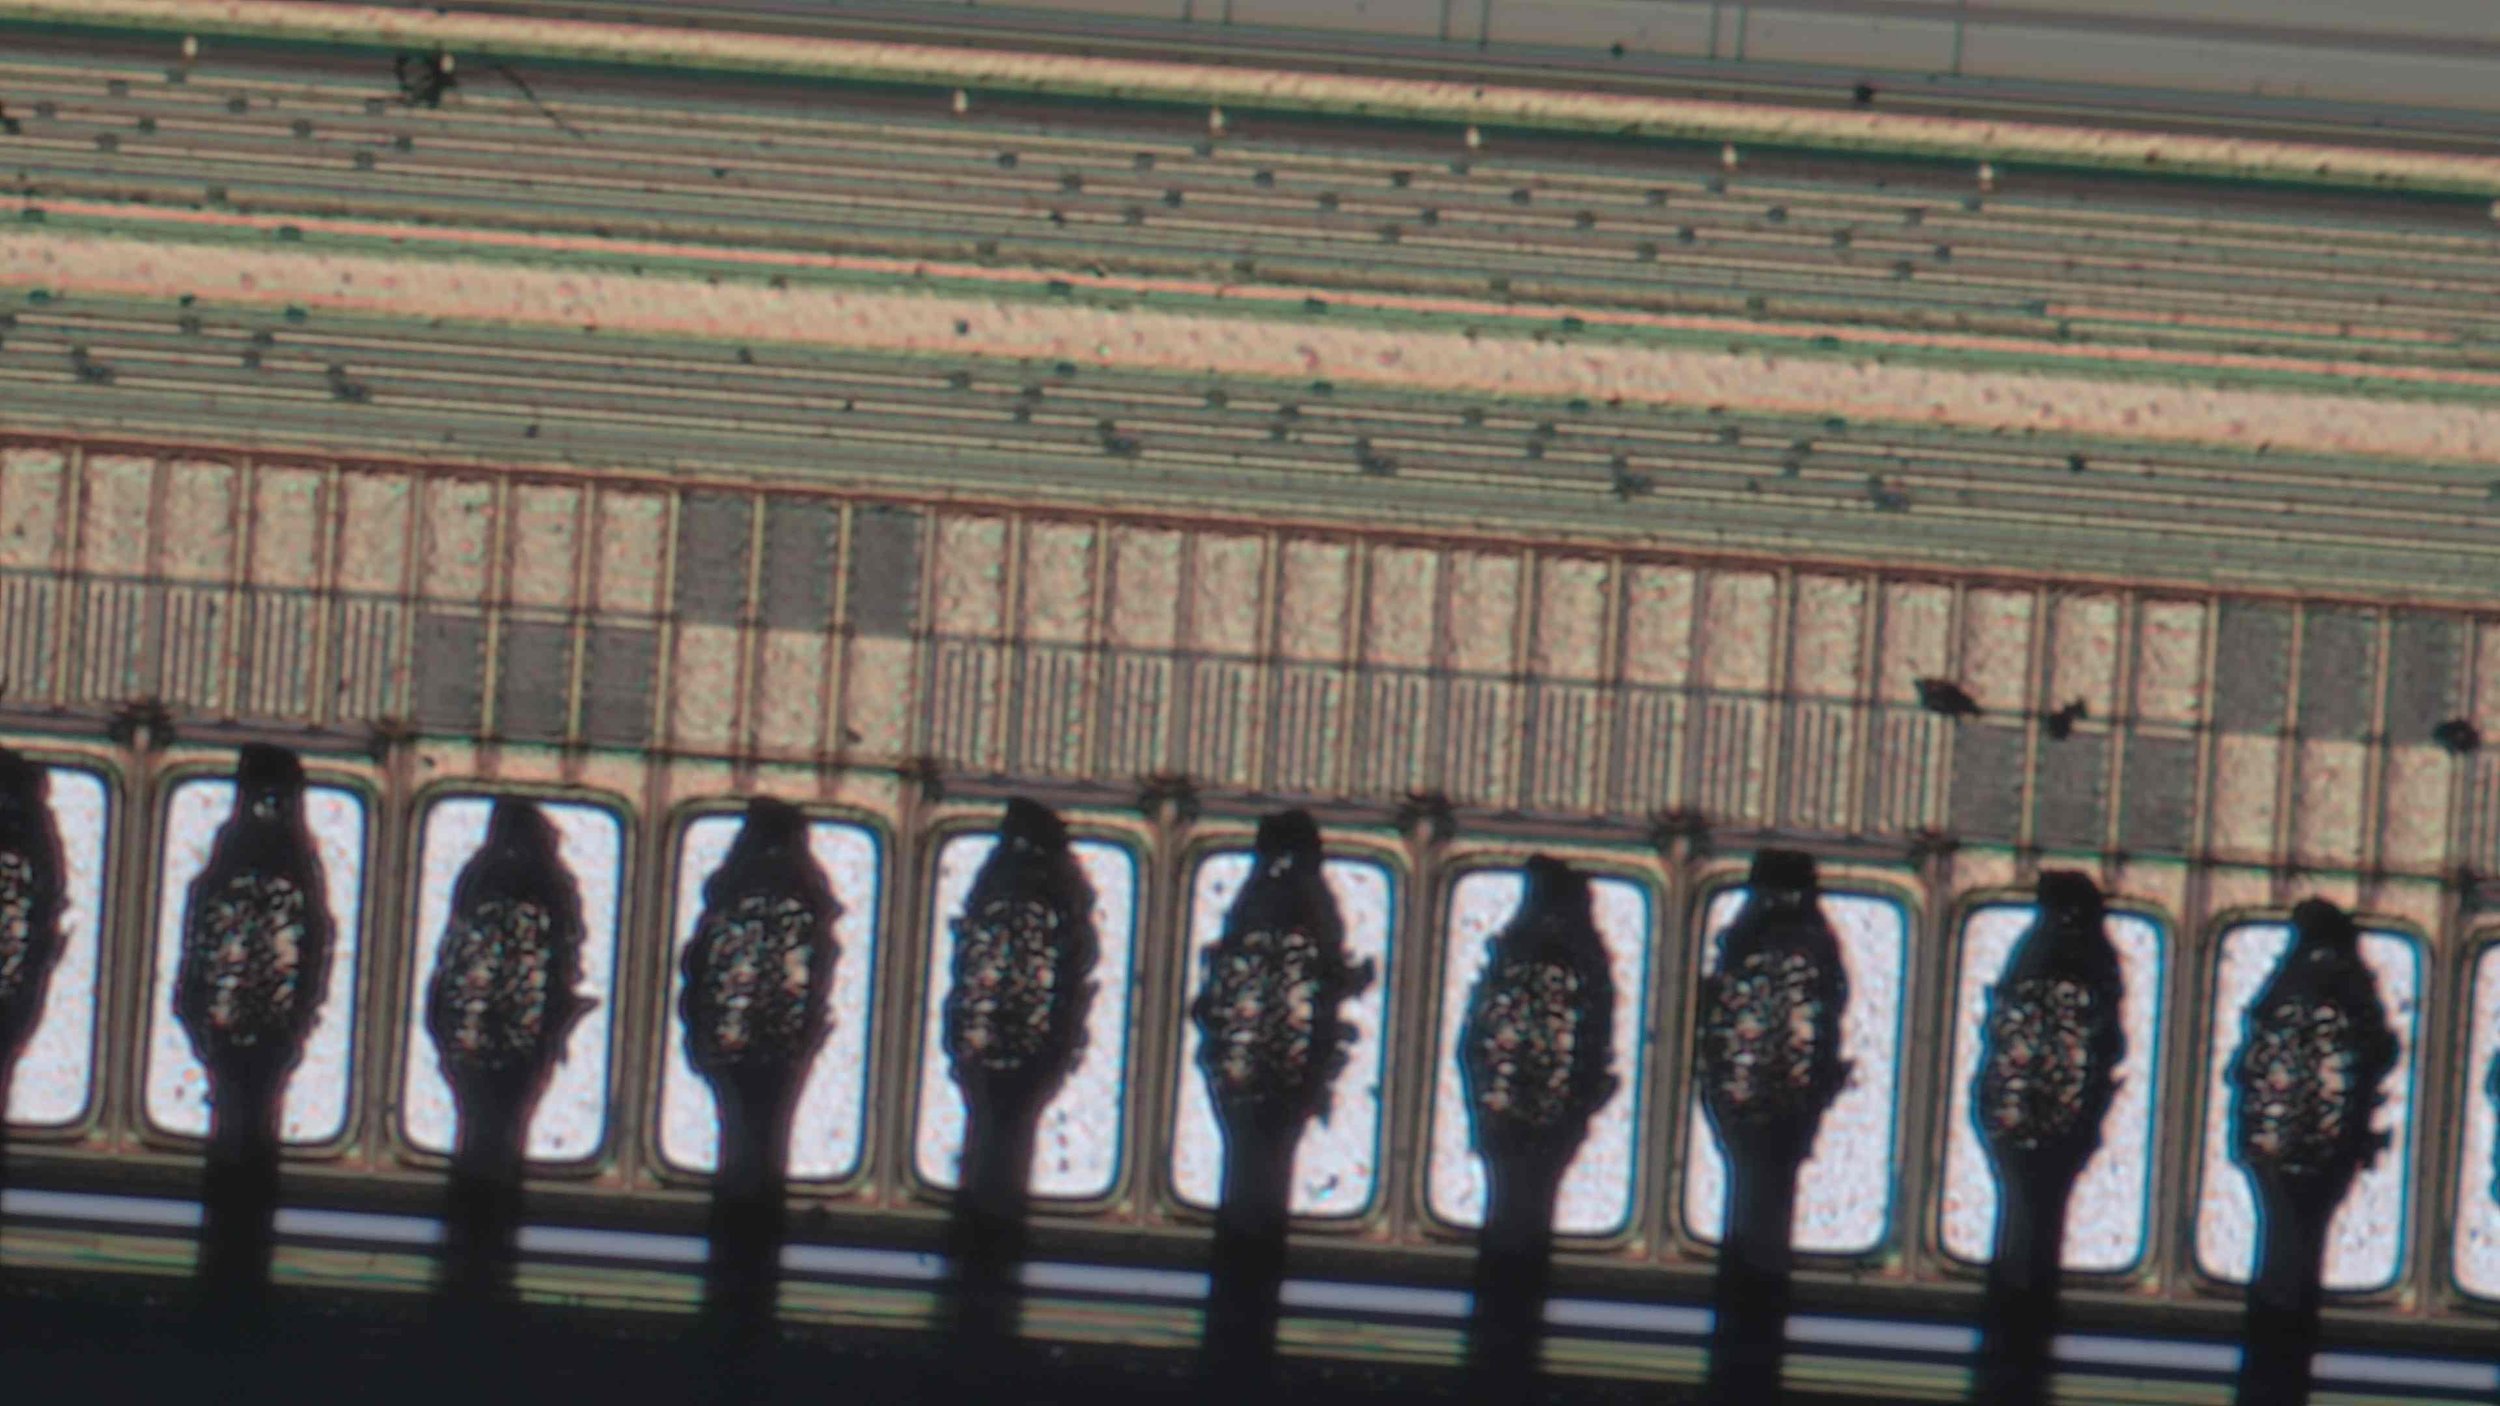
The 150x focusable macro lens has its strength in its focusing ability. We can manually adjust the working distance by moving the camera closer to the subject, and we can simply use the focusing ring to bring the subject in focus. The downside of the lens is that it has a fixed aperture, and it requires a lot of light. But it is very typical to attach a microscope light to these lenses. I would recommend one with a polarising filter, which could further elevate the image quality in terms of visibility of certain features of the subject. A polarising filter can help us to reveal the laser engraving on the chips and the markings on the passives, or it can help to get rid of annoying reflections and shiny features.
The adjustable zoom lens is another interesting lens. First of all, it is very heavy, so I made my own mount for it so I can mount the lens on the tripod mount instead of the camera. This way, the c-mount of the camera does not suffer from heavy loads. The lens offers a rather large range of zoom levels. The field of view can be adjusted significantly. The lens has a fixed working distance, which means that the distance between the subject and the lens must be constant, and it must be set precisely. There is no way to focus with the lens; the only way to focus is to adjust the position of the camera or the subject. This makes the work cumbersome, and I think 10 cm is sometimes a bit too short, especially if I mount the polarising light on the lens. It is hard to do pick and place or soldering under the lens because the available space for moving around is quite limited.
The above issue is solved by my Canon zoom lens. This lens is a very special one because it has everything that a normal camera lens has: adjustable zoom and focus, and of course, adjustable aperture. Both the zoom range and the aperture range are wide, and the aperture starts at an impressive f1.9 value. I use this lens with a 20 mm extension tube and a 2x tele converter. This turns the lens into an extremely powerful macro lens. Apart from being able to adjust the aperture, thus the depth of field, with this setup, I can also get extremely good close-up shots while maintaining a large working distance. Even with the polarising light attached to the lens. So, this lens setup is very good for macro work. I combined this setup with my Hawkeye Firefly V6 PRO camera, and most of my Shorts on my channel are shot with this setup.
Finally, I tested the camera with some fixed prime lenses. They have a great image quality and a wide aperture, so these lenses could turn the microscope camera into a good overhead camera or even webcamera.