Radical 2000x Metallurgical Microscope
In this video, I introduce and review the Radical (“RMM55TXYDRY”) 2000x metallurgical microscope. It has been a long dream of mine to purchase a good quality optical microscope and hopefully, this instrument will fulfill my dream. I have plenty of metallurgical samples that I want to show you, and I also want to start decapping microchips and see what is hiding in their package.
Contents of the package
The microscope arrived in a well-packed cardboard box. The box was sealed with adhesive tape and plastic straps. The inside of the box was similarly protected. Each component was sitting tightly in their corresponding spots carved into a foam padding. It was not only good from a safety perspective, protecting the product from physical damage, but it also made the assembly easier and maybe more intuitive. Each individual component was wrapped in a plastic bag, or they were in a plastic container (e.g. plastic tube).

Package of the microscope
The package contains the following parts:
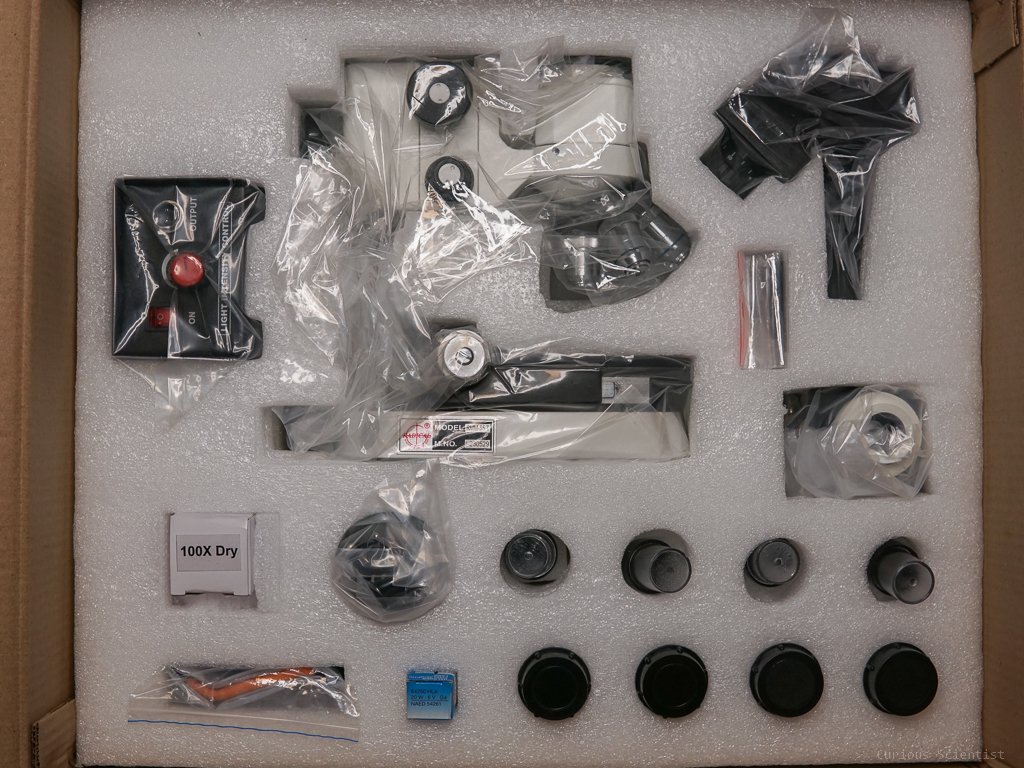
Contents of the package
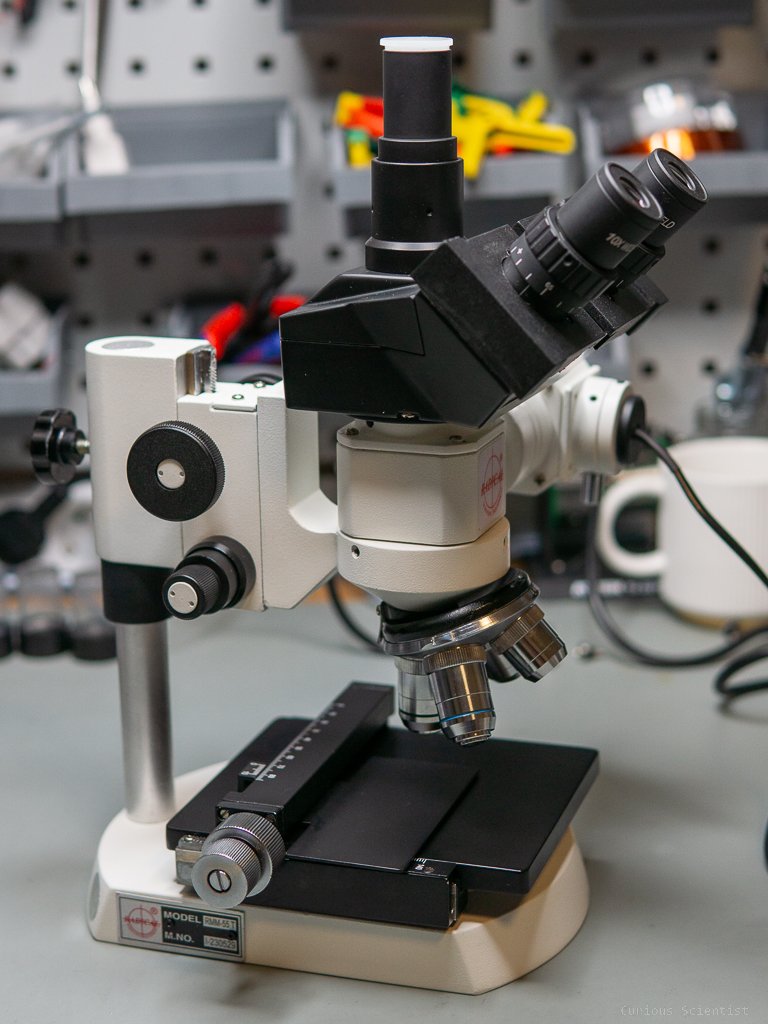
The microscope stand, already assembled with the stage and the nosepiece
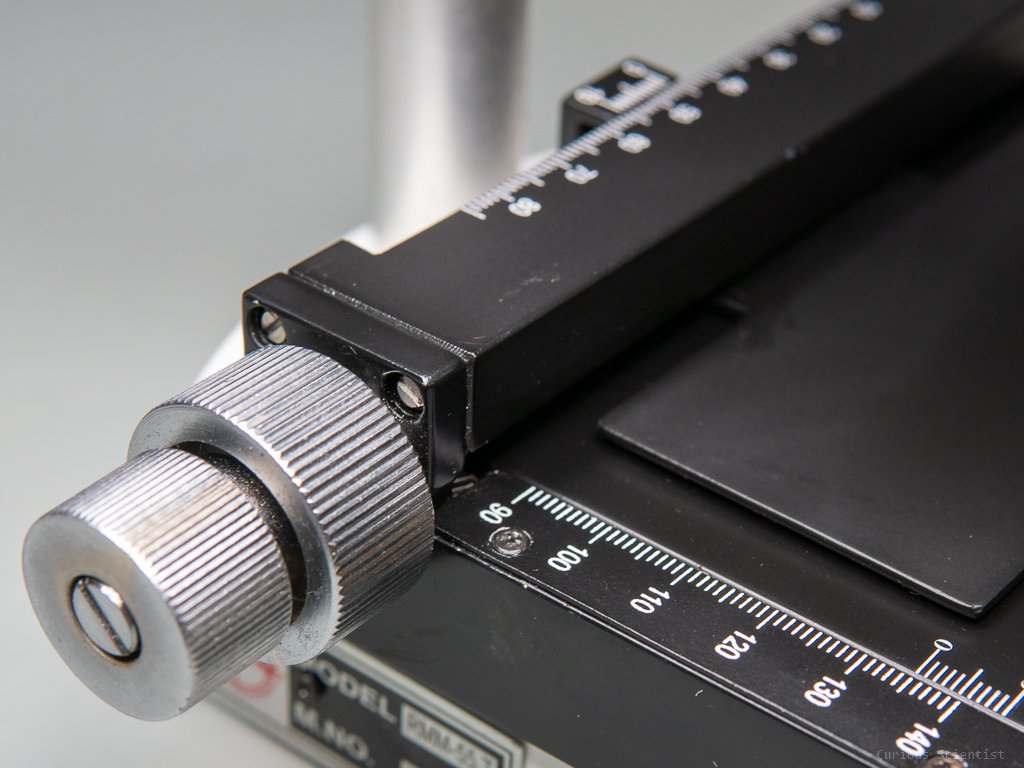
The stage has a combined X-Y knob
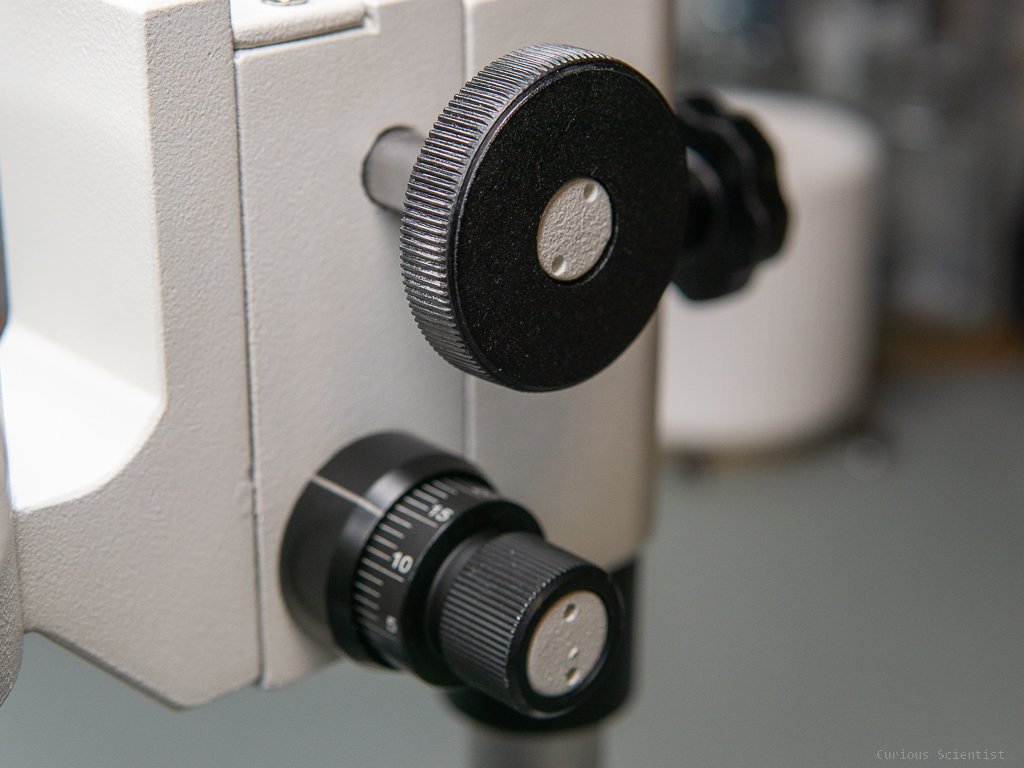
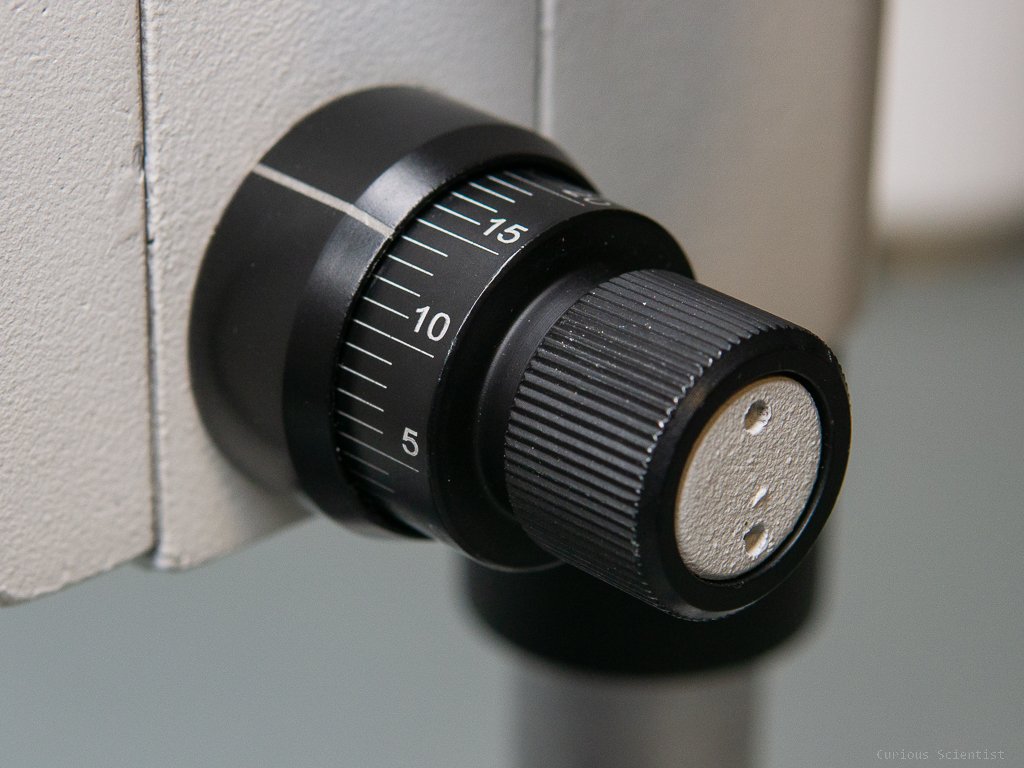
The stand has a coarse and a fine Z adjustment knob
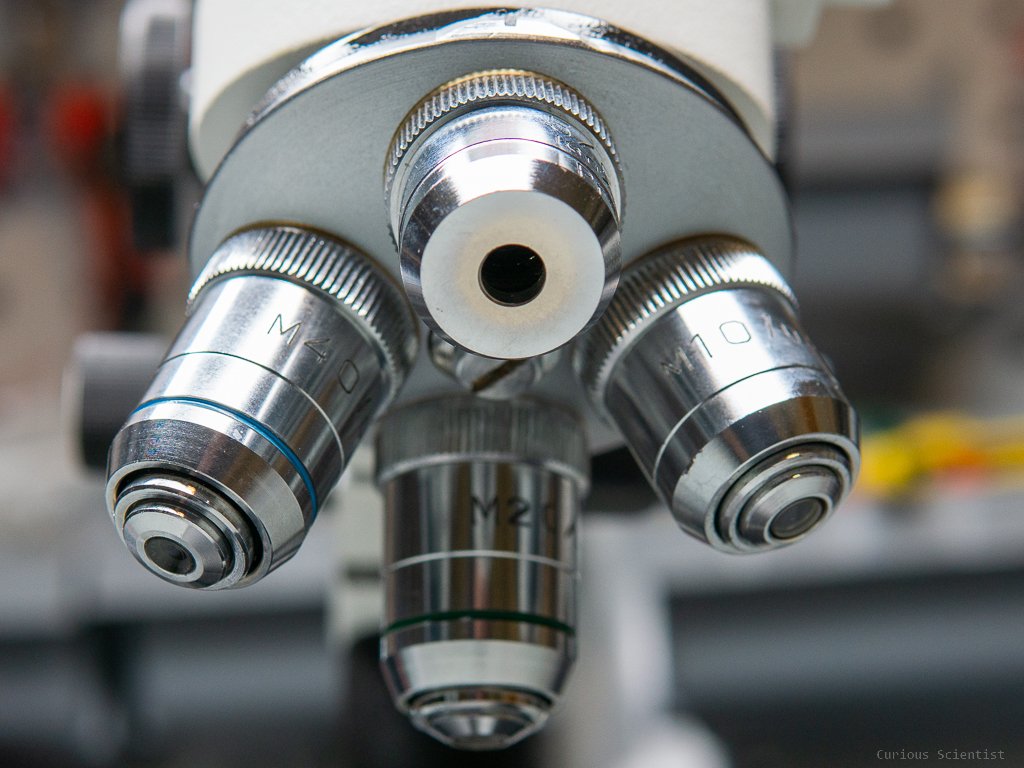
The nosepiece has 4 objectives installed
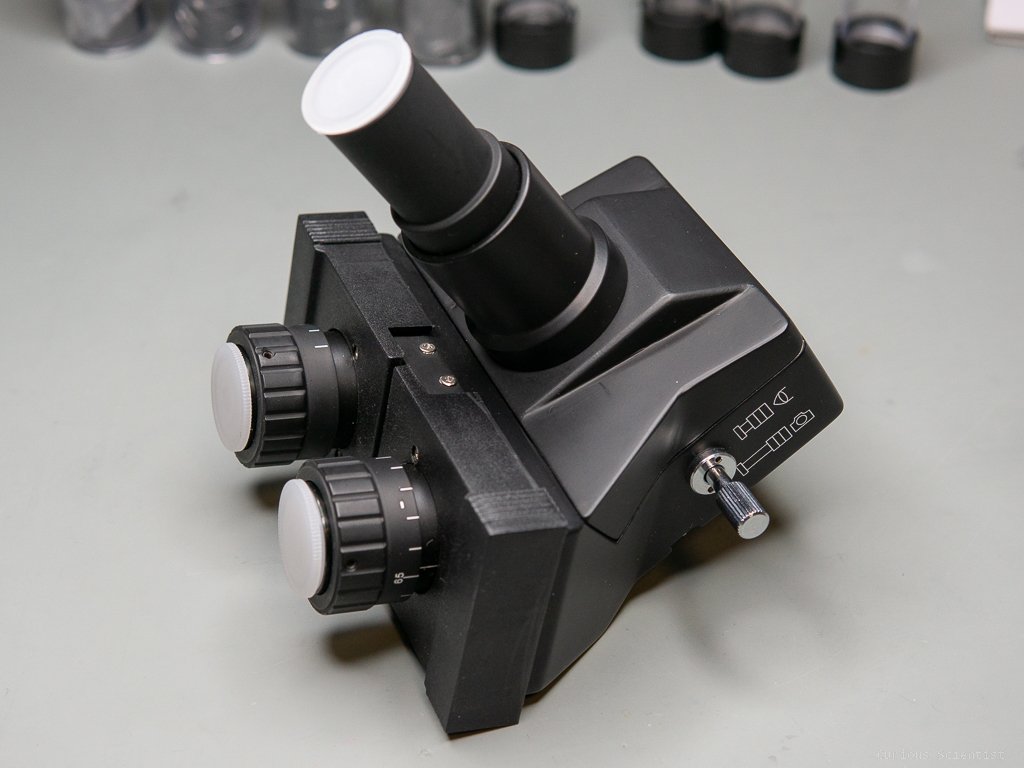
Trinocular head
Eyepiece slots plus the camera attachment
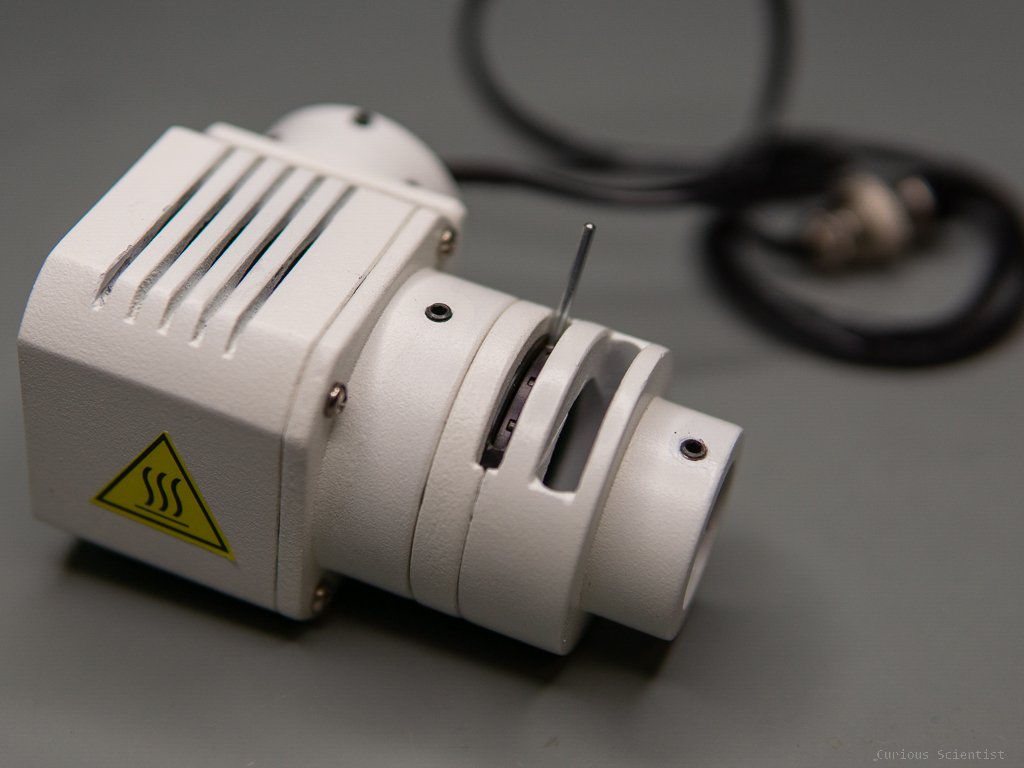
Lamphouse with an external power supply, a power cable (EU) and a spare halogen bulb
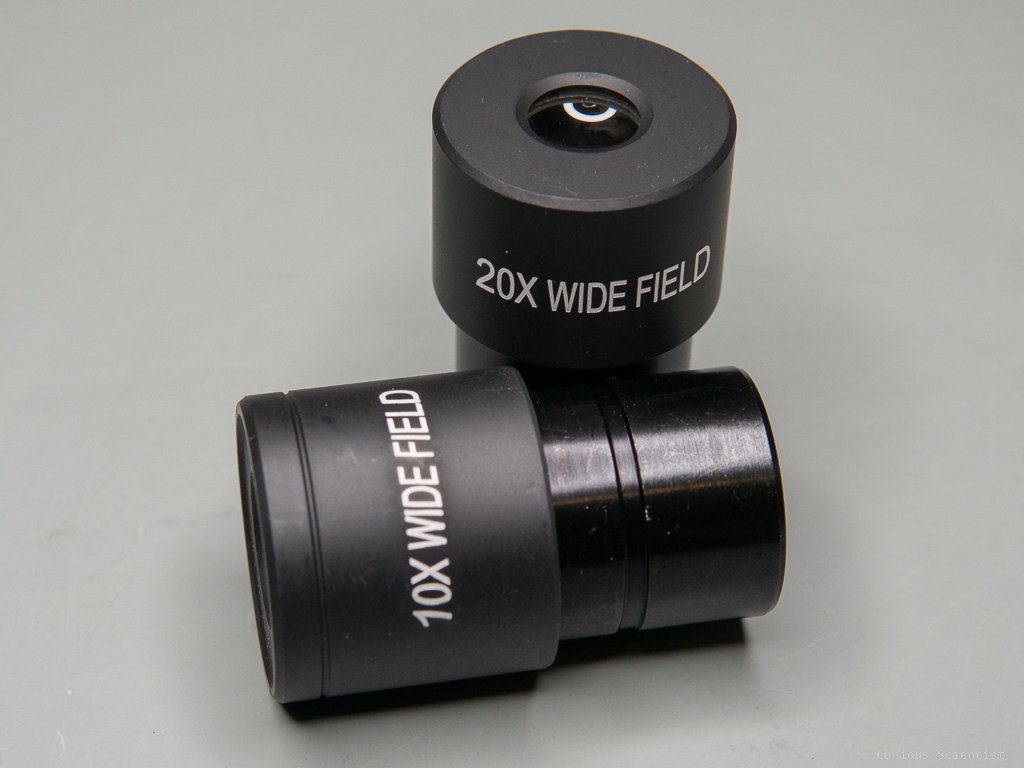
A pair of 10x and a pair of 20x eyepieces*
5 objectives:
5/0.1 (FYI, the first number is the magnification, and the second number is the numerical aperture)
10/0.25
20/0.40
40/0.65
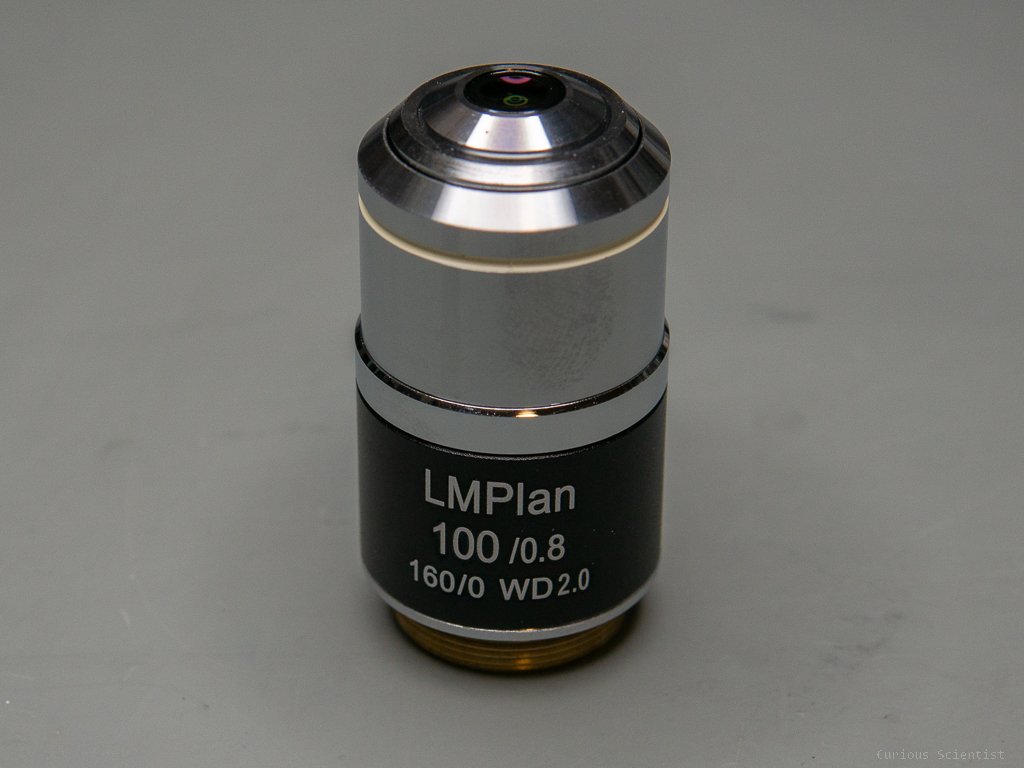
100/0.8 (this one was in a separate packaging “100x DRY”)
A vinyl cover and a cleaning cloth
*If I could mention one thing that I missed from the package it would be a pair of rubber eye guards for the eyepieces. They are cheap but definitely useful for stereo microscopes.
Features
Let’s start the discussion from the bottom of the instrument!
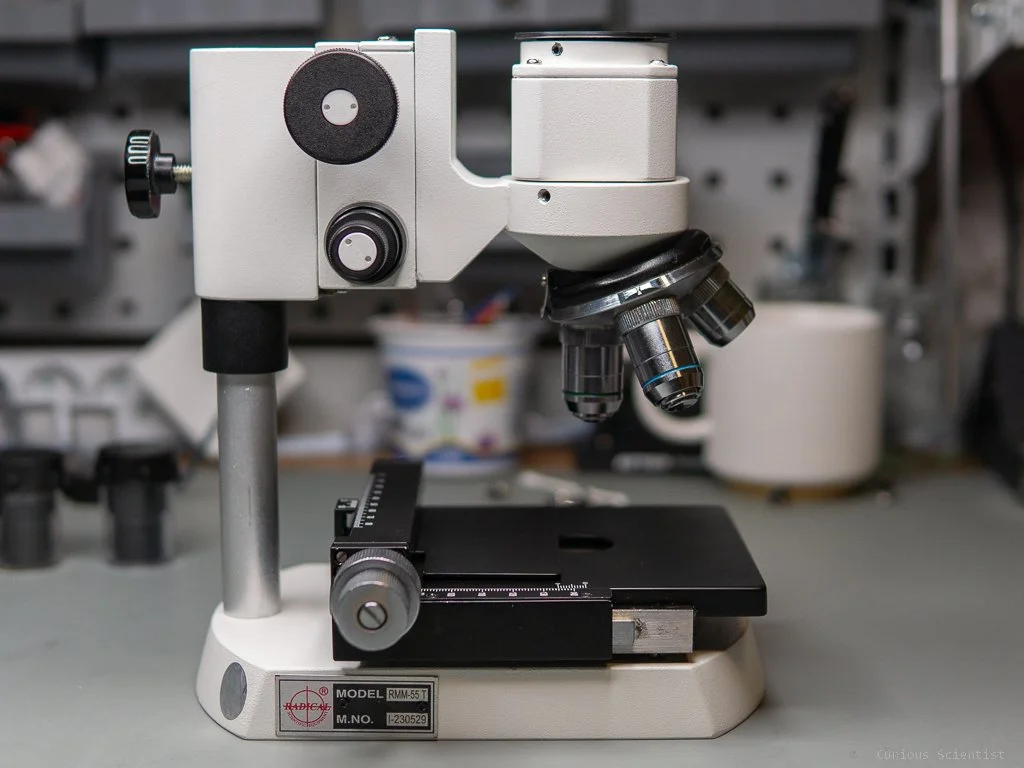
The whole instrument is standing on a cast iron base. This base holds the X-Y stage as well as the rod that also serves as the stand for the Z-axis. The X-Y stage is moved by a combined knob. The smaller diameter part moves the stage along the X-axis with the help of a lead screw and the larger diameter part moves the stage along the Y-axis with the help of a rack and pinion. Further up, the Z-axis can be moved with two separate knobs: the larger knob moves the Z-axis with a coarse step size and the smaller knob moves it with a smaller step size (2 um per division). The small knob even has a scale on it. The mechanism is a rack and pinion actuator.
The nose piece can hold four objectives. The default configuration was 5-10-20-40x magnification lenses. The 100x magnification lens was provided separately.
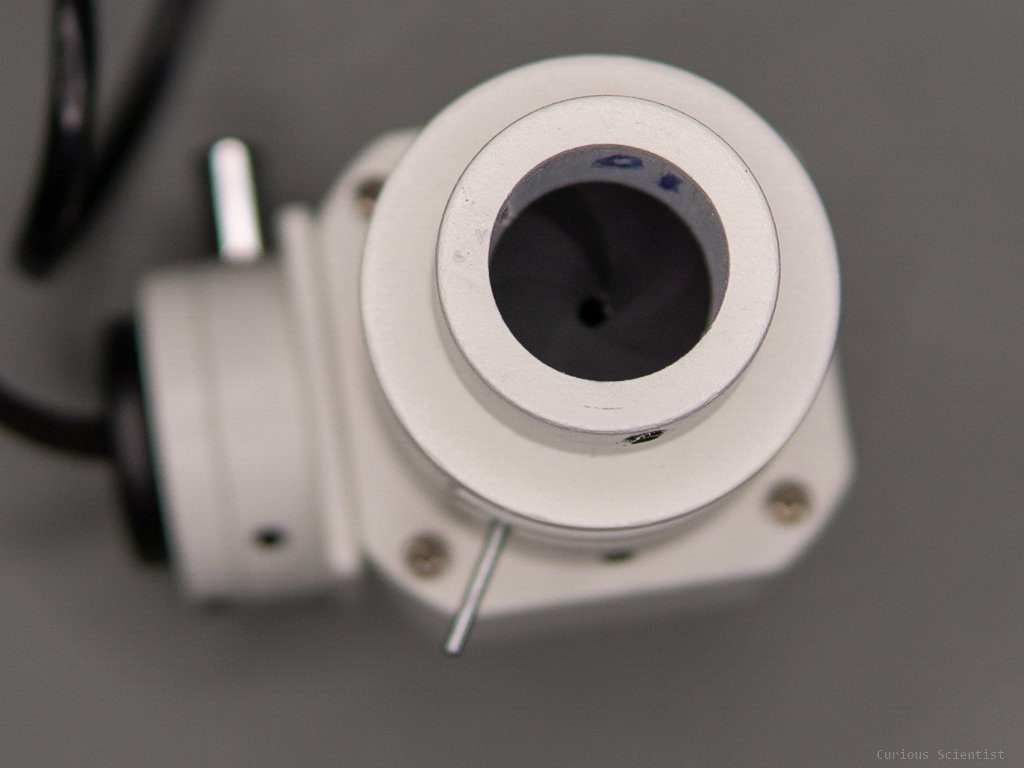
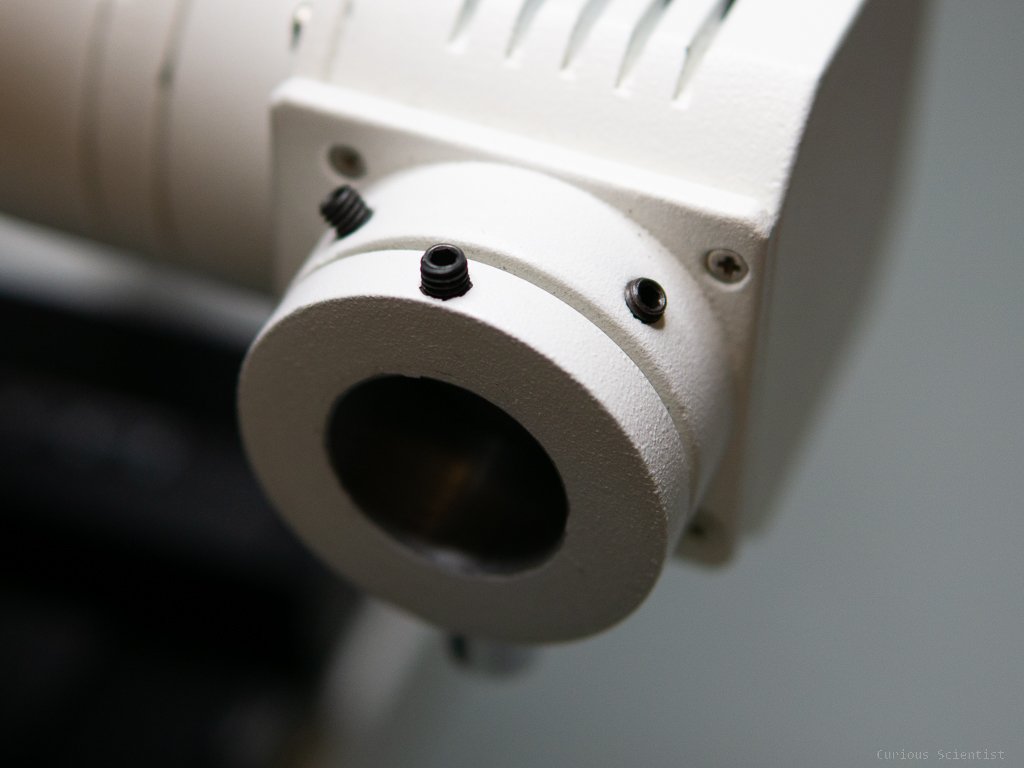
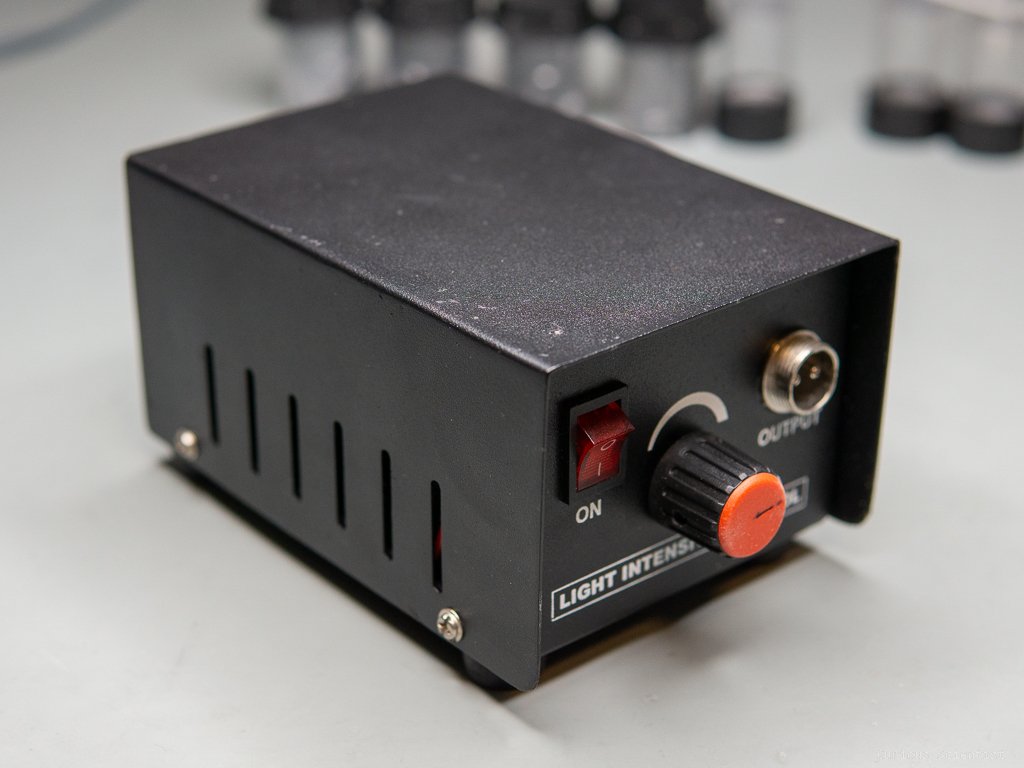
Above the nosepiece, there are some optical elements in the body of the microscope. This must be the beam splitter because the optics are at the same level as the light source. The light source is a 6 V, 20 W halogen bulb. The housing of the lamp allows the adjustment of the bulb with a set screw and 2 centring screws. It also contains a built-in aperture that can “narrow” the beam going towards the specimen. It is important to properly position the light source properly, otherwise, you might experience poor image quality! Furthermore, there is a slot on the lamp house which can accommodate one of the colour filters provided with the microscope. The light source has its own external power supply where the user can also adjust the light intensity.
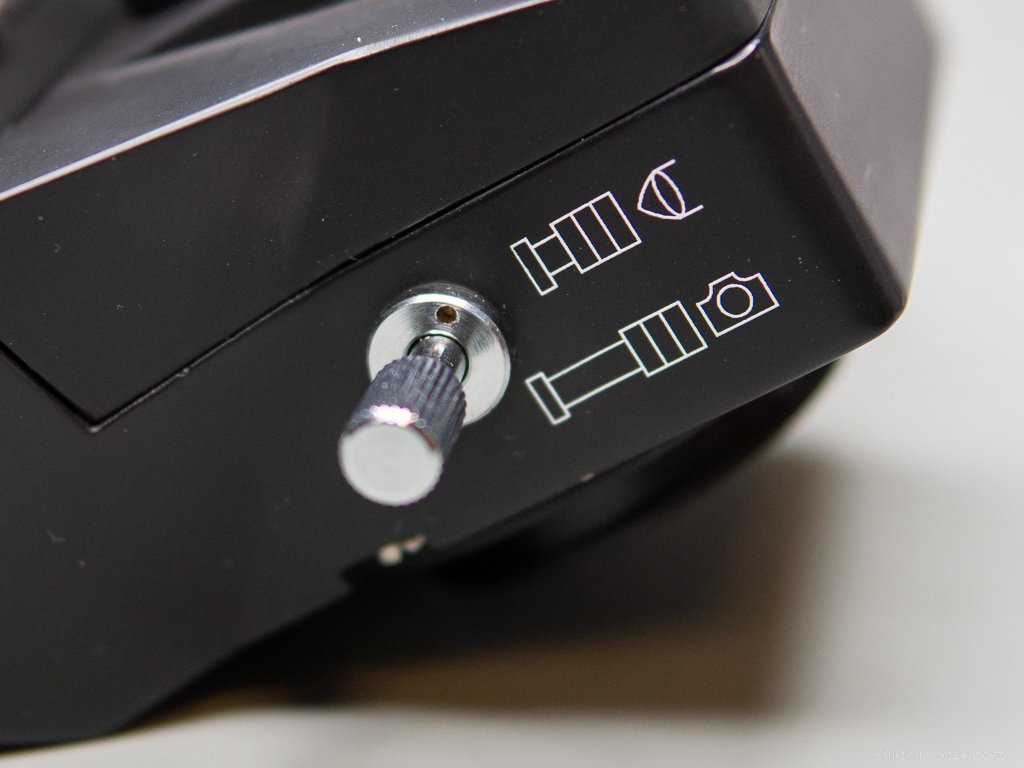
Further up lies the trinocular head part. This attachment holds the two eyepieces and the port for the camera (23.2 mm). It has a movable pin that can drive the light towards the camera or the eyepieces. The eyepieces can be adjusted for interpupillary distance as well as for dioptry.

First impressions
As I mentioned, the product was packed very well. Also, the way the product was packed made the assembly easy and intuitive.
Since half of the microscope was already assembled, it was not too difficult to finish the rest. I only had to attach the head with the two eyepieces and the light source. Both parts were easy to fix and adjust. Due to the fact that I have a lot of experience with a broad range of optical microscopes, it was also easy to start using the instrument. I could quickly adjust the interpupillary distance and the dioptry correction. I could also quickly get a feeling of the X, Y and Z knobs. Here I must notice that the mechanisms were not super smooth. They might need some use to “loosen up” and they also seem to lack lubrication. I added a dab of grease to the rack and pinion mechanisms. Time will tell if the lubrication was the issue. Also, the tray on the X-Y stage is somewhat wonky. It is not super flat, so it can cause the image to partially be outside focus because of the lack of flatness. But it can be gently bent and wiggled and it will be fine.
Regarding the nosepiece, I am satisfied with its firmness. It rotates relatively easily and it clicks into its place in a well-defined way.
The adjustment of the light source is essential but it is relatively simple. There are 3 set screws to position the light source in its own X-Y-Z coordinate system. It can be done within 2-3 minutes and it leads to a substantial increase in image quality. A well-aligned light source is key to a good picture.
It is not the microscope’s problem but when I use my Sony A6000 with a simple “lens-free” adapter [link], there is a very strong vignetting on the picture. As of today [date] I am still waiting for another type of adapter [link] to arrive that has an optical element in it. Once I receive it, I will update this part of the article.
Image quality
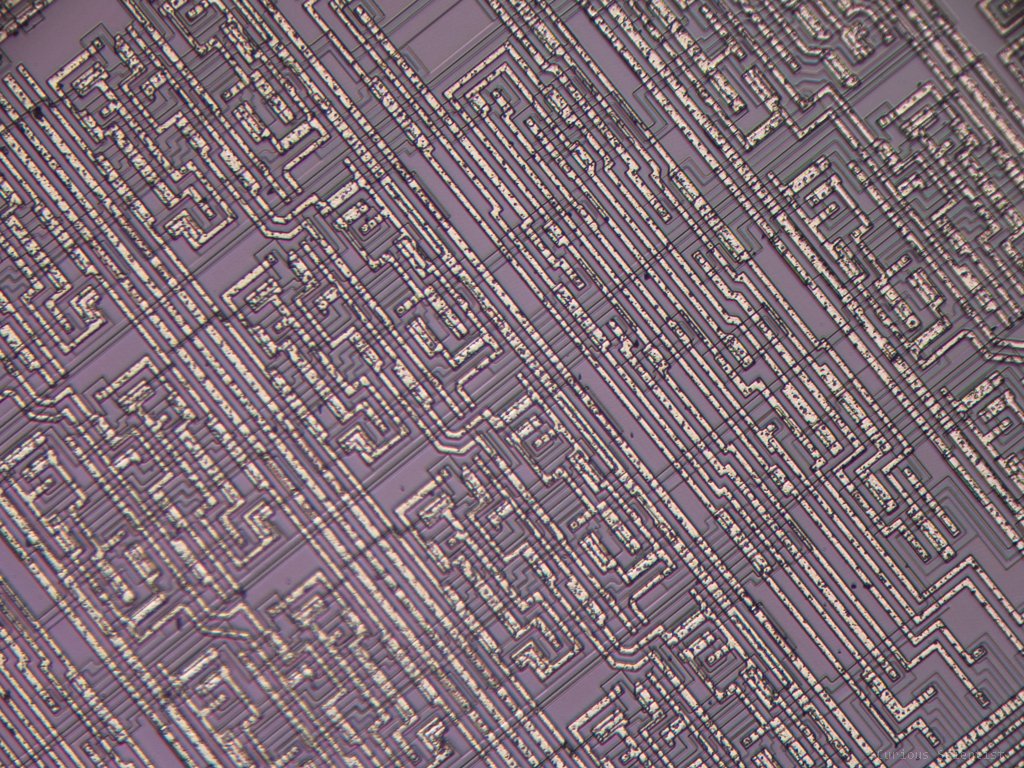
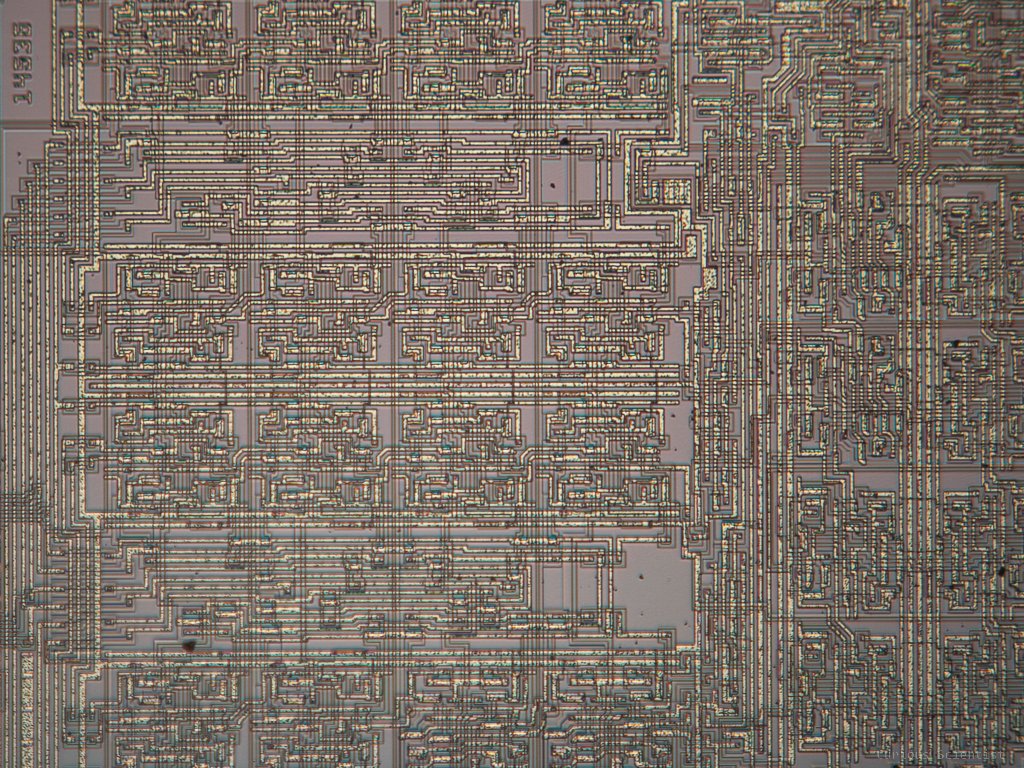
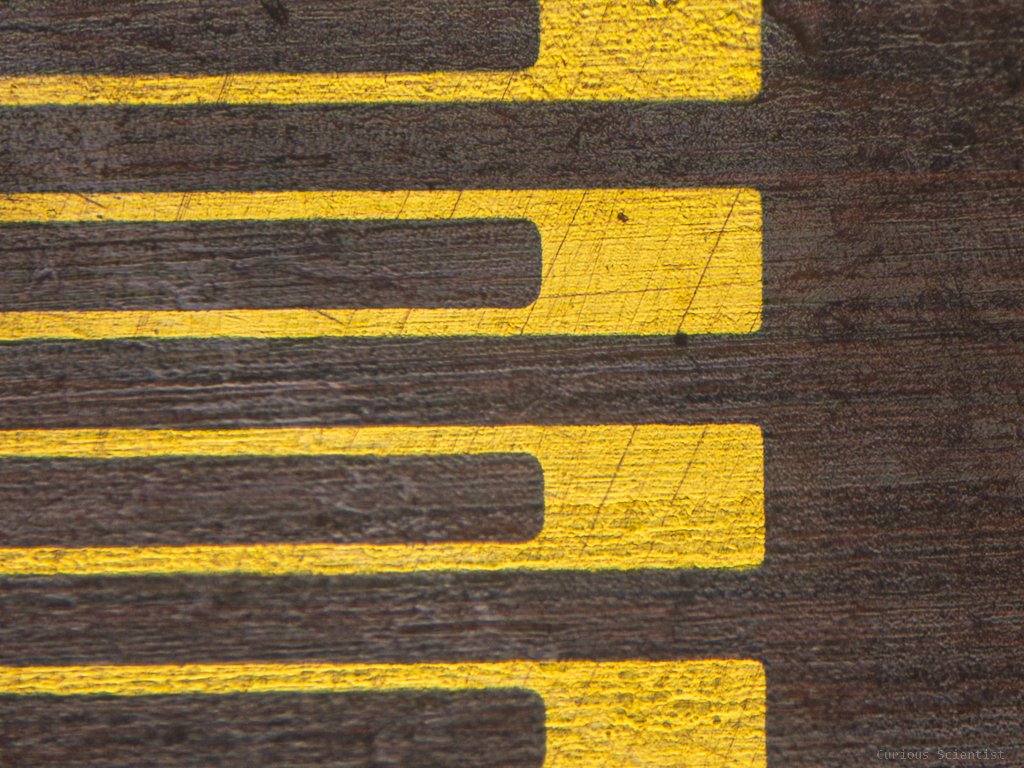
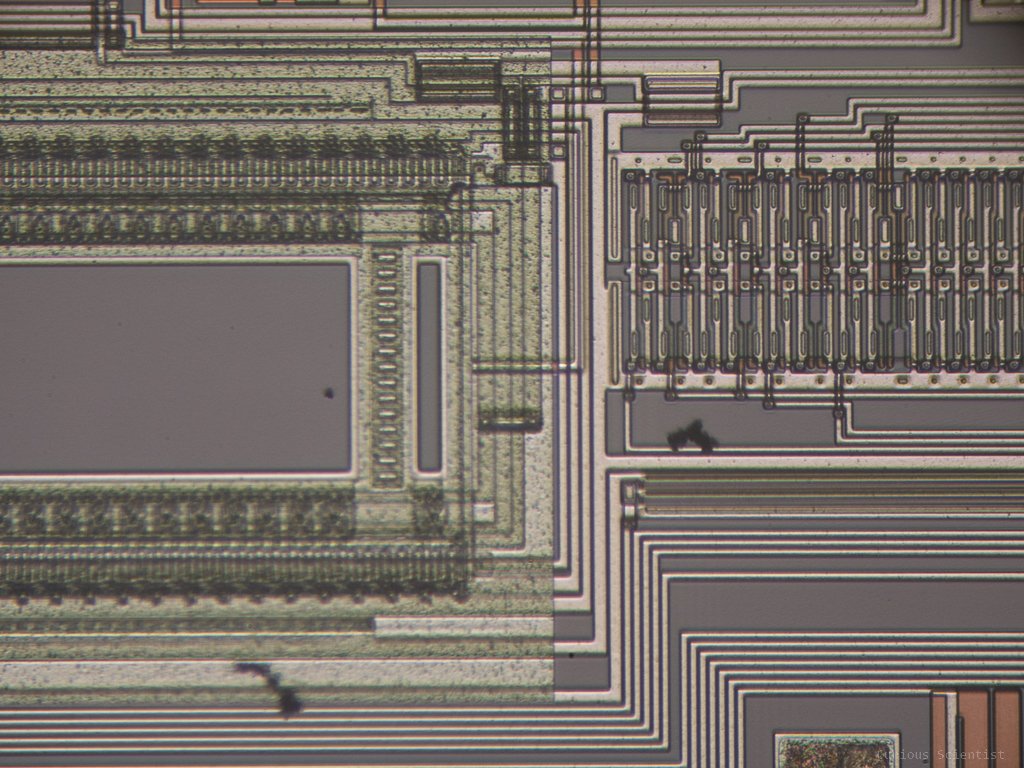
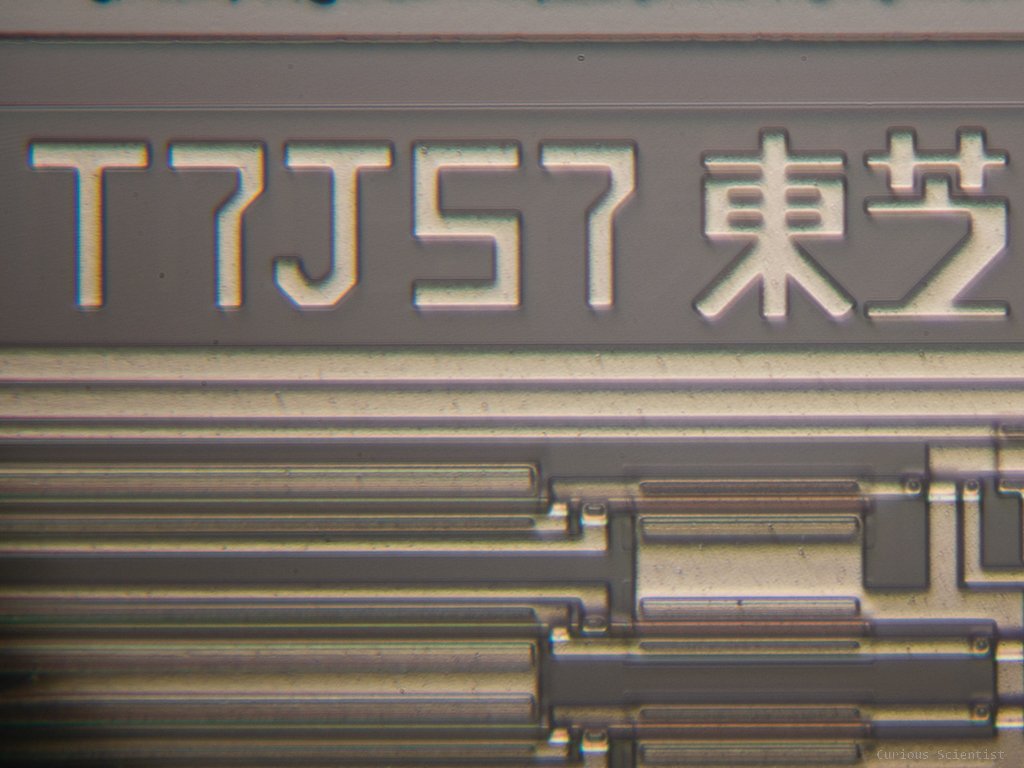
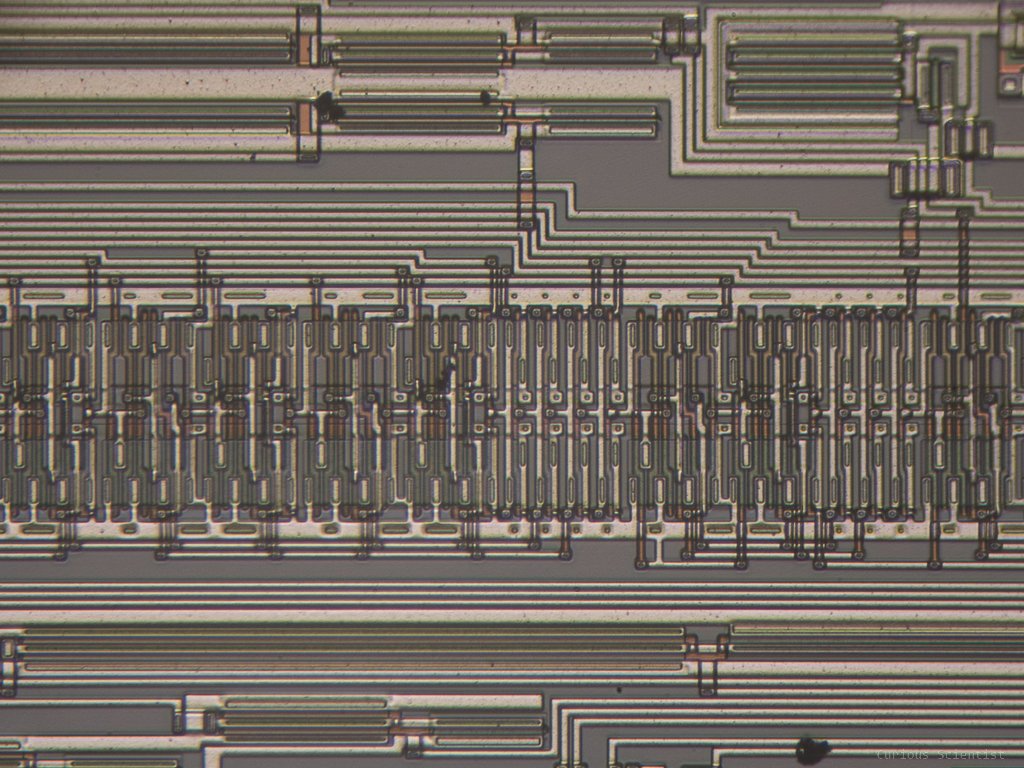
Regarding the image quality, I am satisfied so far. Obviously, I cannot really show what I see through the binoculars, but I can show some pictures I took through the camera port using my Sony A6000 camera with a corresponding adapter. The images are cropped and slightly adjusted for contrast and brightness.
Since it was very difficult to achieve perfect flatness, parts of the image were slightly out of focus. When I take pictures where the quality really matters, I can use focus stacking to get a perfectly sharp image. Furthermore, due to the slight flexing of the whole microscope, it was somewhat difficult to nail the focus perfectly. Also, I was looking at the tiny display of my mirrorless camera so it was not easy to see all the details. This will be also solved in the future once I buy a display for the microscope.


So, as I mentioned above, there were issues with achieving a perfectly focused area as well as there are issues with vignetting. I attached a sample picture to present both issues at the same picture. The vignetting is easy to solve by cropping the picture, but the focusing requires more work. In future publications, I will take a few, manually focus-stacked images to show how it looks when the picture is perfectly in focus everywhere.

Sample image with multiple “aberrations”. First, there a strong vignetting around the corners. Second, the image towards the bottom left corner is blurry, out of focus.
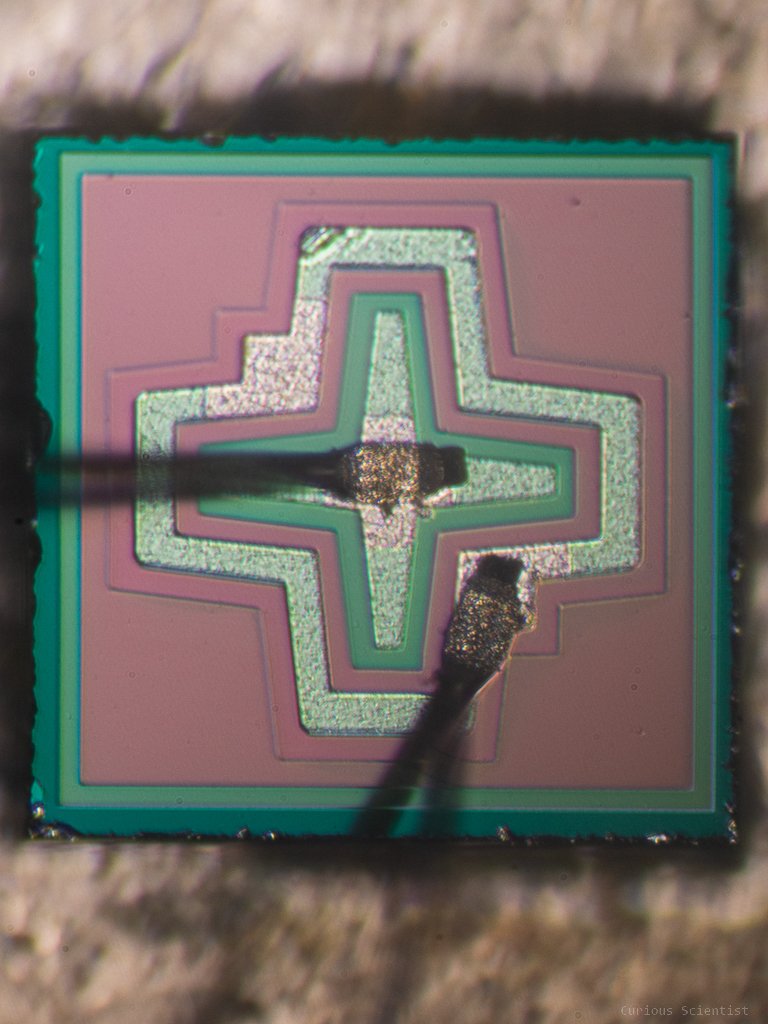
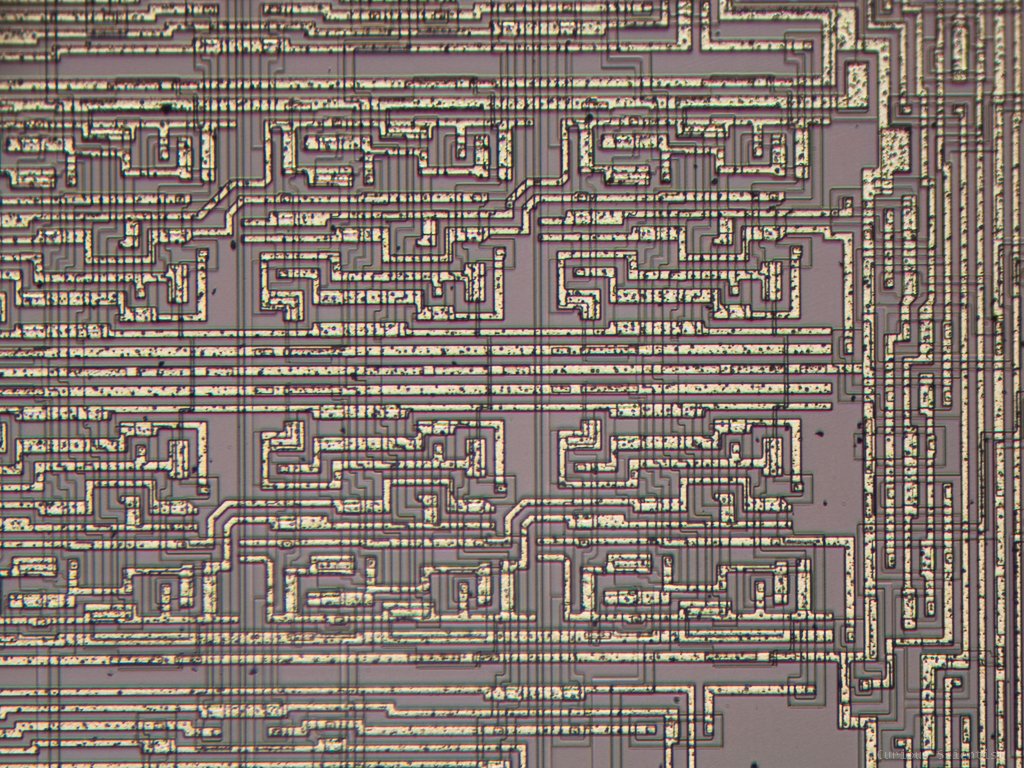
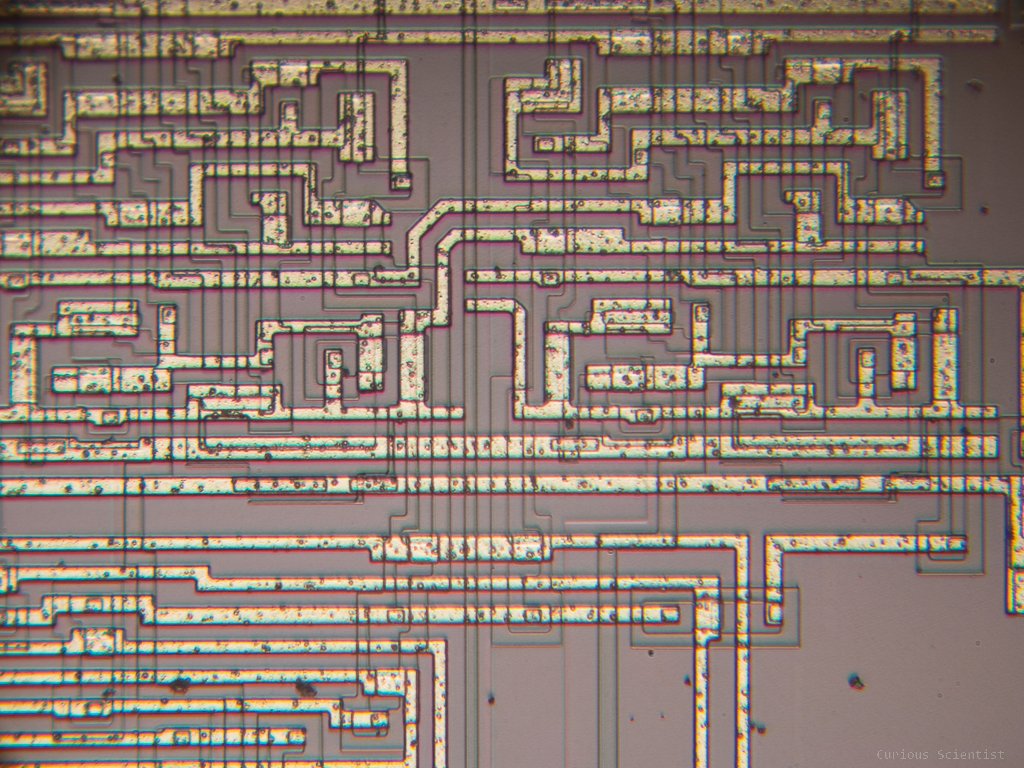
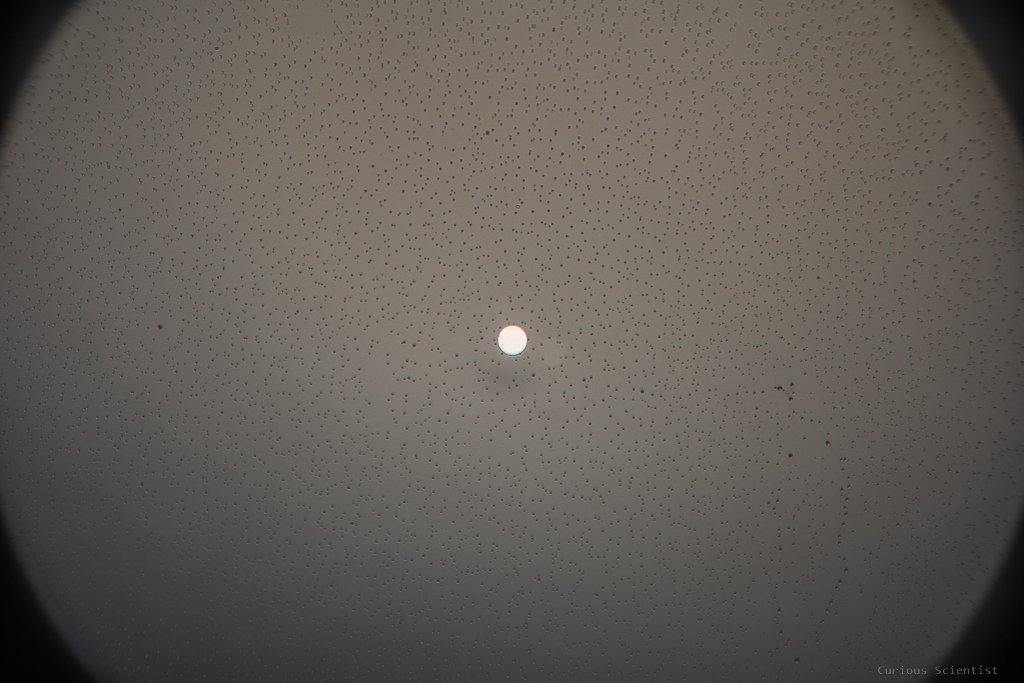
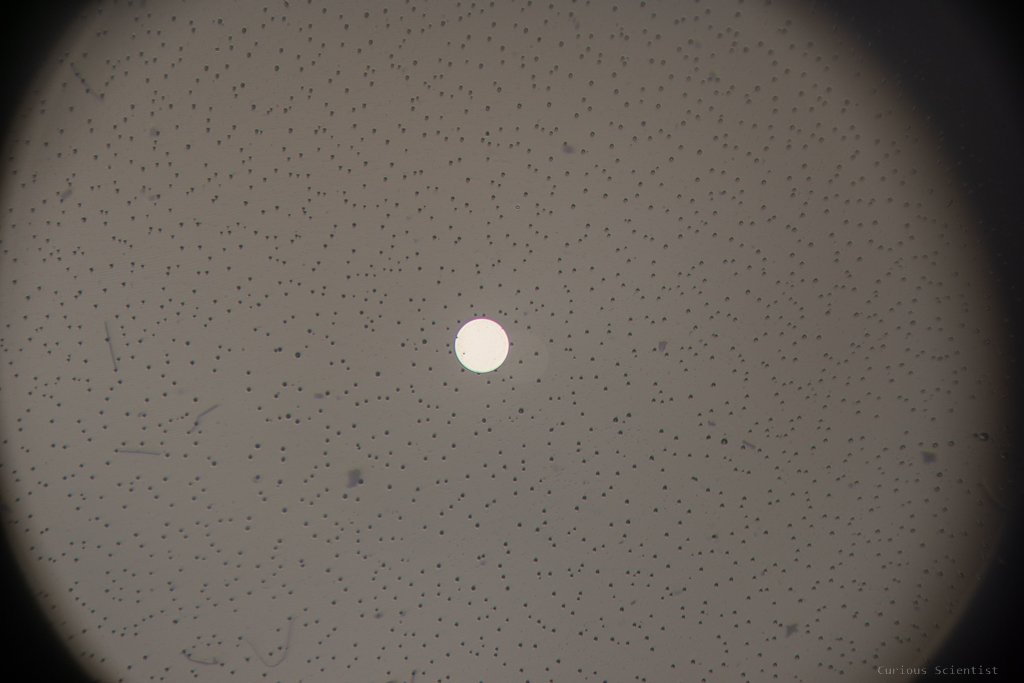
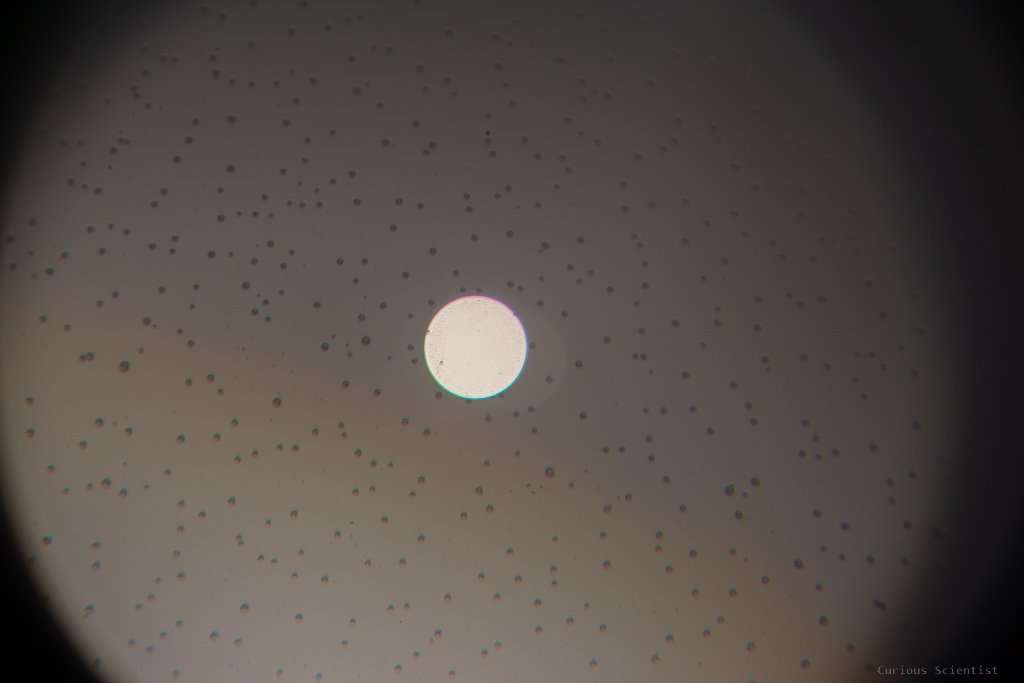
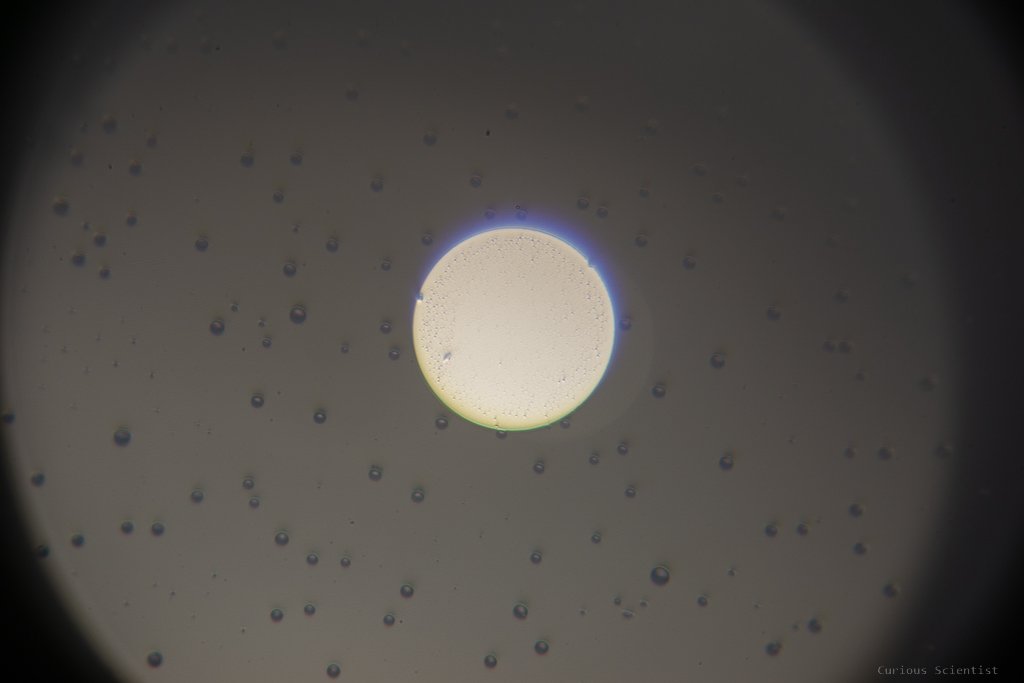
Below there is a series of pictures using the same 0.07 mm (70 um) spot as a reference at different magnifications. I did not crop the images, so the vignetting also shows up “nicely”. Also, these images reveal another optical aberration which is particularly visible at high magnifications: chromatic aberration. The edge of the white spot has a blue-purple fringe on it due to the chromatic aberration.
Future work
In the future, I will implement several changes to the microscope to make it better and to make it more convenient to use.
I will ditch the current X-Y stage because it is not very stable and not very flat. I need more stability. Also, depending on what X-Y stage I pick, I might equip it with stepper motors so I can control everything electronically. Probably the same could be done with the Z axis (focusing), too. With a good choice of motor and gear ratio, probably I could reach a fine enough step size using only the main focusing knob. I just need to figure out how to attach it to the microscope. Once the focusing is motorized, I can then implement automated focus stacking on the microscope. It would be very useful for certain subjects.
As my time will allow, I will make several videos related to this microscope. Simple tutorials, showing stuff under the microscope, explaining things related to microscopy and so on… Stay tuned!