8-digit 7-segment display - printing float!
In this video I want to show you how to print floating point numbers on this 8-digit 7-segment MAX7219-driven display in a proper manner. Most of the tutorials I saw on the internet only show how to print numbers using the LedControl library, but none of them showed how to deal with floating point numbers. Since I want to use these displays in projects where I am interested in the values at both sides of the decimal point, I thought that I will write my own little code based on the LedControl library and share it with you. The demo consists of 2 parts. In the first part I generate a few random floating point numbers and print them. Then I run a relatively fast counter and print the values of it on the display. This is a great display because it is bright and readable, communicates via SPI, fast, compact and most importantly cheap!
Photo of the circuit in action

Display showing the number 9135.29.
Arduino source code
#include "LedControl.h"

LedControl lc = LedControl(12, 13, 10, 1); //SPI pins

unsigned long increaseTimer = 0;
unsigned long counter = 0;

void setup()
{
  Serial.begin(9600);

  lc.shutdown(0, false); //Activate display
  lc.setIntensity(0, 1); //low brightness
  lc.clearDisplay(0); //clear

  for (int i = 0; i < 10; i++)
  {
    floatToDecimalNumber();
    delay(3000);
  }
}

void loop()
{
  if (millis() - increaseTimer > 10)
  {
    countUp();
    counter++;
    increaseTimer = millis();
  }
}

void floatToDecimalNumber()
{
  //We need a floating point number
  float floatNumber = 0.00;
  //Generate a random float with 2 digits
  floatNumber = random(99999) + (random(99) / 100.0);

  Serial.print("Random float: ");
  Serial.println(floatNumber);

  //Casting the float into long will cut off the decimal digits, we keep the integers (e.g.: 12587.74 becomes 12587)
  long integerpart = (long) floatNumber;

  Serial.print("Integer part: ");
  Serial.println(integerpart);

  //multiplying the float by 100, casting it to long, then taking the modulo 100 will give us 2 digits (10^2 = 100) after the decimal point
  //long decimalpart = ((long)(floatNumber * 100.00) % 100);

  long decimalpart = (long)(100 * (floatNumber - integerpart)); //e.g.: 100 * (12587.74-12587) = 100 * 0.74 = 74
  //Possible improvement: Sometimes the decimals of the floating point number are slightly different
  //For example, this is the floating point number: 87073.37, but the extracted decimal part is 36.
  //This can happen because I do not round the number. So 87073.37 can be 87073.3650212125... which is 87073.37 when it is rounded
  //But when I do the above operation, the two digits extracted are 3 and 6. For "more accuracy", float must be rounded first.

  Serial.print("Decimal part: ");
  Serial.println(decimalpart);

  //At this point we know the following things:
  //1.) we manually set the number of decimal digits to 2. it will be two digits whatever we do.
  //2.) we know the value of the integer part, but we don't (yet) explicitly know the number of digits (number can be 1245.4 but also 1.29...etc.)

  //Let's count the integer part digits
  int integerDigits = 0; //number of digits in the integer part
  long tmp_integerpart = integerpart; //temporary variable, copy of the original integer parts
  long tmp2_integerpart = integerpart; //temporary variable 2, copy of the original integer parts

  while (tmp_integerpart)
  {
    tmp_integerpart = tmp_integerpart / 10;
    integerDigits++;
    //What happens inside:
    //Original float number: 16807.34, integer part: 16807 -(/10)-> 1680 -(/10)-> 168 -(/10)-> 16 -(/10)-> 1
  }

  int digitsPosition = integerDigits + 2; //+2 comes from the 2 decimal digits

  Serial.print("Number of digits: "); //Total number of digits of the processed float
  Serial.println(digitsPosition);

  //now we know the total number of digits - keep in mind that the max integer digits allowed is 6!
  //The next step is to fill up an array that stores all the digits.
  //The array is filled up in a same was as the display: decimal numbers will be 0th and 1st elements, we do this first
  long digits[digitsPosition]; //array with the needed size
  int decimalDigits = 2; //manually created number of digits
  long tmp_decimalpart = decimalpart; //copy the original decimal part value

  //I do this part "manually"
  digits[integerDigits + 1] = tmp_decimalpart % 10; //2nd decimal digit (e.g.: 634.23 -> 3)
  tmp_decimalpart /= 10;
  digits[integerDigits] = tmp_decimalpart % 10; //1st decimal digit (e.g.: 634.23 -> 2)

  //                                                                [4 3 2 1 0]
  //Example: 634.23 -> Int: 634, Dec: 23. Digits: 5. Int.Digits: 3. [3 2 4 3 6]  <----- reading direction

  Serial.print("Dec 0: ");
  Serial.println(digits[integerDigits + 1]); //2nd decimal digit
  Serial.print("Dec 1: ");
  Serial.println(digits[integerDigits]); //1st decimal digit

  //We got the decimals right, now we move on to the integer digits

  Serial.print("Integer digits: "); //Number of integer digits
  Serial.println(integerDigits);

  while (integerDigits--)
  {
    digits[integerDigits] = tmp2_integerpart % 10;
    tmp2_integerpart /= 10;
    //Same exercise as above with the decimal part, but I put it in a loop because we have more digits
  }

  Serial.println("----------------------");
  //This is just to check the contents of the array and if the number is stored properly
  for (int i = 0; i < digitsPosition; i++)
  {
    Serial.print(i);
    Serial.print(": ");
    Serial.println(digits[i]);
  }

  //Finally, we print the digits on the display

  lc.clearDisplay(0);

  for (int j = 0; j < digitsPosition; j++)
  {
    if (j == 2)
    {
      lc.setDigit(0, j, digits[digitsPosition - j - 1], true); //we know that we have to put a decimal point here (last argument is "true")
      //0: address, j: position, value, decimal point.
      //Additional -1 is because we count the digits as first, second, third...etc, but the array starts from 0.
    }
    else
    {
      lc.setDigit(0, j, digits[digitsPosition - j - 1], false);
      //Example: number is 634.23
      //j = 0: digits[5-0-1] = digits[4] -> 0th element of the display gets the last element of the array which is the second decimal:   3 (hundreths)
      //j = 1: digits[5-1-1] = digits[3] -> 1th element of the display gets the last-1 element of the array which is the first decimal:  2 (tenths)
      //j = 2: digits[5-2-1] = digits[2] -> 2nd element of the display gets the last-2 element of the array which is the first integer:  4 (ones)
      //j = 3: digits[5-3-1] = digits[1] -> 3rd element of the display gets the last-3 element of the array which is the second integer: 3 (tens)
      //j = 4: digits[5-4-1] = digits[0] -> 4th element of the display gets the last-4 element of the array which is the third integer:  6 (hundreds)
    }
  }
}

void countUp()
{
  int numberOfDigits = 0;
  unsigned long tmp_countUpNumber = 0; //variable for the counter
  unsigned long tmp2_countUpNumber = 0; //copy of the above

  tmp_countUpNumber = counter * 10; //counter (+10 every ~10 ms)
  tmp2_countUpNumber = tmp_countUpNumber; //copy of the above

  while (tmp_countUpNumber) //counting the digits
  {
    tmp_countUpNumber /= 10;
    numberOfDigits++;
    //same exercise as in the float processing part
  }

  int tmp_numberOfDigits = 0; //copy of the numberOfDigits
  int displayDigits[numberOfDigits]; //array to store the individual digits

  tmp_numberOfDigits = numberOfDigits; //copy the number of digits

  while (numberOfDigits--) //filling up the array
  {
    displayDigits[numberOfDigits] = tmp2_countUpNumber % 10;
    tmp2_countUpNumber /= 10;
    //same exercise as in the float processing part
  }

  lc.clearDisplay(0);

  for (int i = 0; i < tmp_numberOfDigits; i++)
  {
    lc.setDigit(0, i, displayDigits[tmp_numberOfDigits - i - 1], false);
    //same exercise as in the float processing part
  }
}
Relevant parts
By clicking on the pictures you will be redirected by my affiliate links and you can support me if you buy the components.
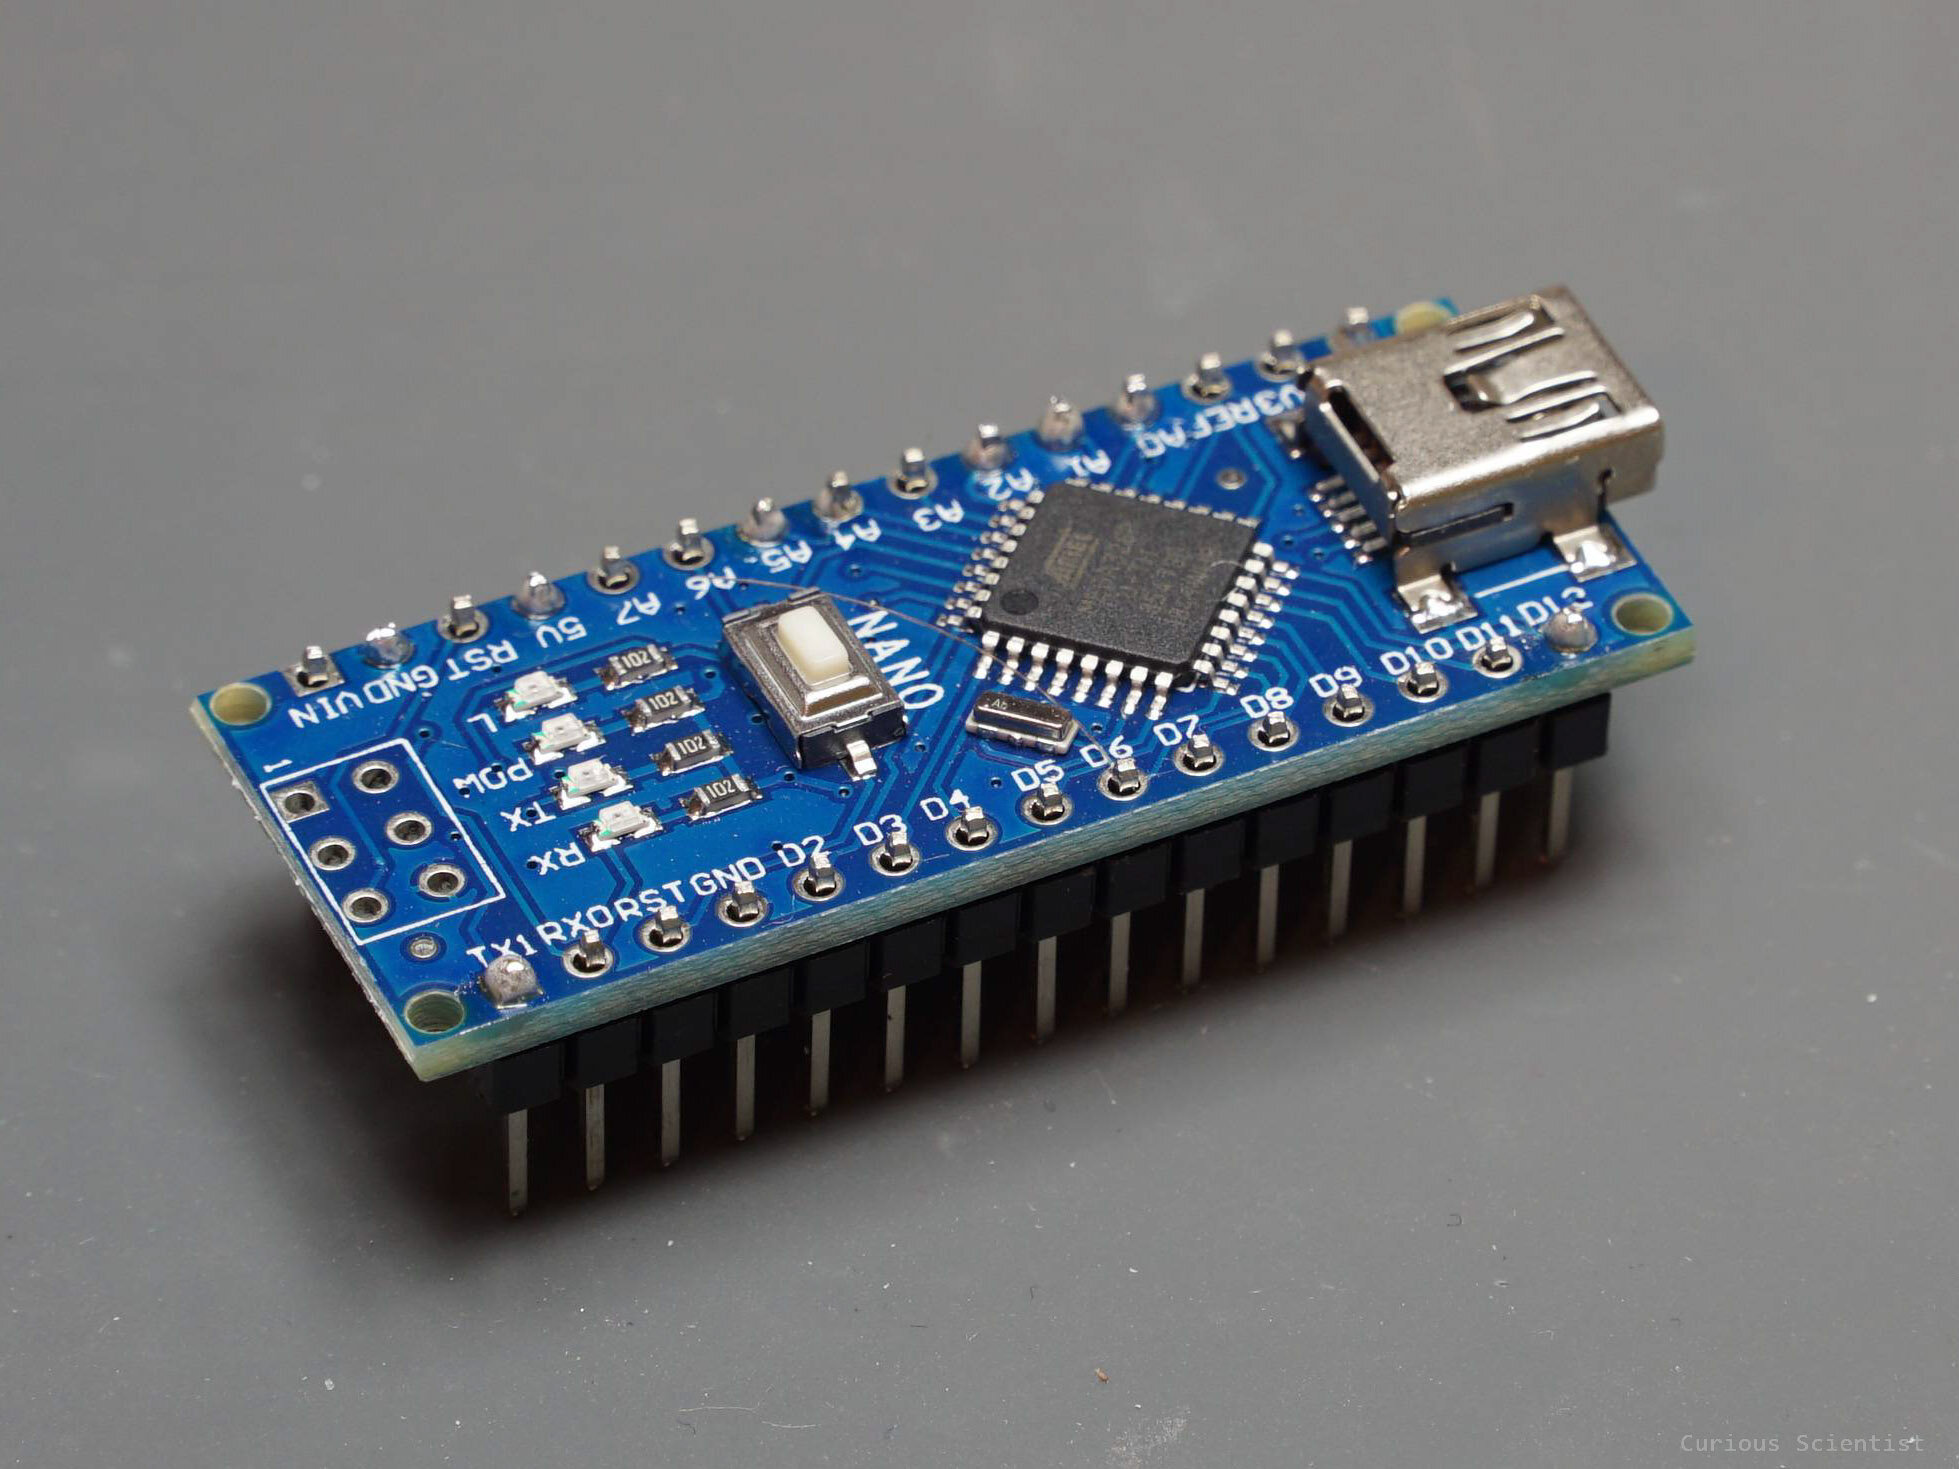
Arduino Nano

8-digit 7-segment display