Upgrading my microscope with long working distance lenses
In this video, I briefly show you the new lenses I got for my microscope. They will make my work easier, especially when I work with chips and transistors whose silicon dies are sitting in a small dimple. The original lenses require so short working distance (WD) sometimes the housing of the lens touches a part of the component that I try to investigate. These long working distance lenses help to
Additional details
First, let’s talk about the working distance. It is a very simple concept, it is the distance from the objective’s front lens to the closest surface of the specimen when the subject is sharply focused. So now that you know the definition, I think you immediately understand why it is good to have a larger working distance. It comes in handy when the subject has a strong topography and the height of the surface differs a lot.

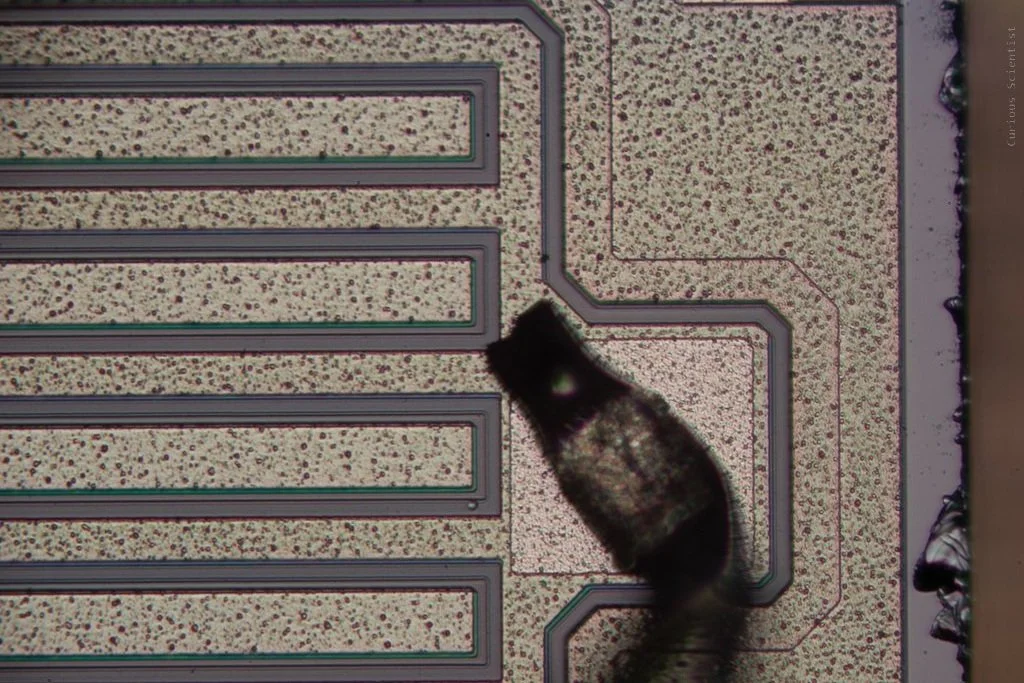
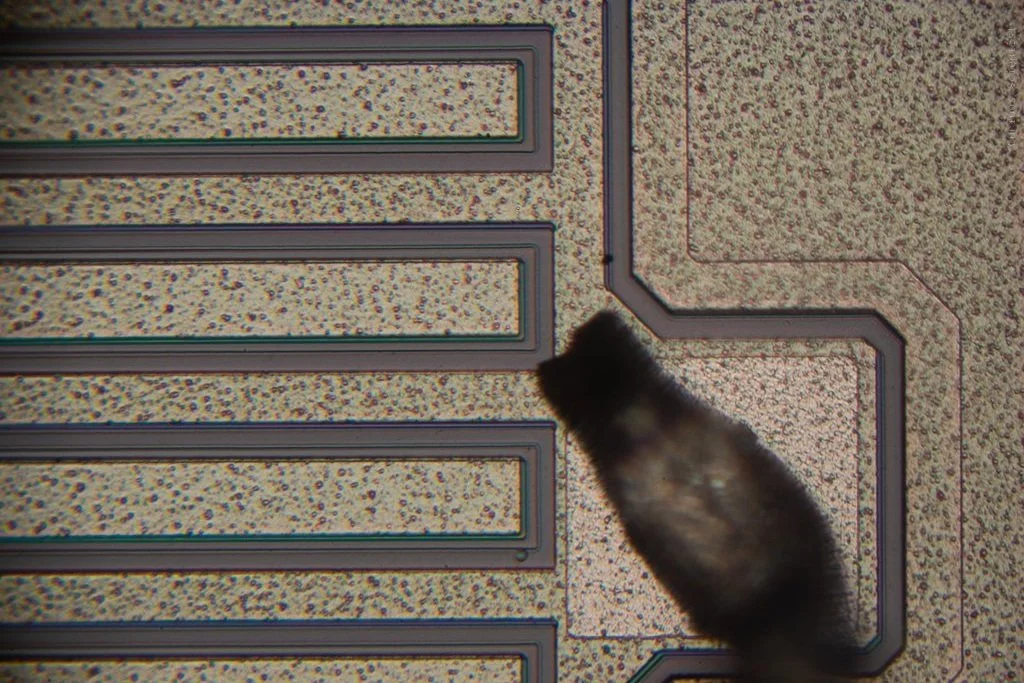
Short WD lens (left) and long WD lens (right). In both cases, the subject was in focus. Both lenses are 20x.
In my case, this is mainly two things:
When I observe transistors in TO metal packages, I have issues with the pins. The pin where the bond wire from the silicon die is connected protrudes from the surface by several millimetres. This is an issue, because sometimes I would need to go so close to the silicon die that the lens would hit these pins. This is especially true with the higher magnification lenses because they tend to have shorter working distances.
When I observe chips, the issue is that the silicon die is often “buried” in a pit in the bottom half of the package. When I try to go close (especially at high magnifications) to the surface to bring it in focus, the lens or the housing of the lens can hit the edge of this pit making the focusing impossible.
So, by having long working distance lenses, the above issues are solved. Also, if I don’t need to stay too close to the surface of the silicon die, I can navigate across its surface braver. I don’t have to worry for example that the specimen is not perfectly flat and I accidentally scratch it while moving along the X and Y axes.
After testing both lenses, I will talk mainly about the 20x lens. The reason is that the 2.5x is actually not that impressive. The reason is, I think because the reflected light that is bouncing back from the specimen is weak. The 2.5x lens is pretty far from the subject and the image has a very weak contrast, so I think the reason behind it is that the quality of the light is not that good. Unfortunately, my halogen light source is limited, so I cannot improve the light quality (yet 😉). Also, the focus is kinda wonky across the sample’s area. Some details on the image are super sharp and the rest is smeared. It was difficult to make the specimen perfectly flat.
On the other hand, the 20x lens looks promising. Apart from the better freedom in mobility due to the larger WD, it seems that this lens has a better image quality. In the gallery below you can decide yourself. I took photos of the same subjects under the same conditions. I just rotated the turret and focused on the subject. The new lens has a slightly larger field of view (FOV), it seems to produce sharper images across the whole image, it seems to have a bit better depth of field (DOF) and it does not have the same vignetting as the original lens. It was definitely a good purchase.