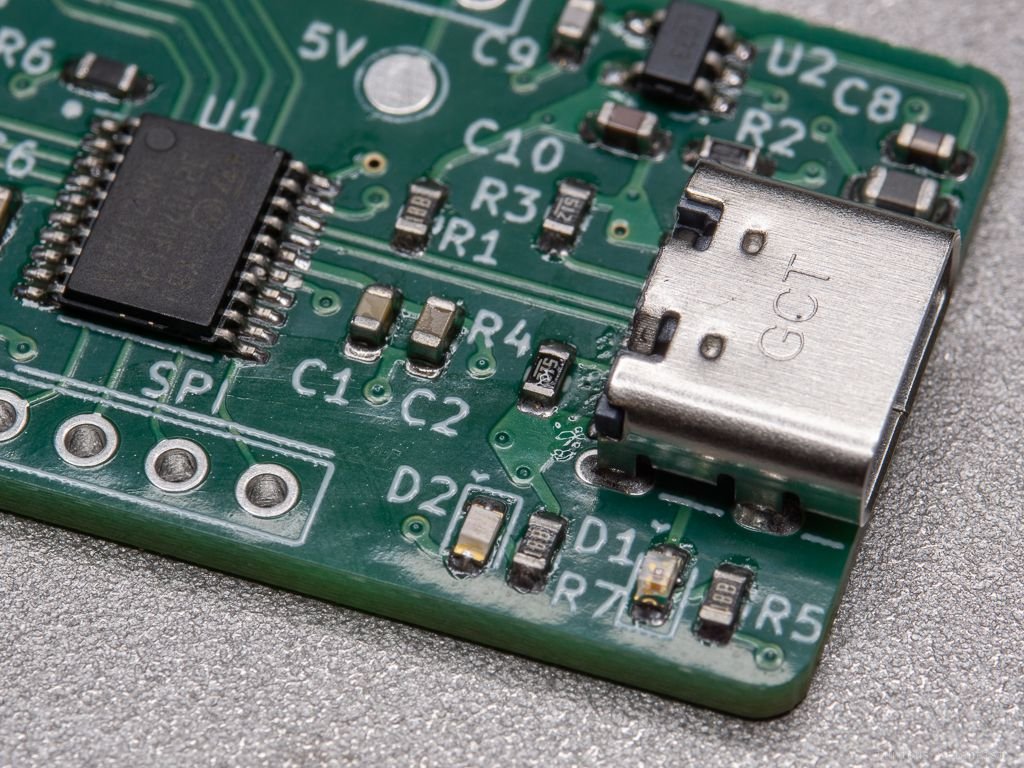
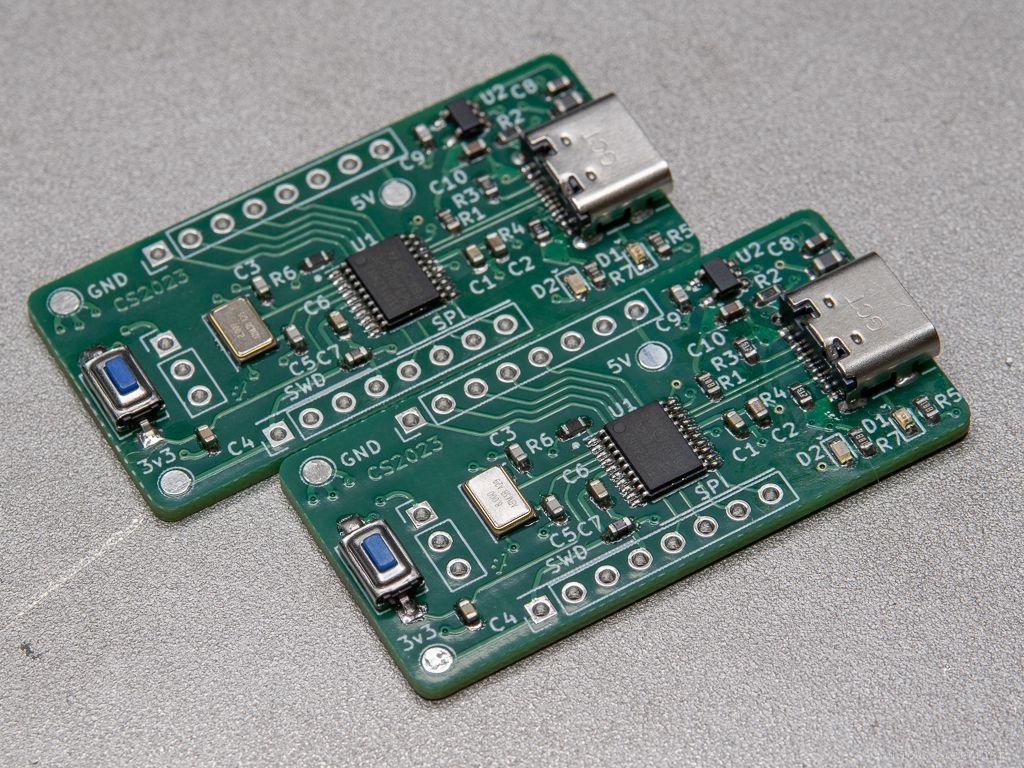
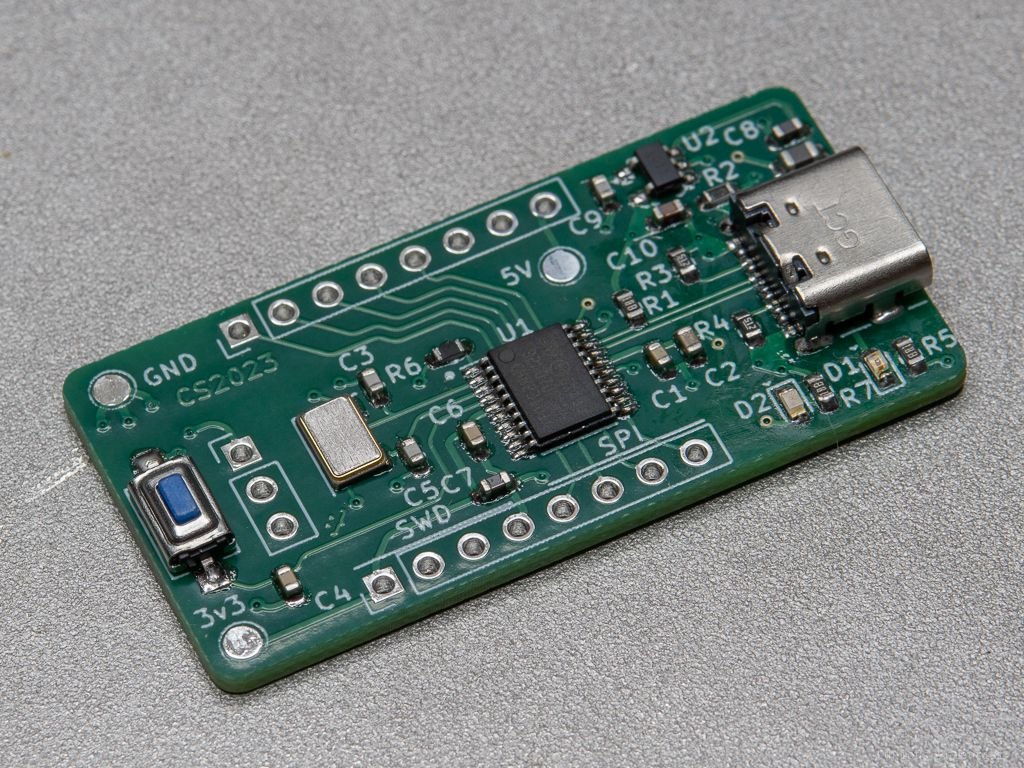
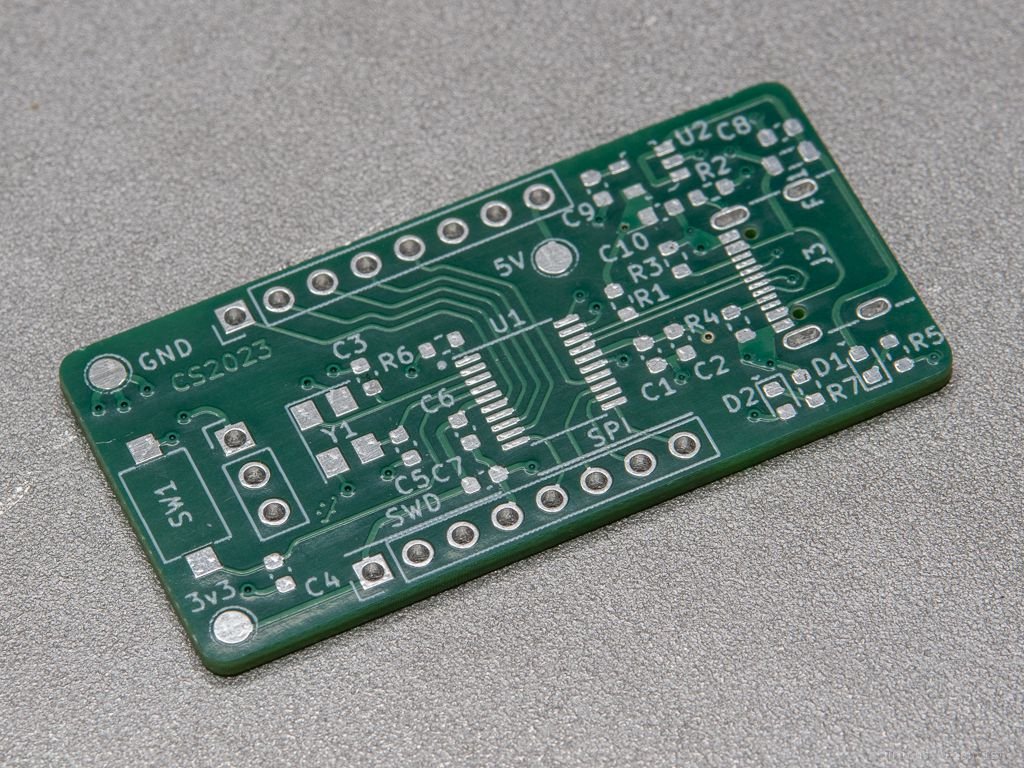
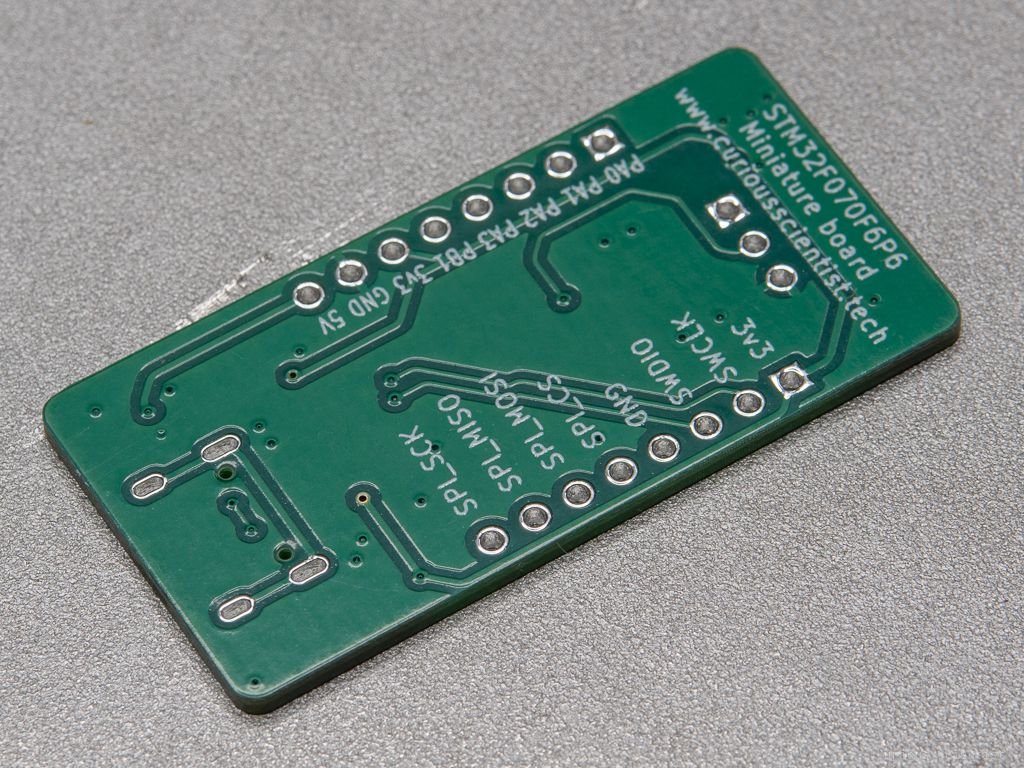
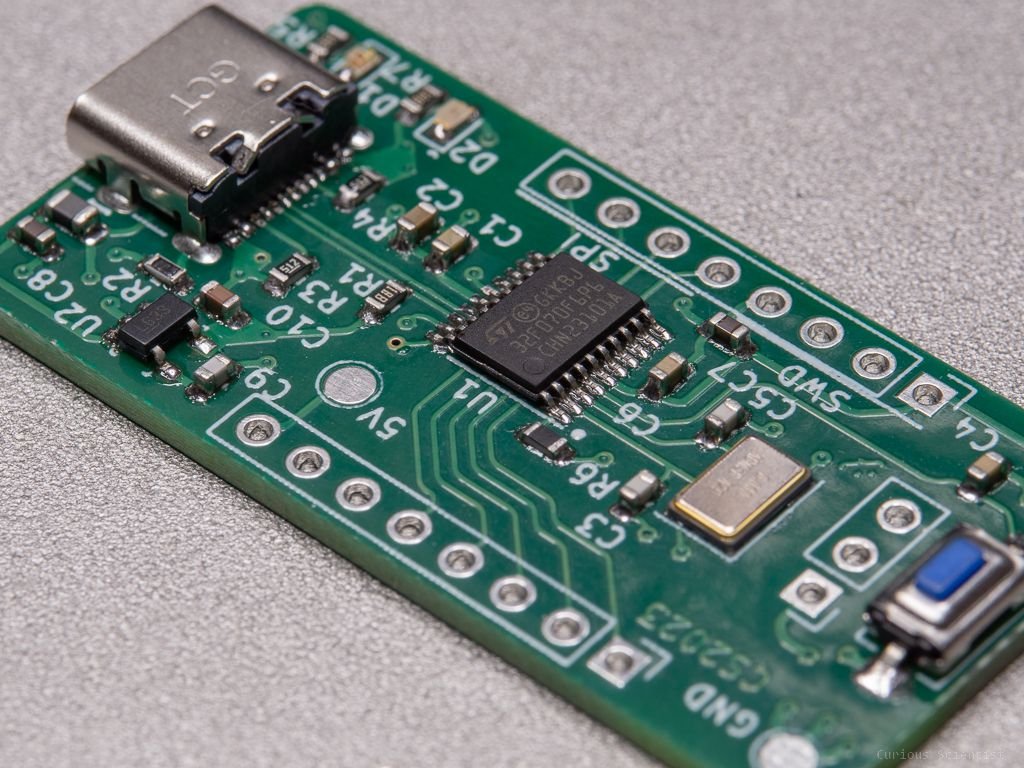
STM32F070F6P6 mini development board with native USB
In this video, I show you how I built a small printed circuit board (development board) based on the STM32F070F6P6 microcontroller. I also show how to add a new microcontroller to the list of boards in Arduino IDE. Since this specific MCU was not on the list, I had to add it manually.
A guide to add the microcontroller as a new variant to the Arduino IDE
Thanks to the STM32duino framework, this board is also supported by the Arduino IDE. This means that we can develop the code for this MCU in Arduino IDE, using the “Arduino syntax”. Well, it is still C++ language, but we do not need to write code using the STM32CubeIDE and the HAL framework.
So, if you are new to the topic regarding the STM32duino framework, then I recommend you to read the documentation on the corresponding GitHub page. However, I explained the most important things in the video, and I also show the steps below.
Additional Boards Manager URLs
So, the first step is to add the STM32 boards to the Arduino IDE. We do it by going under File/Preferences and open the list of the Additional Boards manager URLs.
We have to add the following line:
https://github.com/stm32duino/BoardManagerFiles/raw/main/package_stmicroelectronics_index.json
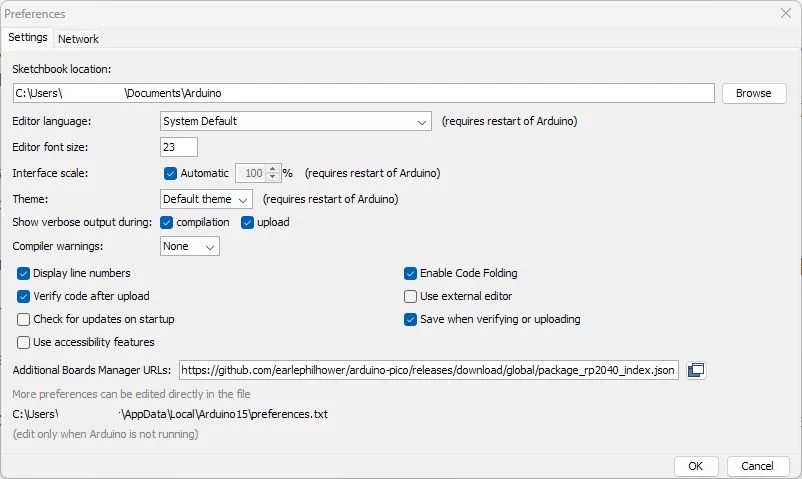
Preferences window
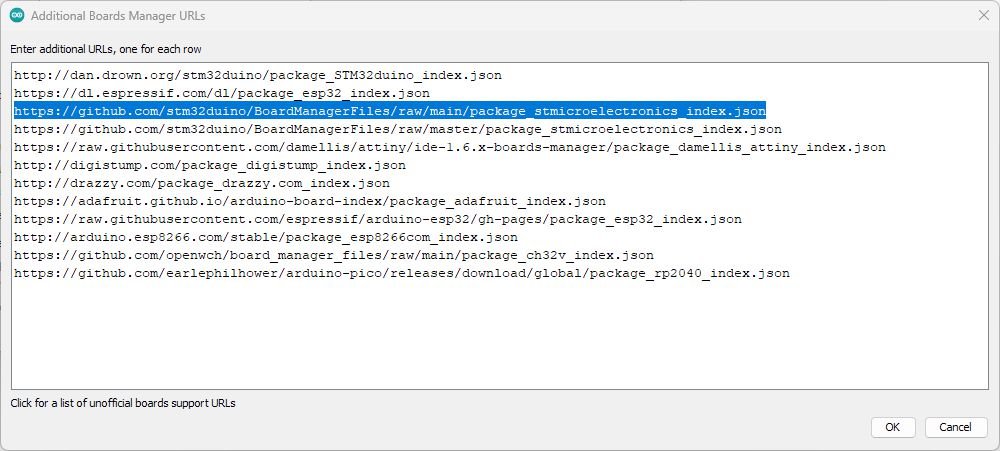
List of additional boards manager URLs. The relevant link is highlighted.
Boards Manager

Once this is done, open the Tools/Board/Boards manager menu. After the window finished the loading and you can type in the search field, type “stm32” and press enter. Then, install the STM32 MCU based boards package. When done, restart the Arduino IDE.
Now you are supposed to be able to find the board under the Tools/Board menu. After selecting the Generic STM32F0 series, under the Board part number menu, you are supposed to be able to find the Generic F070P6x board which is the board we want. Unfortunately, there’s a great chance that this specific board is not on the list.
Luckily, there is a great tutorial for this on GitHub. The tutorial is generic, so it can be applied on any board that is supported by the STM32duino framework, but it is not in the list of variants.
However, I made a quick instruction specifically for the STM32F070F6P6 board.
First, find the boards.txt under the following link:
\Users\[USERNAME]\AppData\Local\Arduino15\packages\STMicroelectronics\hardware\stm32\2.7.1
Where [USERNAME] is your Windows user name.
Add the following entry:
# Generic F070F6Px
GenF0.menu.pnum.GENERIC_F070F6PX=Generic F070F6Px
GenF0.menu.pnum.GENERIC_F070F6PX.upload.maximum_size=32768
GenF0.menu.pnum.GENERIC_F070F6PX.upload.maximum_data_size=6144
GenF0.menu.pnum.GENERIC_F070F6PX.build.board=GENERIC_F070F6PX
GenF0.menu.pnum.GENERIC_F070F6PX.build.product_line=STM32F070x6
GenF0.menu.pnum.GENERIC_F070F6PX.build.variant=STM32F0xx/F070F6P
Then navigate to the following folder:
Users\[USERNAME]\AppData\Local\Arduino15\packages\STMicroelectronics\hardware\stm32\2.7.1\variants\STM32F0xx
Download the following zip file and unpack it into the folder. This contains all the files that you otherwise need to generate (see instructions on GitHub).
Enjoy!
Keep in mind that if you use the USART or USB, the code size will considerably increase. I happened to figure this out in the “hard way”. So as opposed to what I hinted in the video, my future project won’t be based on this specific microcontroller. However, due to its small footprint, I will still be able to benefit from it.
The board comes with a bootloader. This can be seen in the device manager when the board is connected via USB and the boot pin is connected to +3.3V. In this mode, you can upload code to the board using the DFU mode (STM32CubeProgrammer (DFU)). After the uploading is done, disconnect and reconnect the board. Now it should show up as a serial device (COMxx). Alternatively, you can use the ST-Link to upload code to the board (STM32CubeProgrammer (SWD)). Simply use the SWDIO and SWCLK pins and select the “SWD” upload method.
Extras
Please consider using my affiliate links when buying the relevant parts and tools
Check out my project on PCBWay:

Join my YouTube membership!