RP2040-ADS1256 DAQ Board
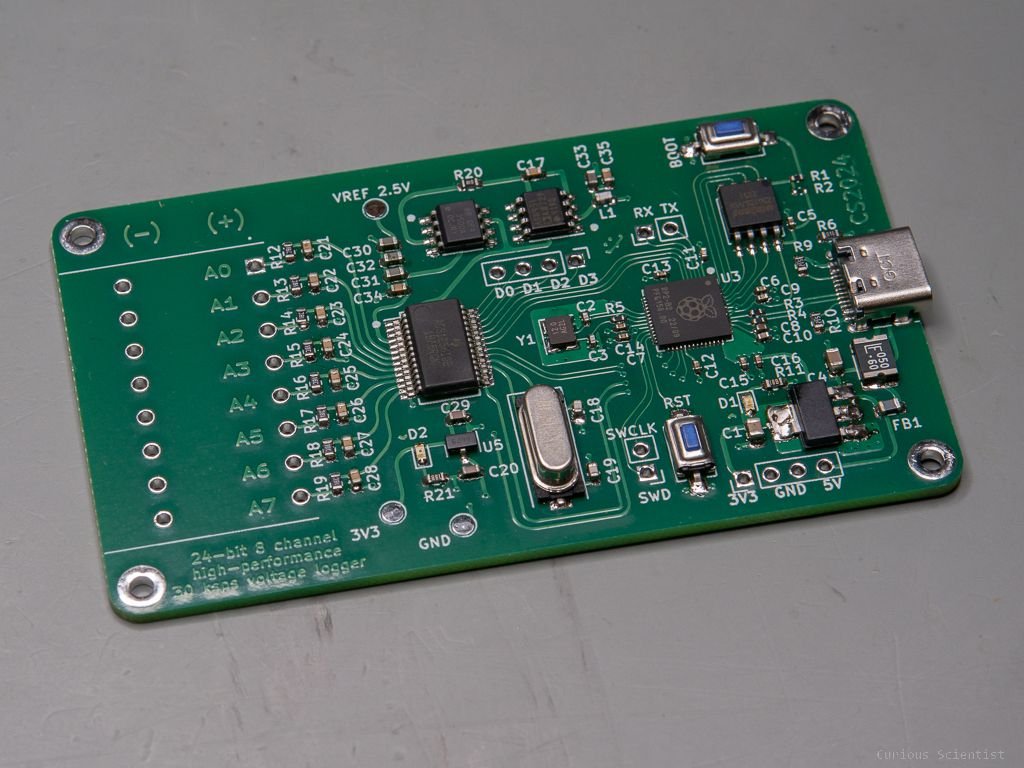
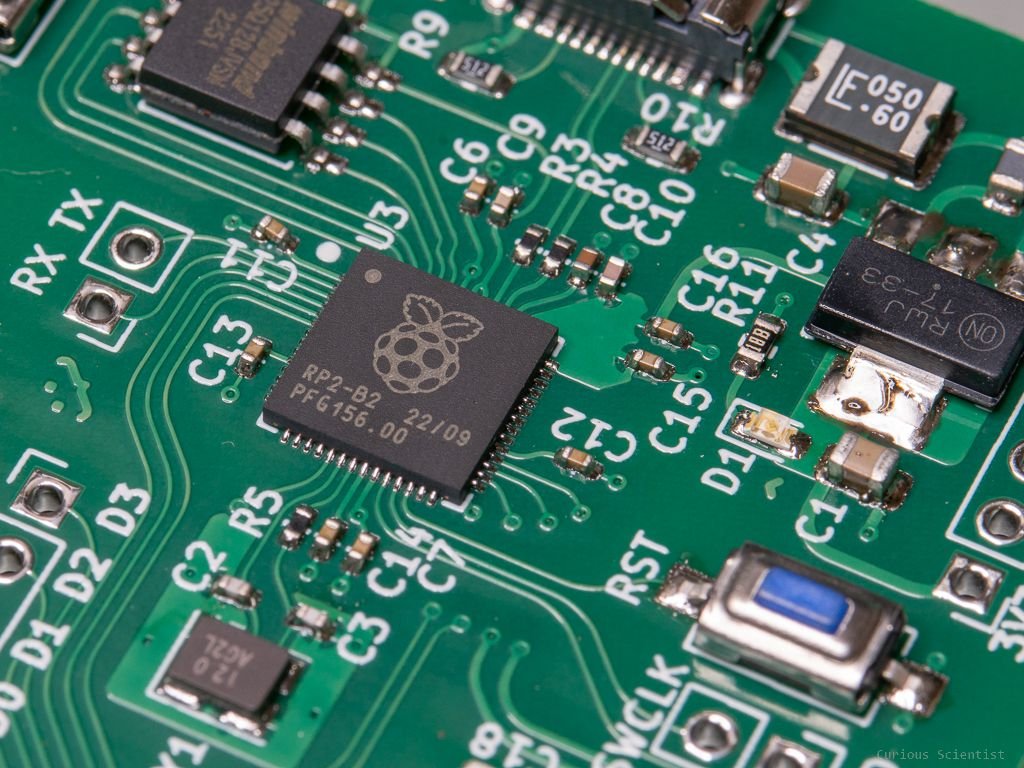
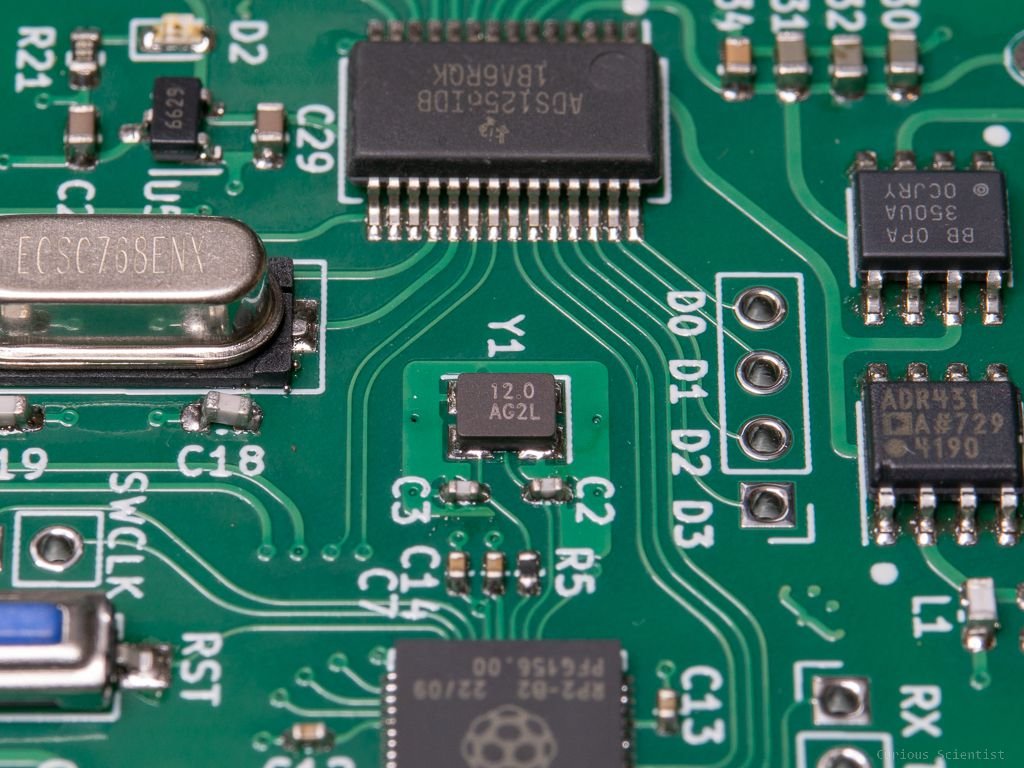
In this video, I present my next, and hopefully final iteration for the ADS1256-based 24-bit, 8-channel, 30 ksps DAQ board. As compared to my most recent design I replaced the microcontroller with an RP2040 microcontroller. It is 5x cheaper and at least 5 times more powerful than the previously used ATmega32U4. The revised board also shrunk quite a bit which was necessary in order to fit it inside a nice aluminium enclosure I found on the internet.
Additional details

Latest RP2040-based ADS1256 DAQ board
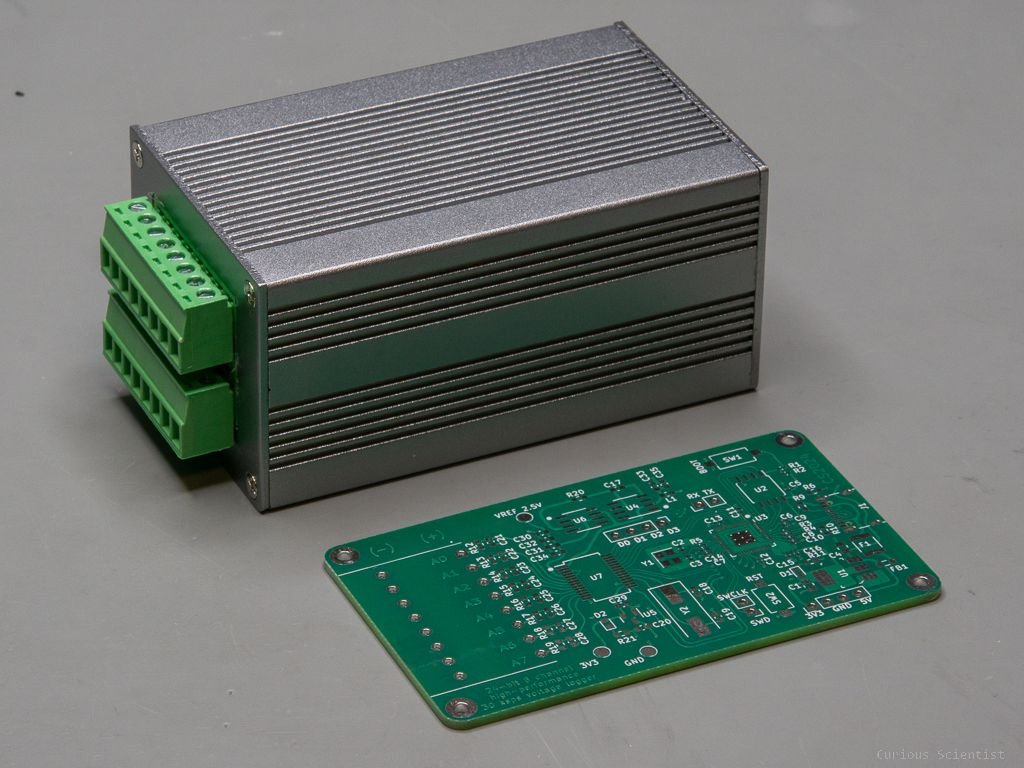
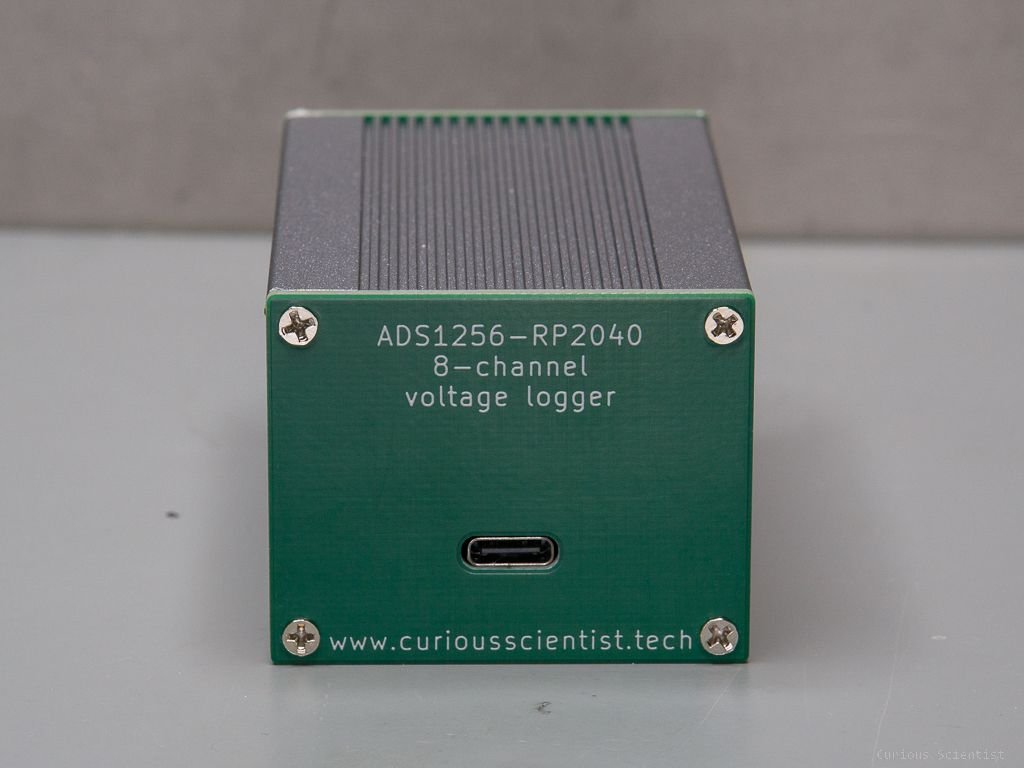
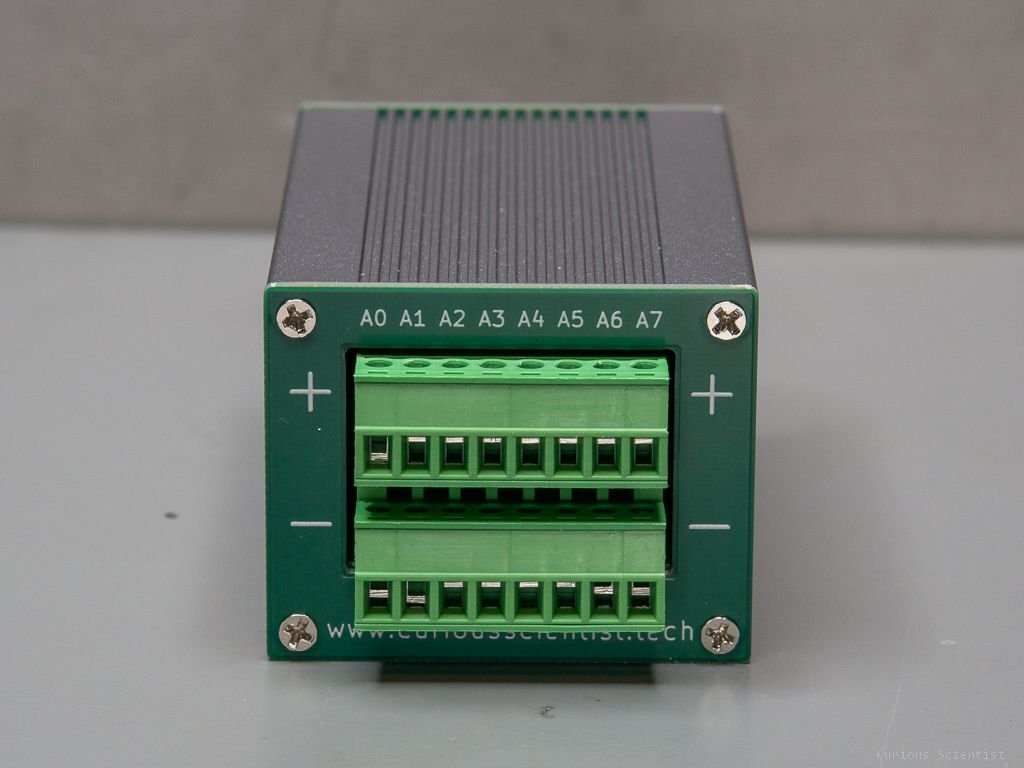
So, this is the final version of my ADS1256 DAQ board. It fits in a small and neat metal enclosure, it has good connectors and it has a powerful microcontroller. I gradually improved my design step by step. First, I started with an ATmega32U4-based board. Its last iteration was already quite good, it could provide everything I wanted, and even a little more. It had extra GPIO pins from the microcontroller, it had a USB-C connector and the board was relatively compact.
However, I was not 100% satisfied with the design. I found a nice enclosure on the internet and I was determined to modify my design to make it fit in it. This required quite some shrinking, so for example, I had to get rid of the GPIO pins of the microcontroller. Luckily, it is not an issue, because I want the board to be used as a USB device and not as a standalone one.
Another issue was that the microcontroller was just a tiny bit slow. I could never reach 30 ksps (kilo-samples per second) sampling speed with it, it always maxed out somewhere around 29600 sps (samples per second) or so. This “issue” was reproducible with all of my 16 MHz microcontrollers such as the Arduino Nano, Uno or Mega 2560. All the other MCUs I tried (RP2040 Zero, STM32F103C8T6, Teensy 4.0, ESP32 WROOM32…etc) could go a few samples more than 30000 per second. So, I concluded that 16 MHz is not fast enough and I looked for another MCU. It was actually somewhat difficult to find a suitable chip, but finally, I settled with the RP2040. It is maybe even too powerful, but it is 5 times cheaper than the ATmega32U4, so I guess, it will be fine.
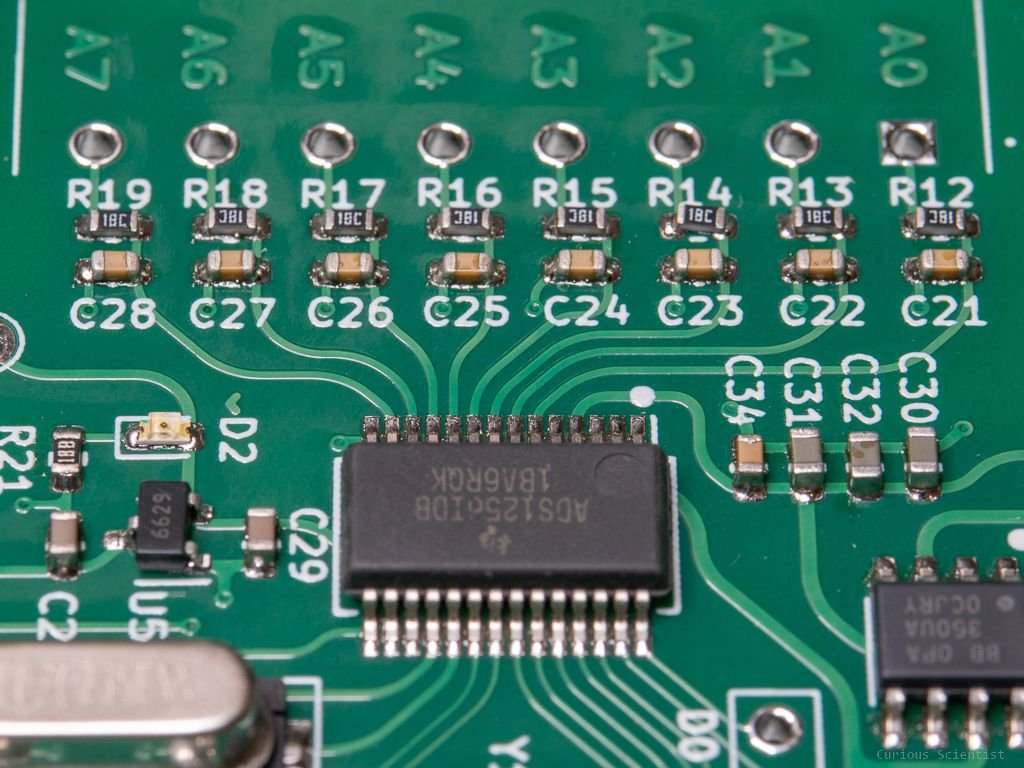
Coding-wise the board is easy to handle. It is compatible with my official ADS1256 Arduino library. The board works with the code without any modifications. The code must be compiled for the Waveshare RP2040-Zero microcontroller because the PCB uses the SPI0 on the 2 (SCK), 3 (MOSI), and 4 (MISO) pins as the default SPI. The constructor is 18 (DRDY), 20 (RESET), 21 (SYNC/PDWN), and 19 (CS).
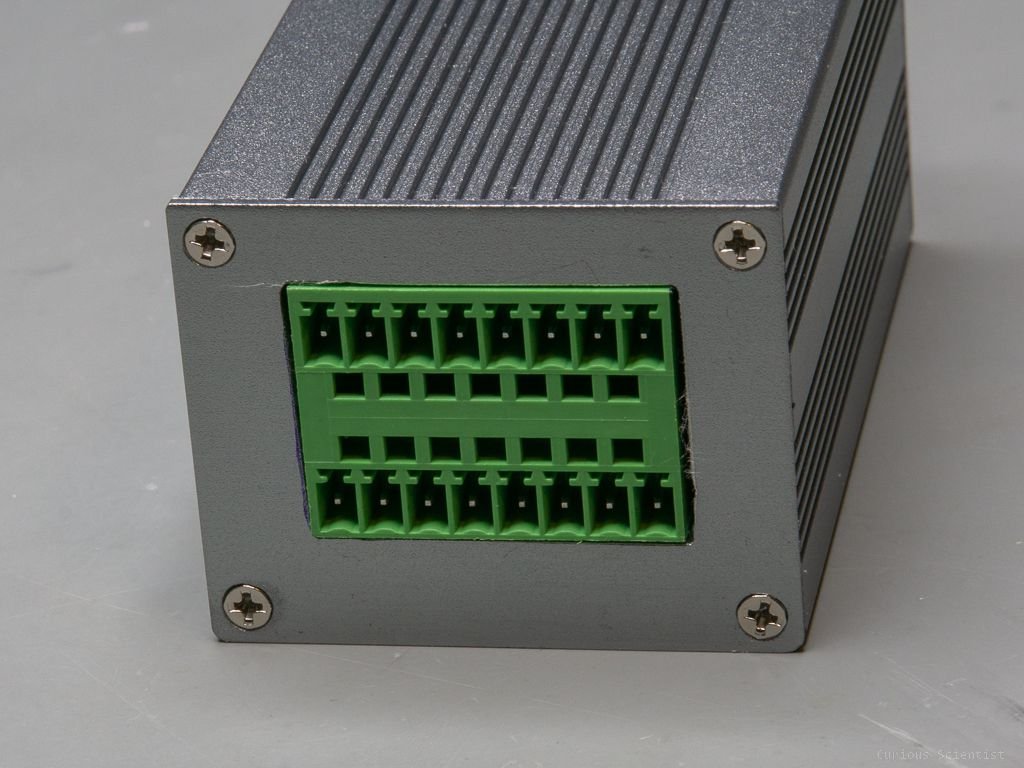
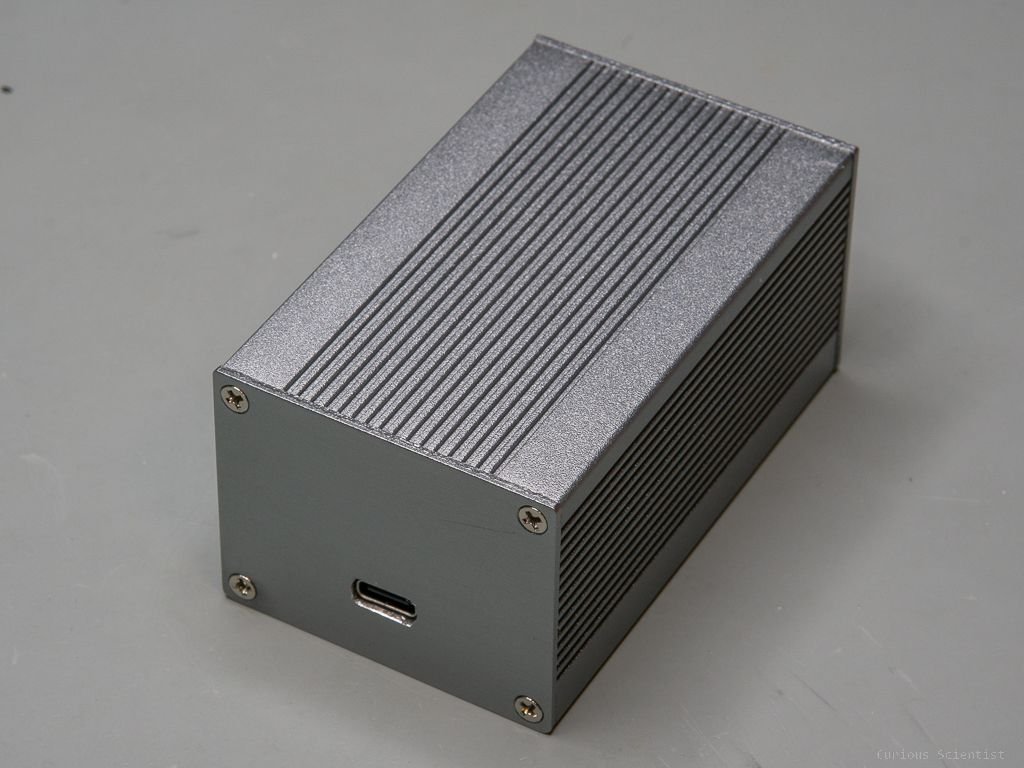
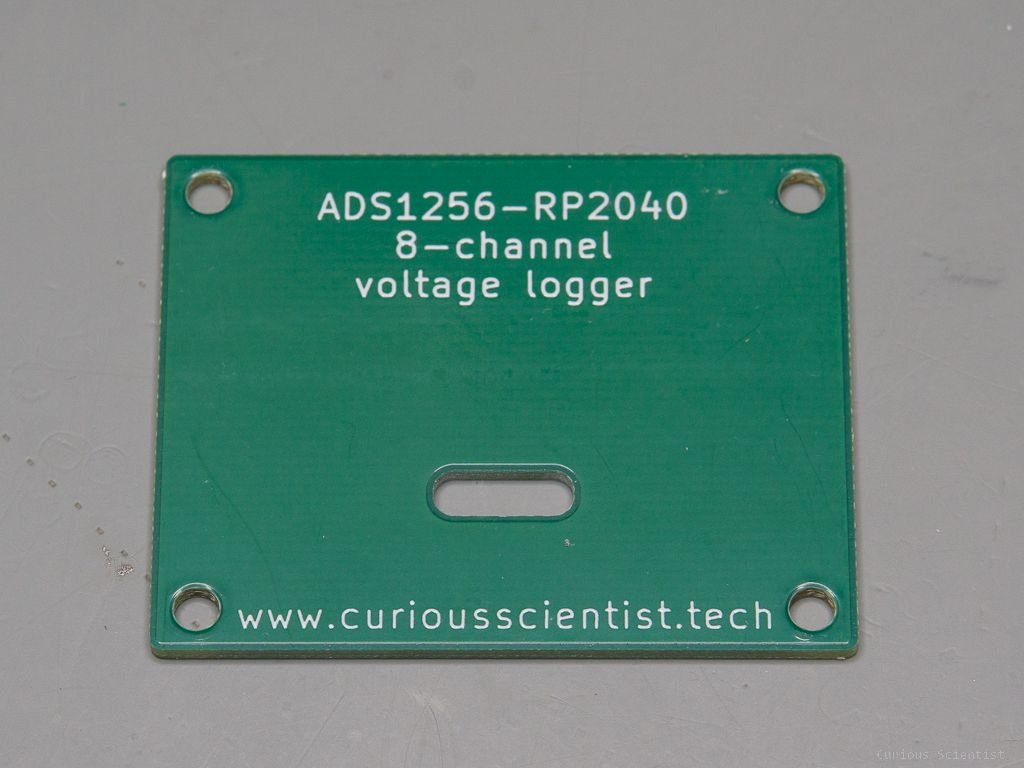
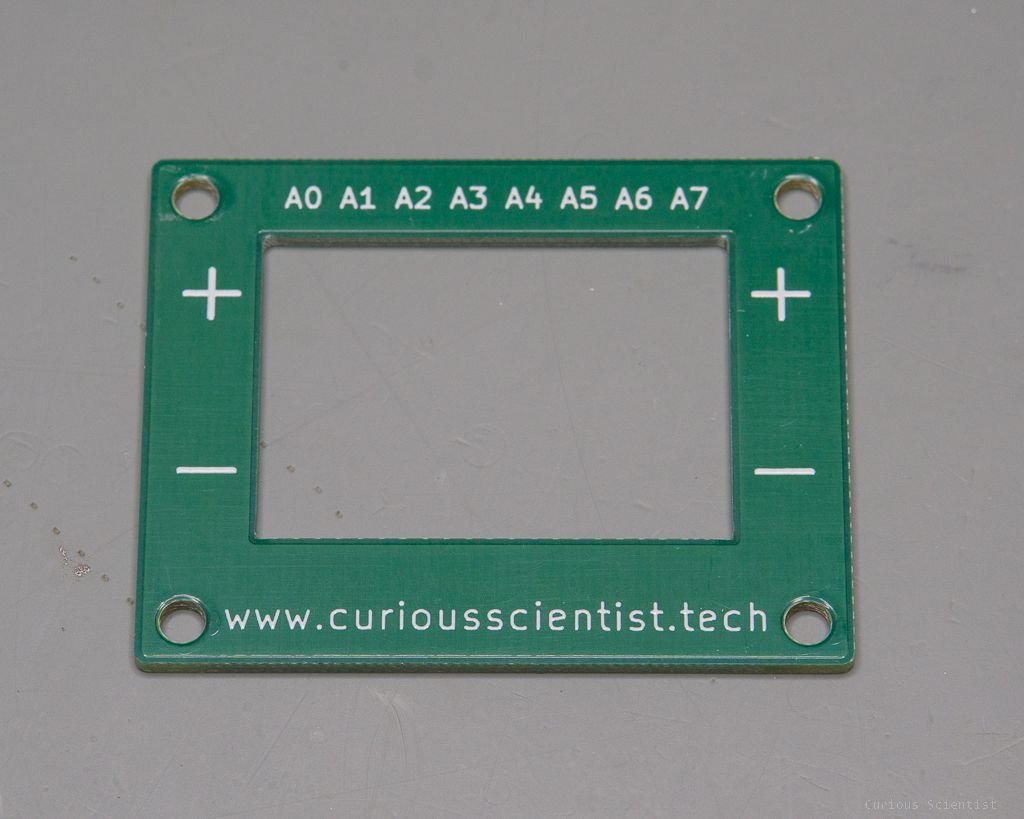
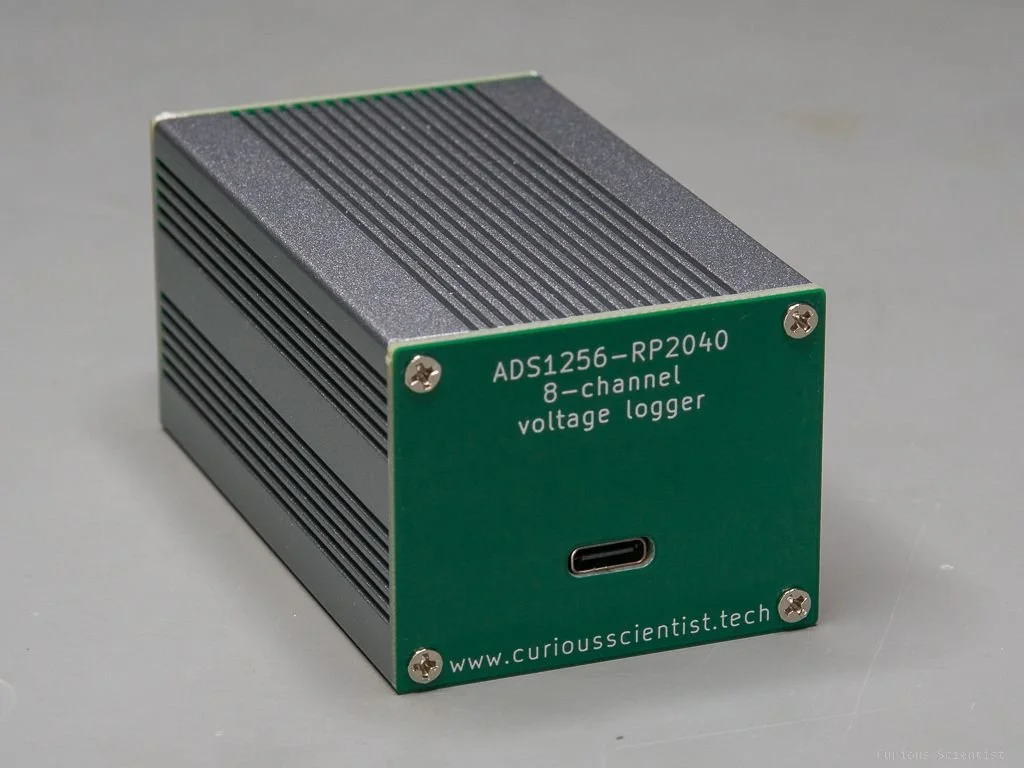
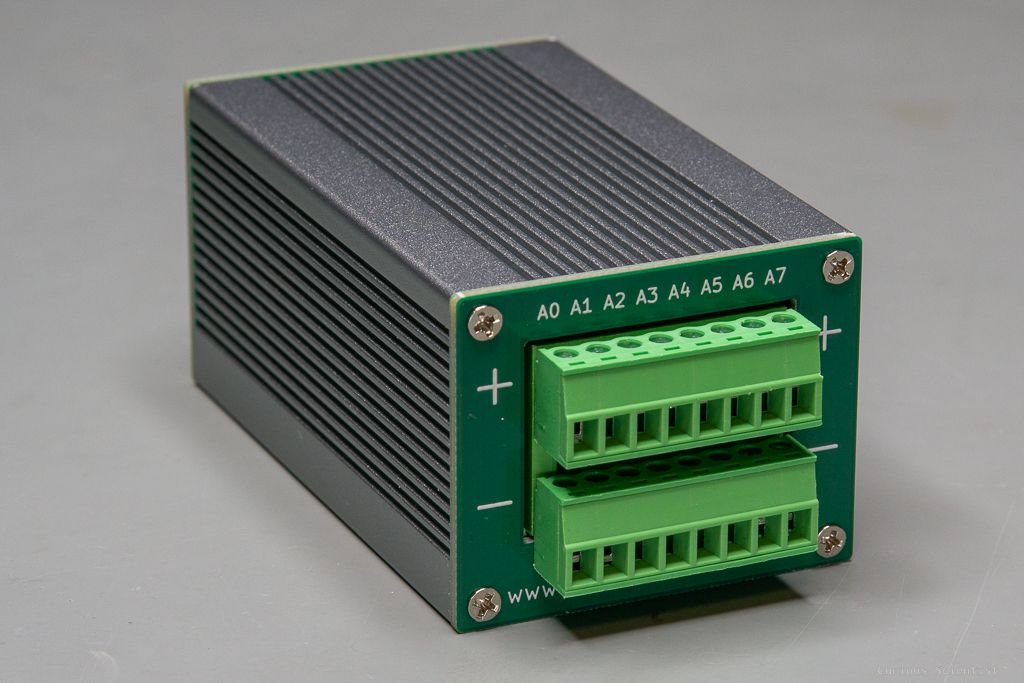
Coming back to the enclosure a little, I also created some PCB-based front and rear panels for the module. I found it quite difficult and time-consuming to drill, saw and file the holes on the metal panels, so I made some PCB designs with the appropriate dimensions and had them manufactured at PCBWay. Since the panels are small (50x40 mm), 5-5 pieces of (minimum order quantity) the panels cost less than a lunch ($10 as of 2024 April 16) where I eat. So they are pretty much worth the money because there’s no way I can make 10 panels with the same quality as PCBWay does. I decided to go for a really simple design, so the front (USB-side) panel is just a slot for the USB-C connector and some text, and the rear (screw terminal) panel is just the numbering of the channels and the polarity of the terminals. Nothing fancy.
Resources
Join my YouTube membership!
Get the PCB from PCBWay!