In this article, I am going to introduce you to the Radiacode 110, which is a portable radiation detector and spectrometer.
Before writing any further words, I want to make it clear that I received this device with its accessories from Radiacode free of charge. However, they made it clear that I have no obligations, no deliverables, and no requirements regarding what I should write or say about the device or how I should present it. They thought I might enjoy using their devices, so they provided one.
So, this device is both a dosimeter and a spectrometer, specialised for gamma and X-ray radiation (simply put, high-energy photons). There is a very special detector in this device that allows not only event detection (like GM detectors do), but also energy measurement. The device is roughly the same size as a smart TV remote, which makes it highly portable. However, it also has a small but very readable display, status LEDs, a speaker for sound feedback, a built-in battery and memory, and even Bluetooth capabilities. So, you can definitely bring this stuff to the field!
Introduction
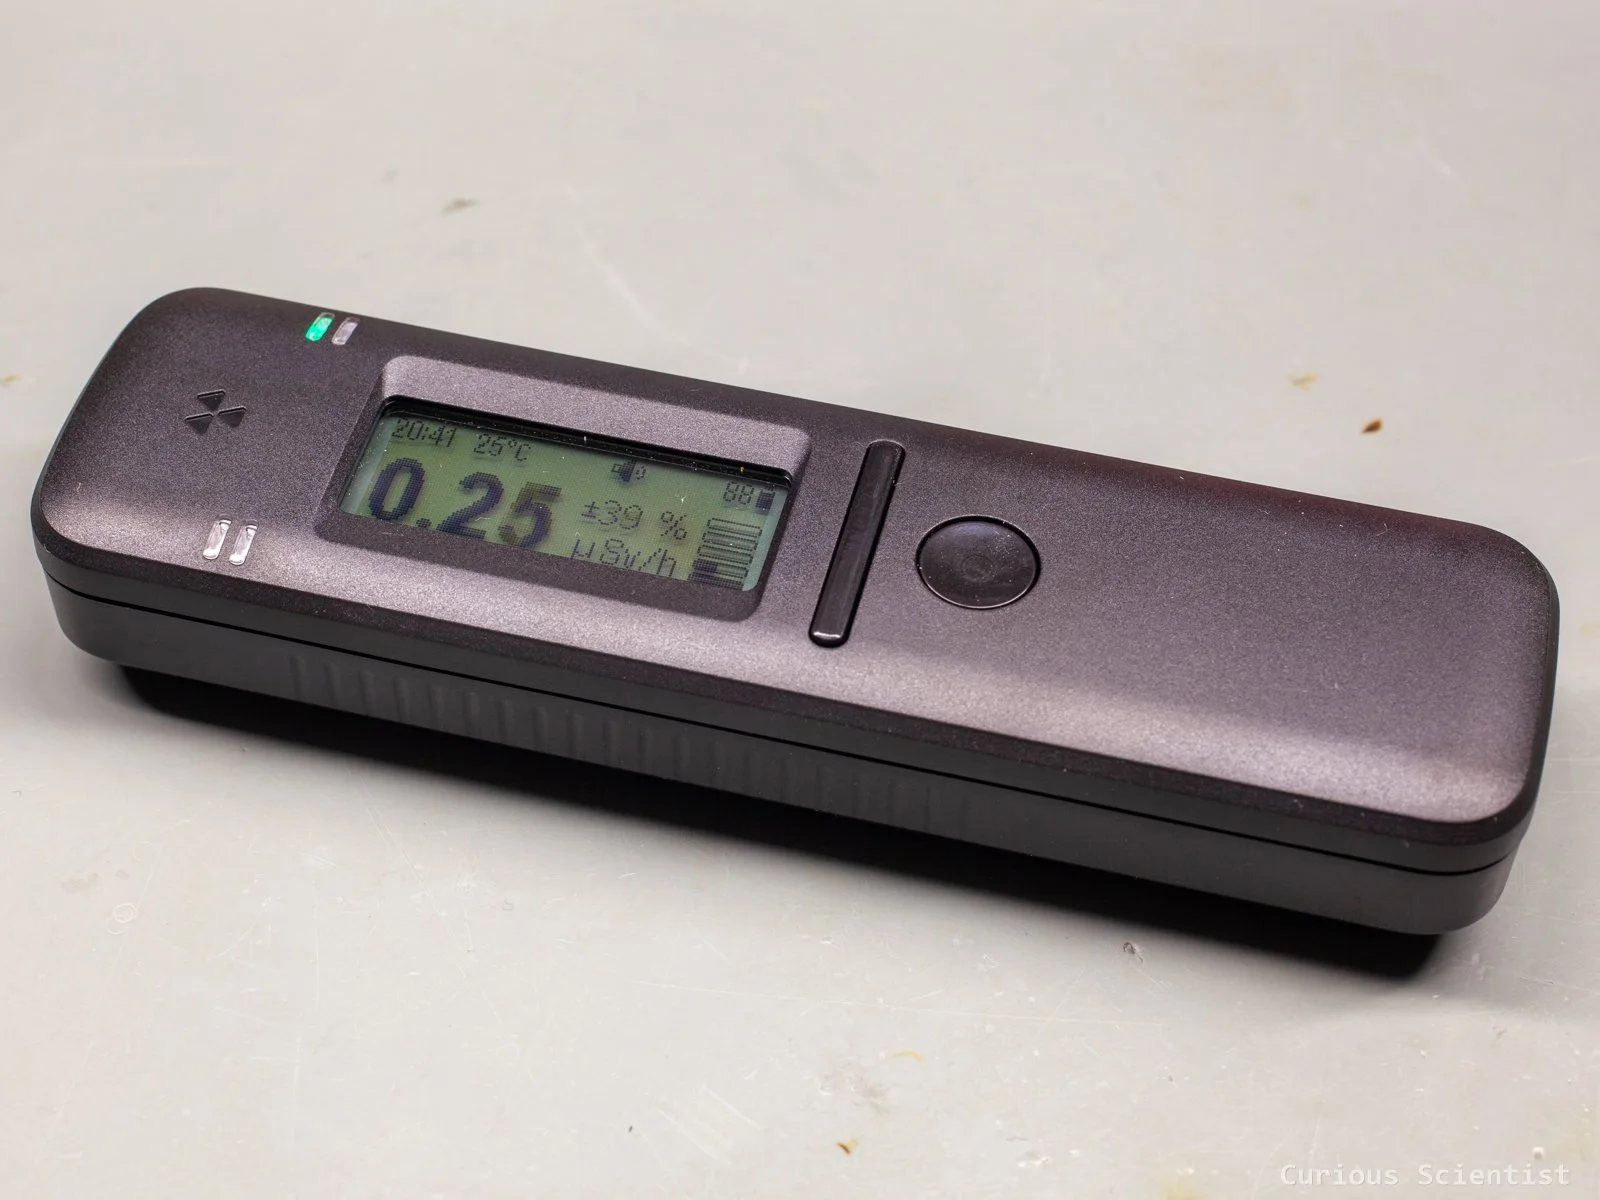
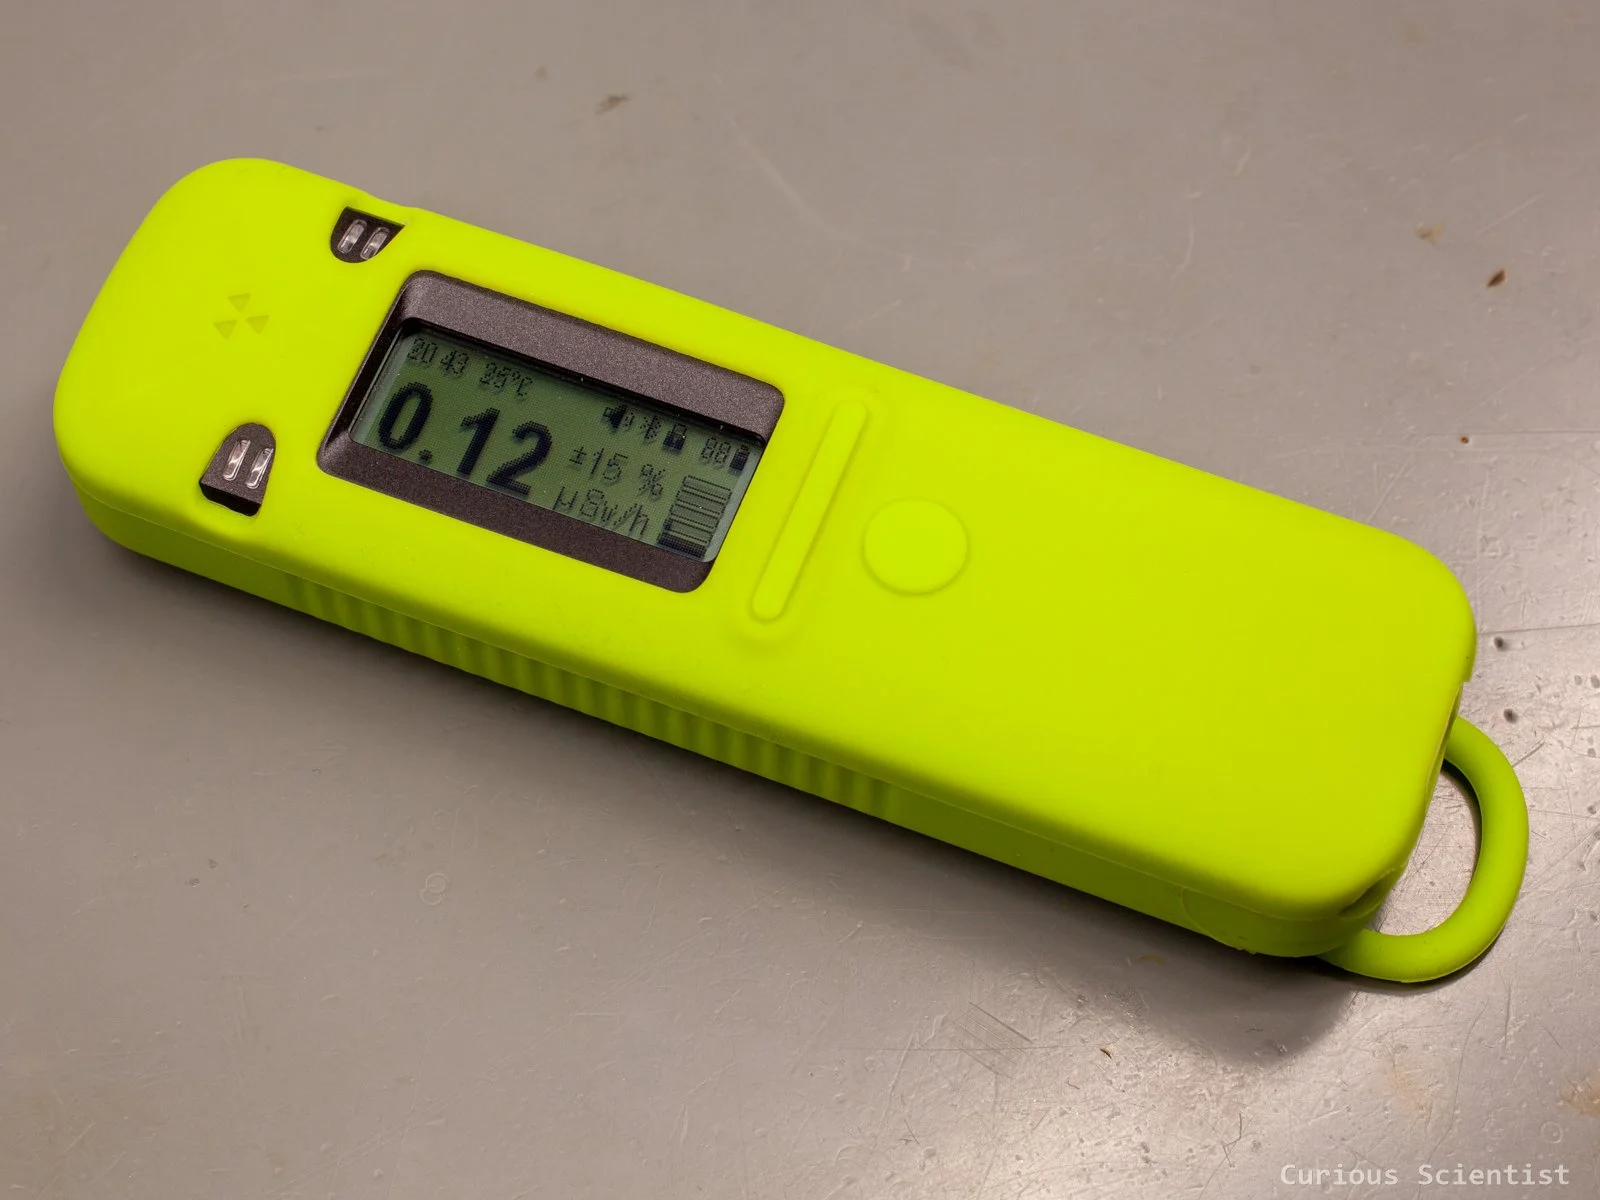
So, as I said, the device is comparable in size to a regular TV remote. It is about 130 mm long, 37.5 mm wide and 24 mm tall with the protective silicone case on it. It fits nicely in the hand, and the ribs on the side provide a nice grip.
The front of the device has a 128×48 monochrome display, indicator lights and three buttons. At the bottom of the device, we can find a USB-C port that both functions as a charging port and a data transfer port, depending on how we use the device.
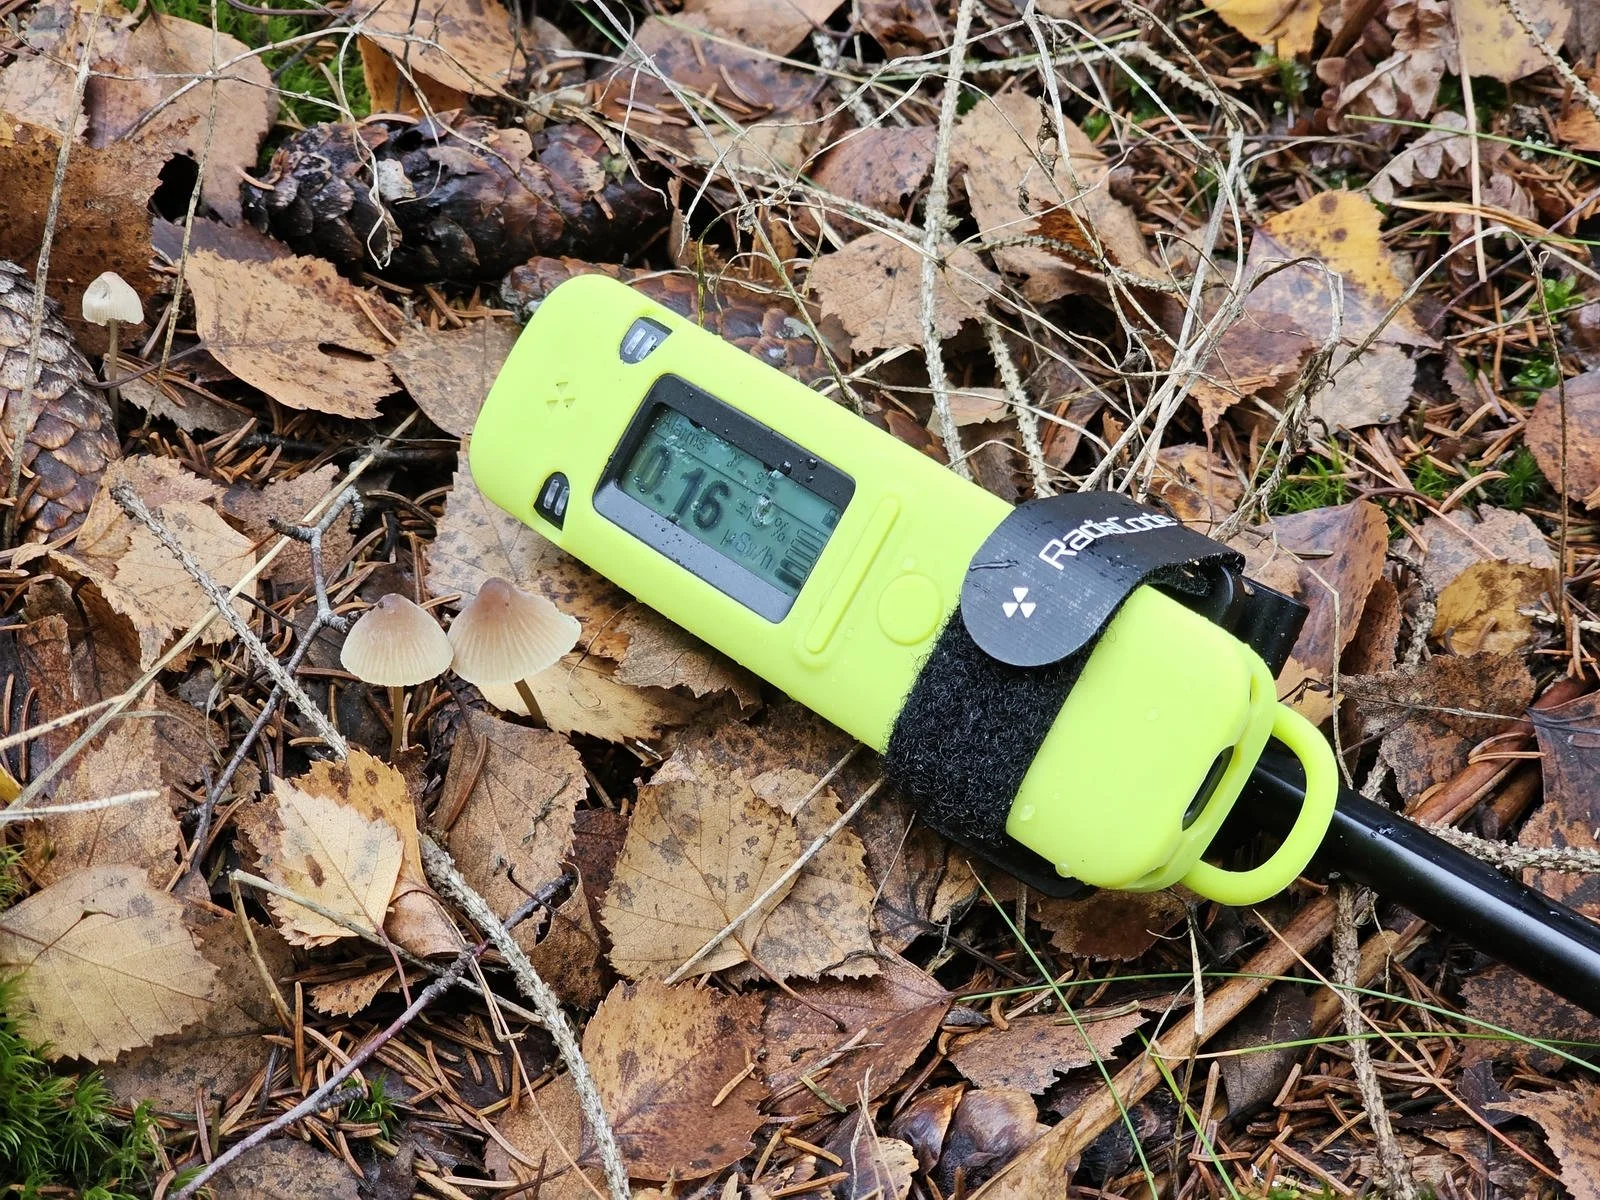
When the device is turned on by pressing the round button for a few seconds, we end up on the main display. It is a really comprehensive display with all sorts of information. Most importantly, it shows the numerical representation of the dose rate. But it also shows the current time, the temperature, the battery level and other information that I will discuss further below when I dig deeper into the capabilities of the instrument.
The device I have, the RadiaCode 110, has a CsI(Tl) scintillation crystal equipped with a photomultiplier to detect ionising radiation. Fun fact: I wrote my bachelor's thesis on these types of detectors and the processing of their signals. But I won’t bore you with the deep details. However, I still want to say a few sentences about these detectors. Very simply, when ionising radiation hits these crystals, the electrons in the crystal change their energy levels, which results in emitting photons (scintillation light). Then, we’re still at the initial problem of capturing and characterising photons. They are just at a different, lower energy now. So at one end of the crystal, there’s usually a so-called photomultiplier that uses a photocathode that converts the photons into electrons through the photoelectric effect. Then, these electrons are multiplied through a cascade of electrodes (dynodes) and made into a measurable current. So the whole scintillation detector converts the initially high-energy ionising radiation into measurable current. This current is proportional to the energy of the incoming particle, which also allows this device to function as a spectrometer. After calibration, one can determine the ionising particle’s energy and identify which element/decay emitted that specific photon at the specific energy. These transitions have a very specific energy, so they can be used as fingerprints to identify the source of the radiation.
So, the RadiaCode uses this type of detector to measure the high-energy photons and evaluate them. The number of events is used for the dosimeter function, and the energy of the events is used for the spectrometer function.
The detector sits at the top of the device, right under the “nuclear symbol”, next to the display and the indicator LEDs.
Since RadiaCode’s website has a very detailed description of all the menu items and functions, I am not going to investigate everything in great detail. It is a win-win: I don’t have to talk too much, you don’t get bored, plus if you are curious, you will visit RadiaCode’s website and check their guides and tutorials.
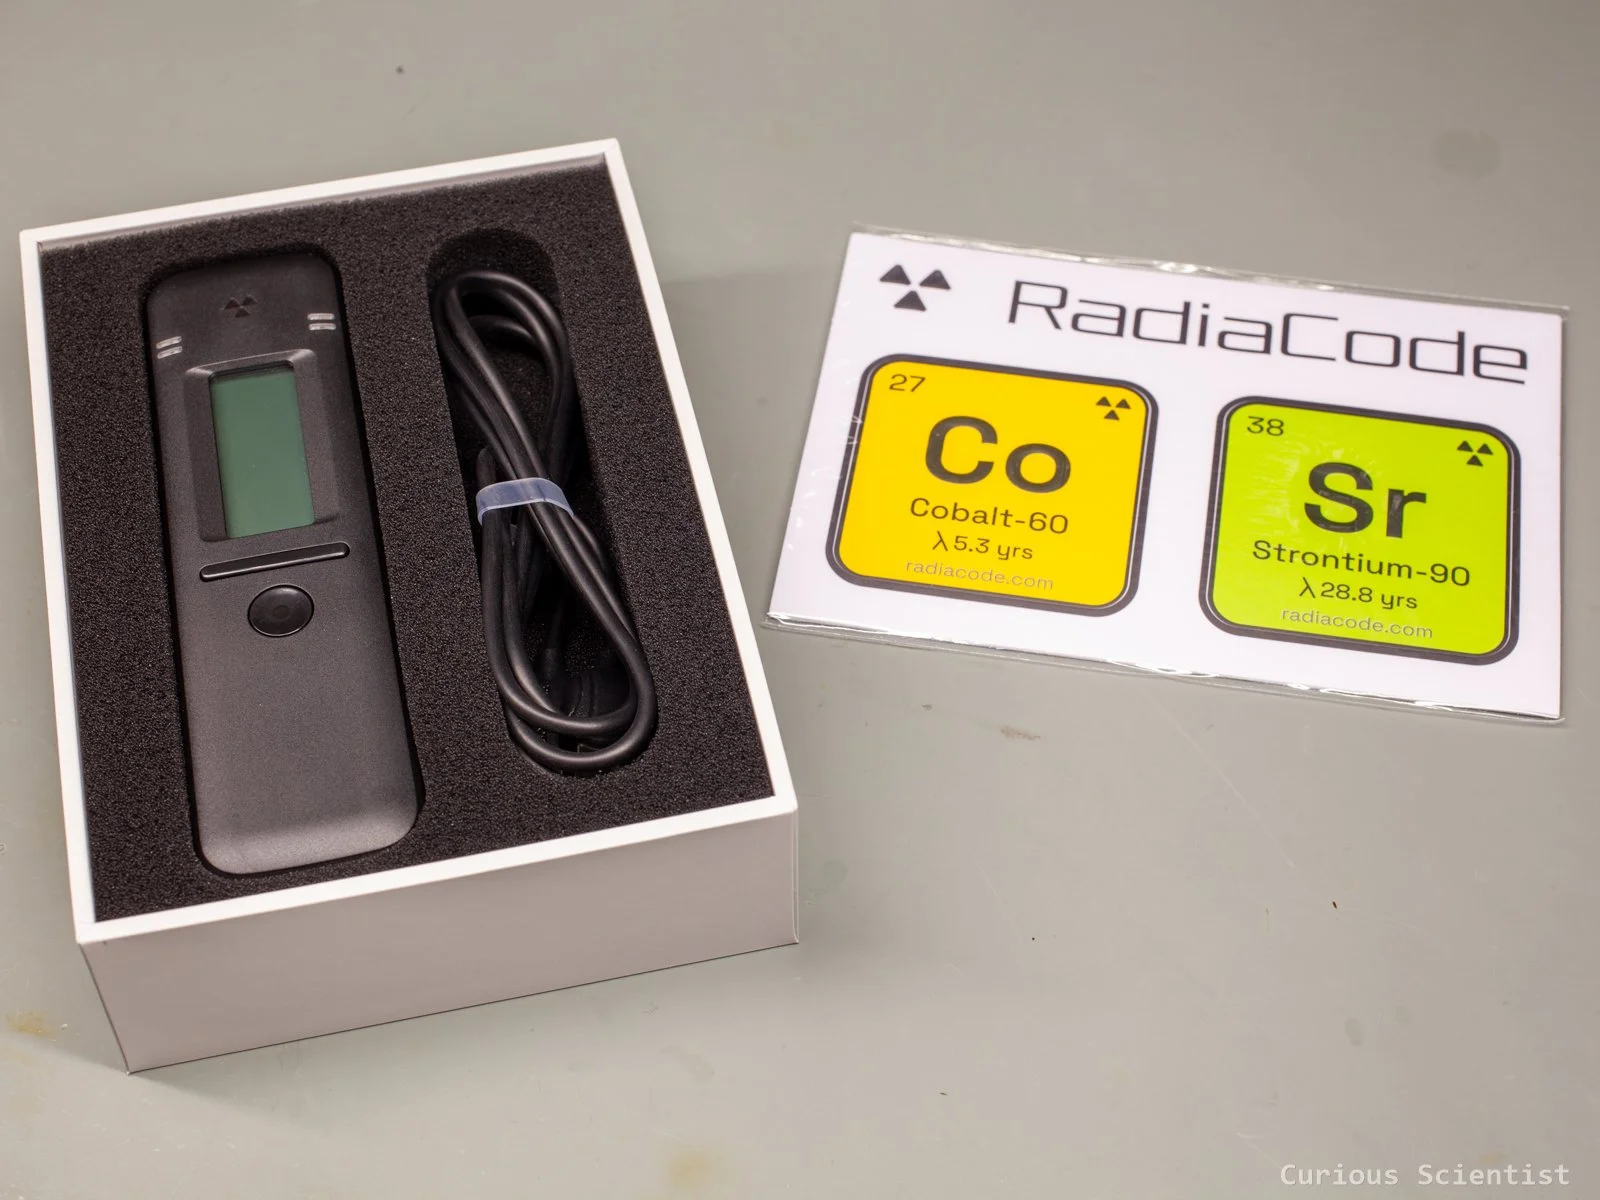
RadiaCode 110 in its box with its charging cable
Measurements and usage
The device has multiple measurement modes. When using it as a standalone device, without a mobile phone and the app, I think the monitor mode makes the most sense. It reacts to events with audible clicks, and it also determines the amount of radiation in clicks per minute (CPM) or uSv/h unit. We can select which unit should be shown on the display. This mode is a very simple way to tell if something is spicy. Just bring the device close to something supposedly radioactive, and the device will let you know if it is beyond background. If it is too much above background, it will also alert you with sound or even vibration, depending on the settings of the device.
In my opinion, the default thresholds were a bit too low, especially the lower one, so I bumped the values up a little bit. When I got the device out of the box and turned it on, it immediately started beeping and flashing the red LED despite the fact that the radiation levels on my desk were normal.
Luckily, all the levels can be adjusted easily from the device. It is a good idea to check the local background levels in your area and set the thresholds accordingly. Usually, your local weather service provider or some governmental services should be able to provide a very precise background because they are monitoring it with fancy equipment 24/7. Depending on where you live, the background might be higher or lower than in other places; there is no universal baseline all around the world. Higher altitudes, different rocks, different surroundings and the industries around you can all shift the baseline.
The device can also show a spectrum, but this is more for a qualitative check because, due to the small display, it is hard to pick up details, and it is not possible to identify the peaks. But it is a good way to see if there’s a distinct peak forming, which might deserve some attention through the app, where we can identify the element that creates the peak.
We can also check the dose. It is just a simple number that shows the accumulated radiation. We can reset this number before a trip where we expect a radioactive environment, so we can measure the exact dose for the day.
To test and present the device’s capabilities, I tested it with some of my radioactive minerals and other sources. Sure, some of the minerals are rather active, so they immediately triggered the alarm when I moved them next to the instrument. They produced 1 to 2 uSv/h high levels. To make things more interesting, I also used the RadiaCode app in spectrometer mode. This way, I could identify the elements that triggered the instrument. Many of my minerals have thorium oxide, which was successfully identified by the device just after a few minutes of sampling. I also tested the Americium-241 ring that I removed from a smoke detector, and the device also clearly identified the source of radiation. Depending on the activity of the element, the identification can take up to several hours.
RadiaCode 110 in action
Field test
Sure, it was fun measuring my minerals and other sources at home, but I have a more interesting way to test the device.
I live in an area that was heavily affected by the Caesium-137 fallout caused by the Chornobyl accident in 1986. The wind brought the clouds over here, and the rain soaked the area with radioactive particles. Due to this, mushrooms, berries and wild animals can still contain elevated levels of radiation, even today, more than 40 years after the accident. Thanks to the 30-year half-life of caesium-137, half of the material has already decayed, but there’s still a detectable amount if you search in the right way.
I went out to a forest not too far from my home and searched for a few hours. My main idea was to search under rocks because the soil does not get disturbed or replaced under them, so they might retain more radioactive particles than the exposed ground in the forest.
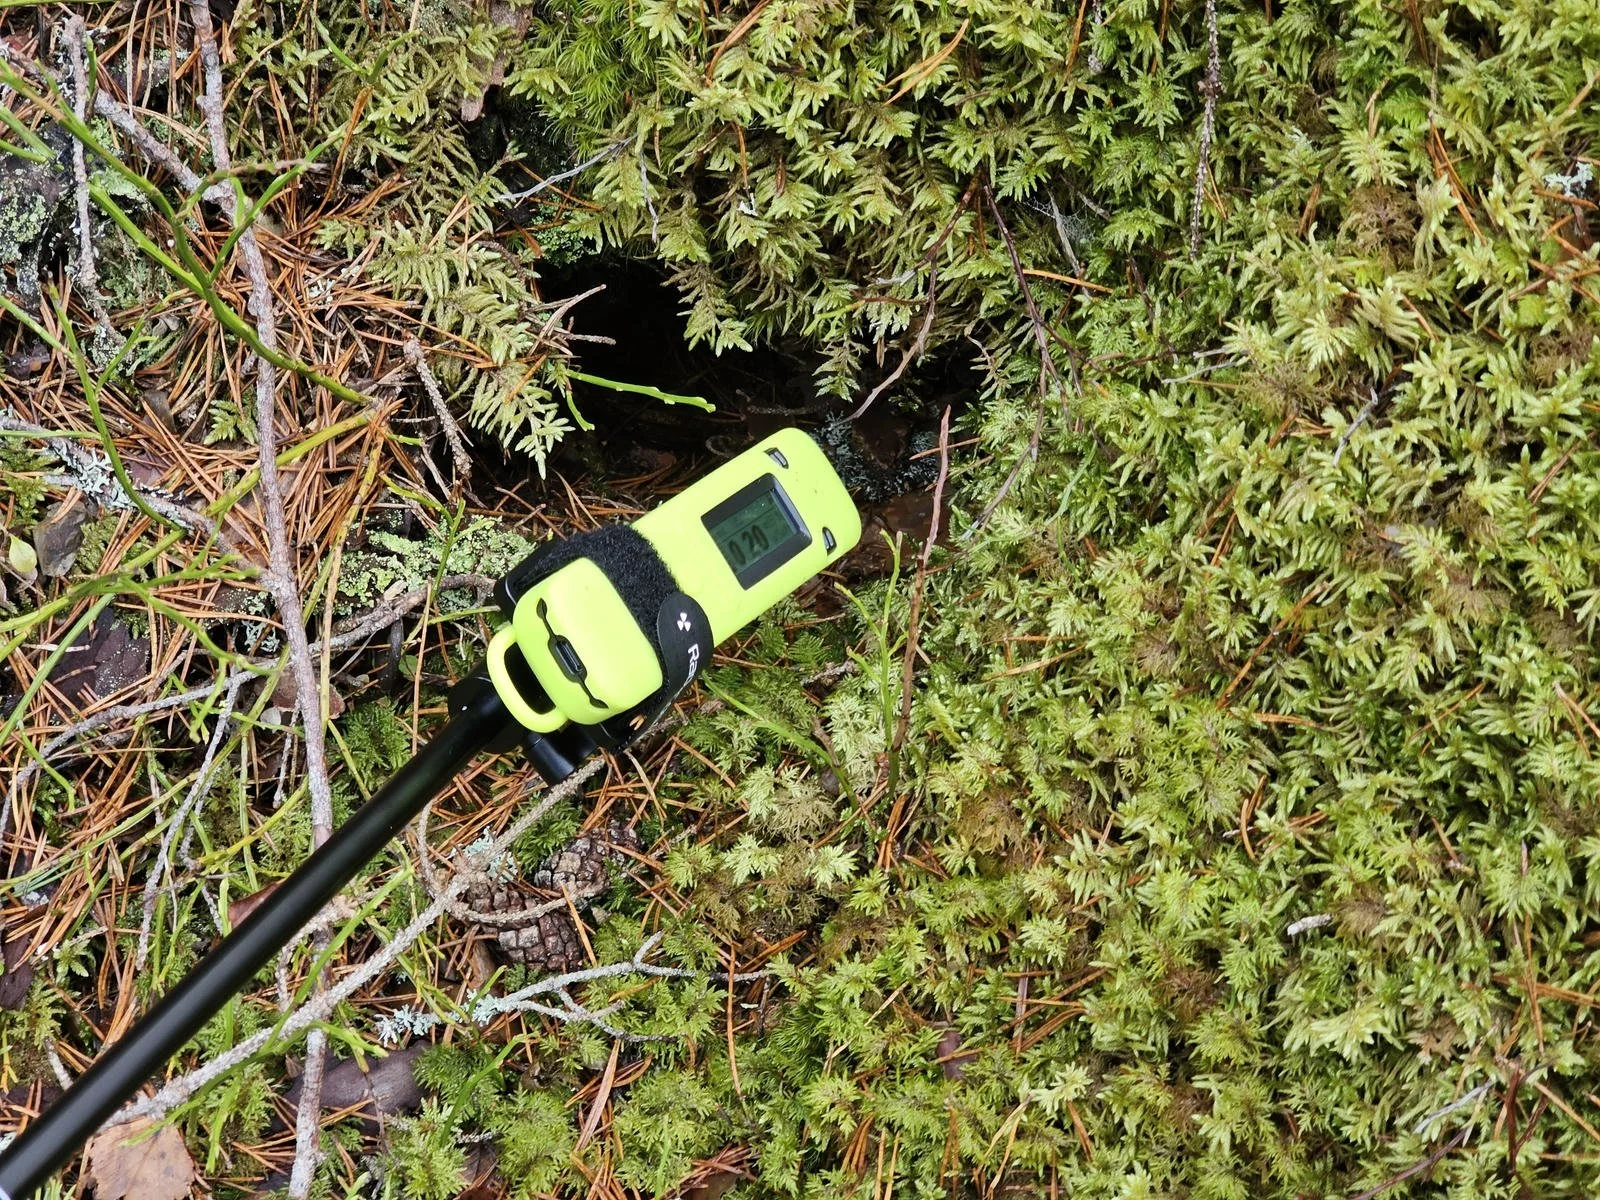
I was right! I did not have to search too long, and when I dipped the instrument into one of the crevices I found, the device went bananas and started to alarm like crazy. The radiation level jumped above 110 cps, which is about 4 times above the background level. The device was connected to my phone, so I could use the spectrometer function and check what was triggering the alarm. I left the device in the crevice for a while to collect enough samples, and slowly but surely, the 661.7 keV peak of the Cs-137 decay process started to take shape. Fun!
It is worth noticing that it’s not the Cs-137 that gamma-decays, but its decay product, the Ba-137. Cs-137 beta-decays into either stable (ground-state) or metastable barium. If it is the metastable one, then it reaches its stable isotope by gamma-decaying into the stable barium. This gamma decay produces the 661.7 keV gamma, which is then identified by the instrument.
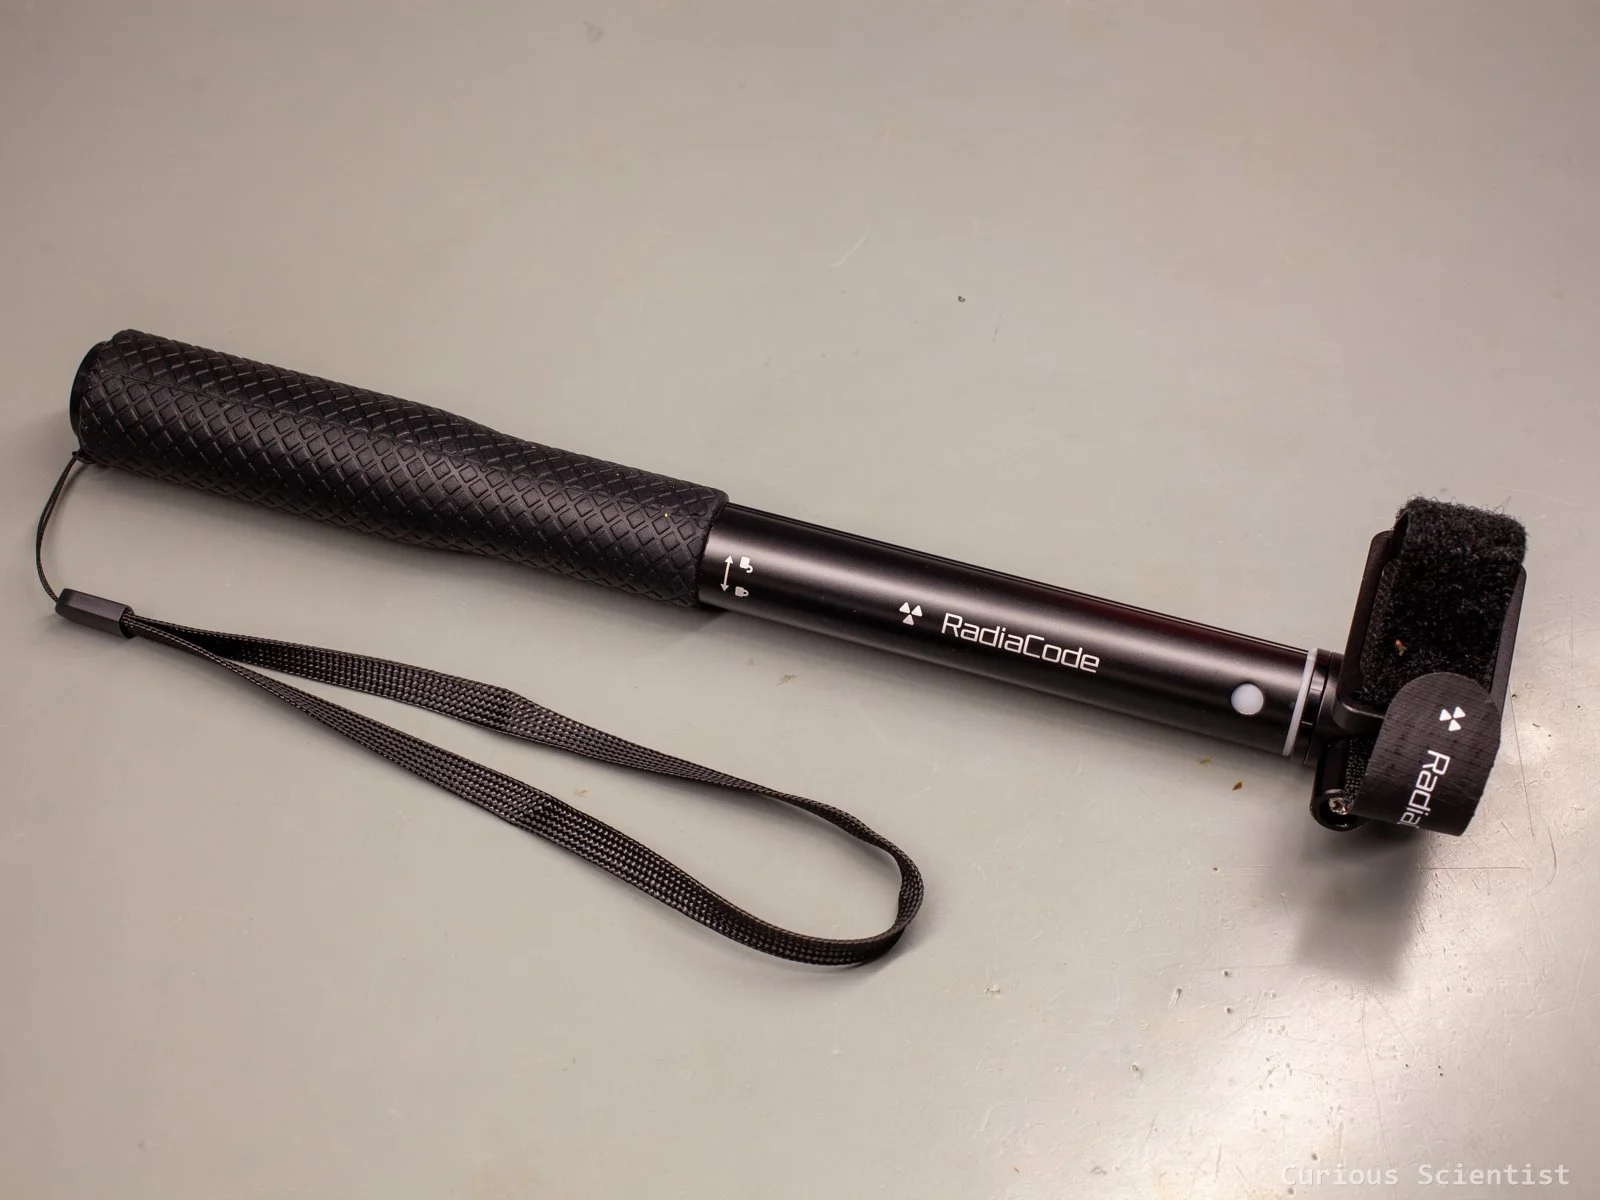
This little caesium-hunting trip also allowed me to test the silicon case and the telescopic rod that I received with the instrument. I liked both of them. The rod makes it easy to put the device into places where one might not necessarily want to stick their hands.
Furthermore, the app also allows us to track where we were and what the radiation levels were at certain locations. In the end, we get a nice colour-graded map that tells us the radiation at each location on the map. The locations can be studied individually, so we can pinpoint where we detected high radiation levels.
Accessories
Since I got several accessories with the device, it is worth mentioning them and briefly explaining their function.
Probably the most obvious part is the silicone case. It comes in many different colours, and it provides an extra layer of protection against splashing water, dust, scratches and so on.
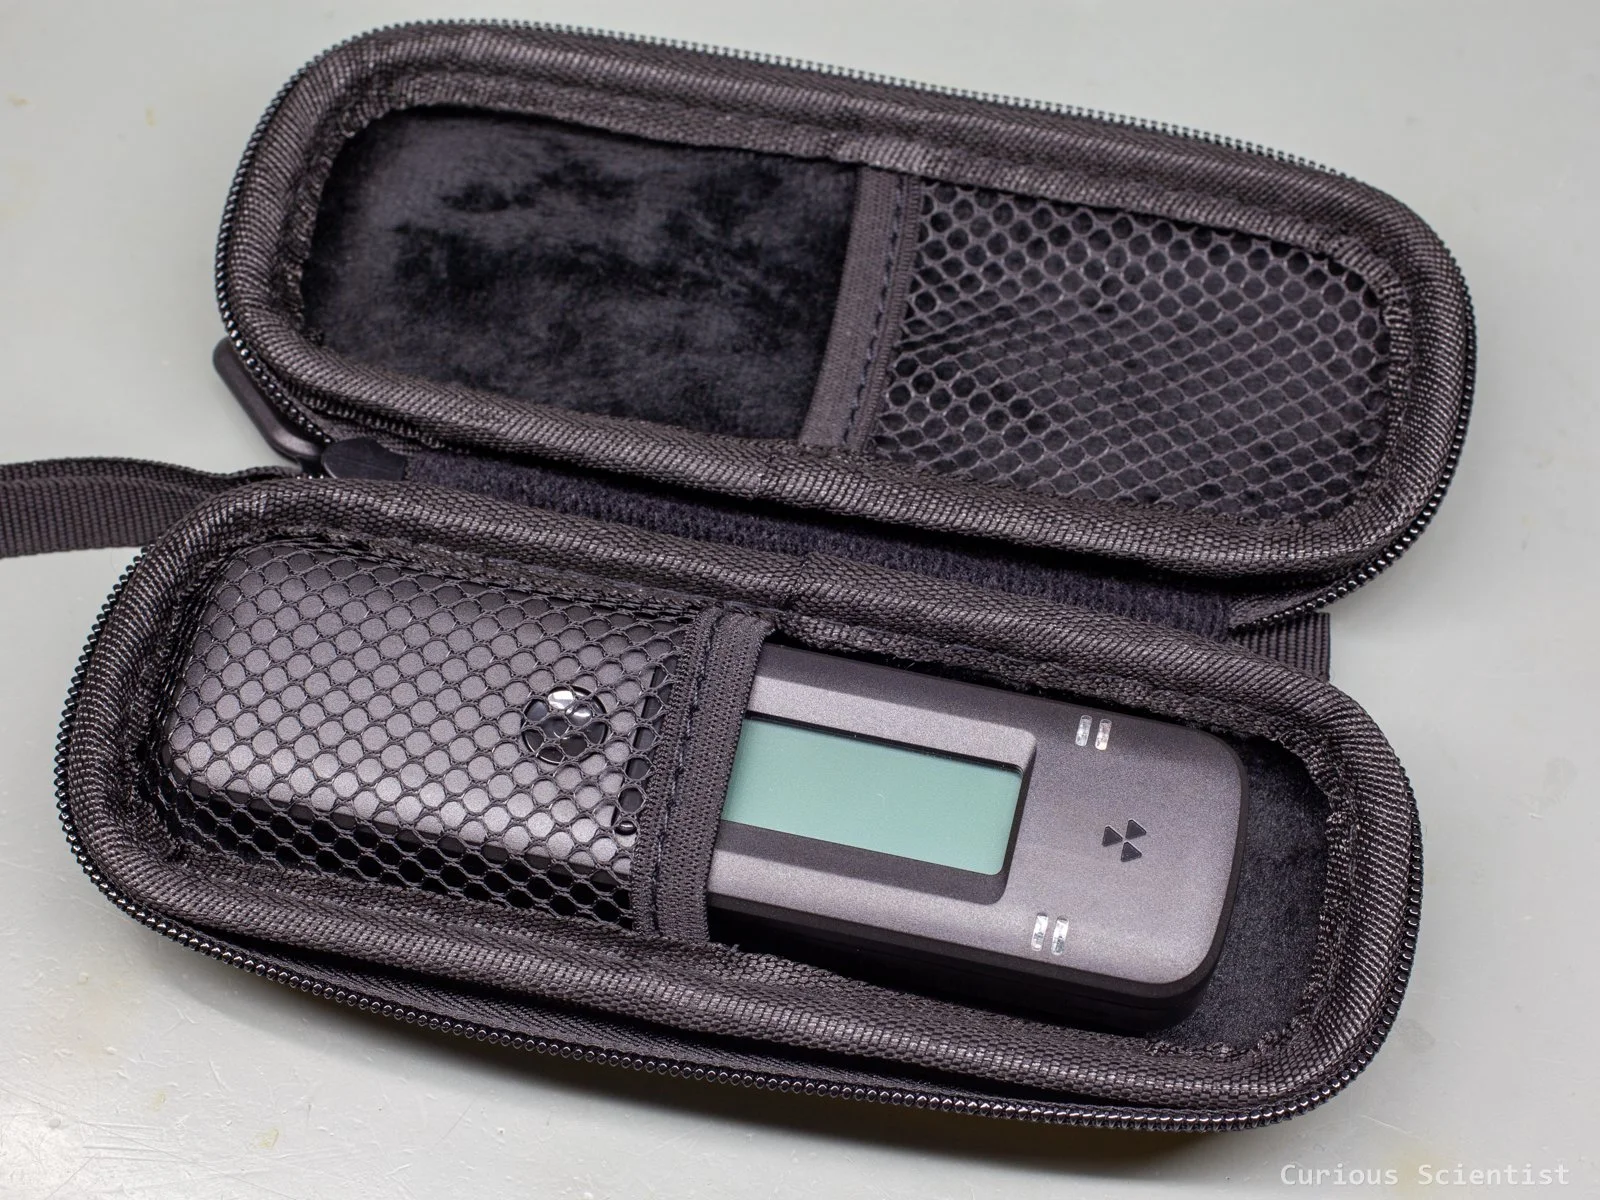
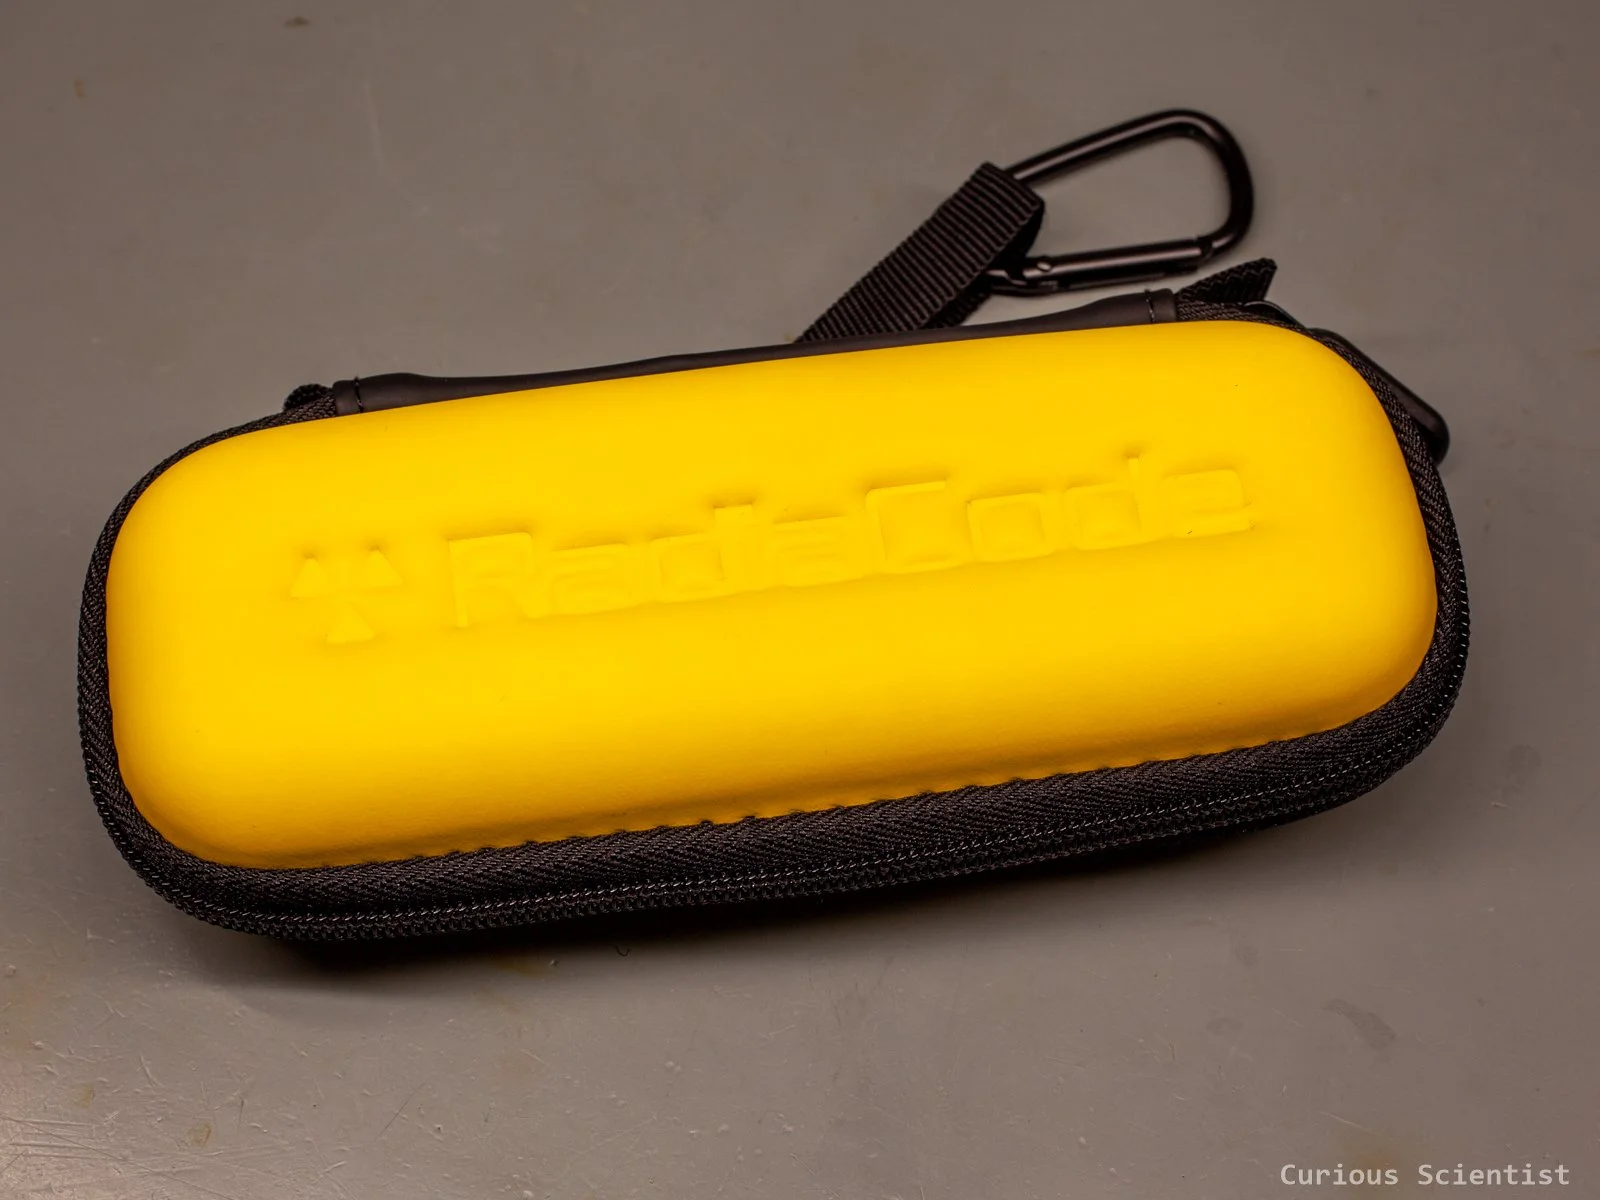
To further protect the (unused) device, one can use the hard protective case. This case is more for transportation, but since the high-energy gamma particles probably penetrate it anyway, it could even be used as a case. But then, the user is forced to use the app to see the data produced by the instrument.
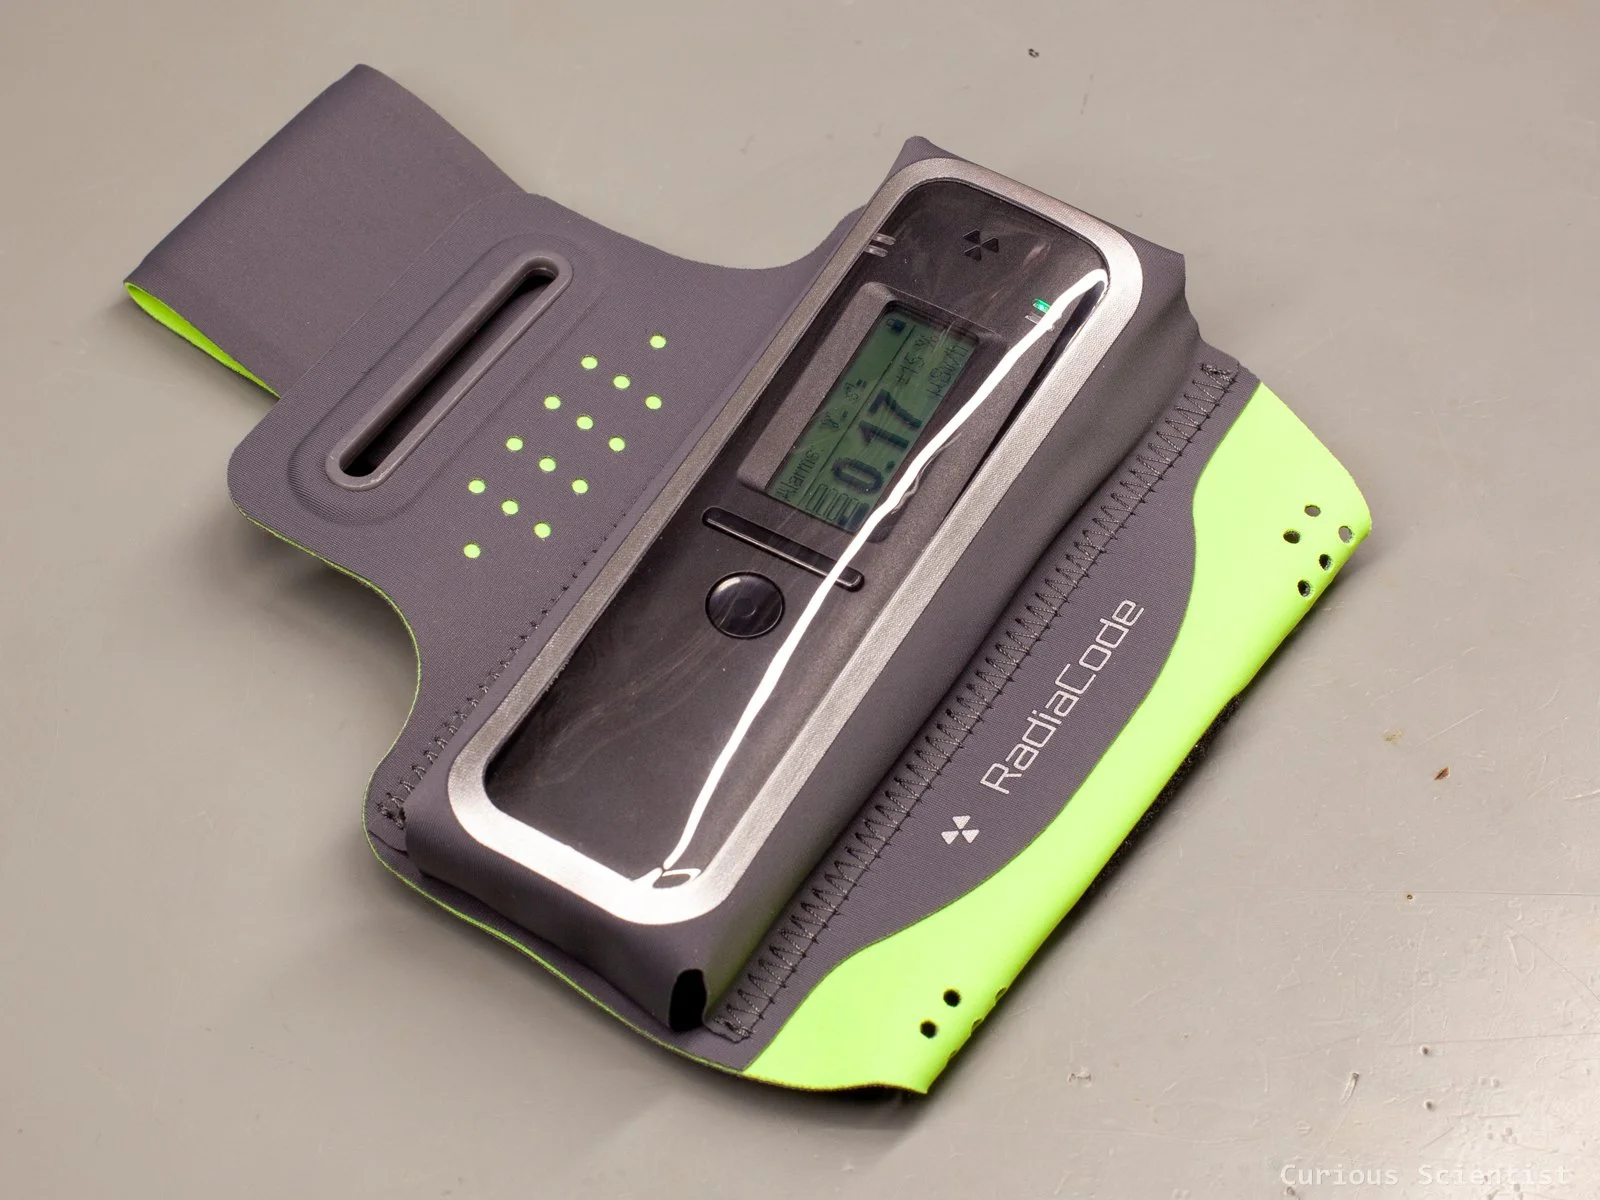
Another case is this arm- or leg-band-like holder that allows us to attach the device to our limbs. It is the same principle as those phone cases used for running or biking, but it’s suited for the RadiaCode device. When using the device, it probably makes more sense to attach it to the lower leg because it is closer to the potential sources while you’re out in the field.
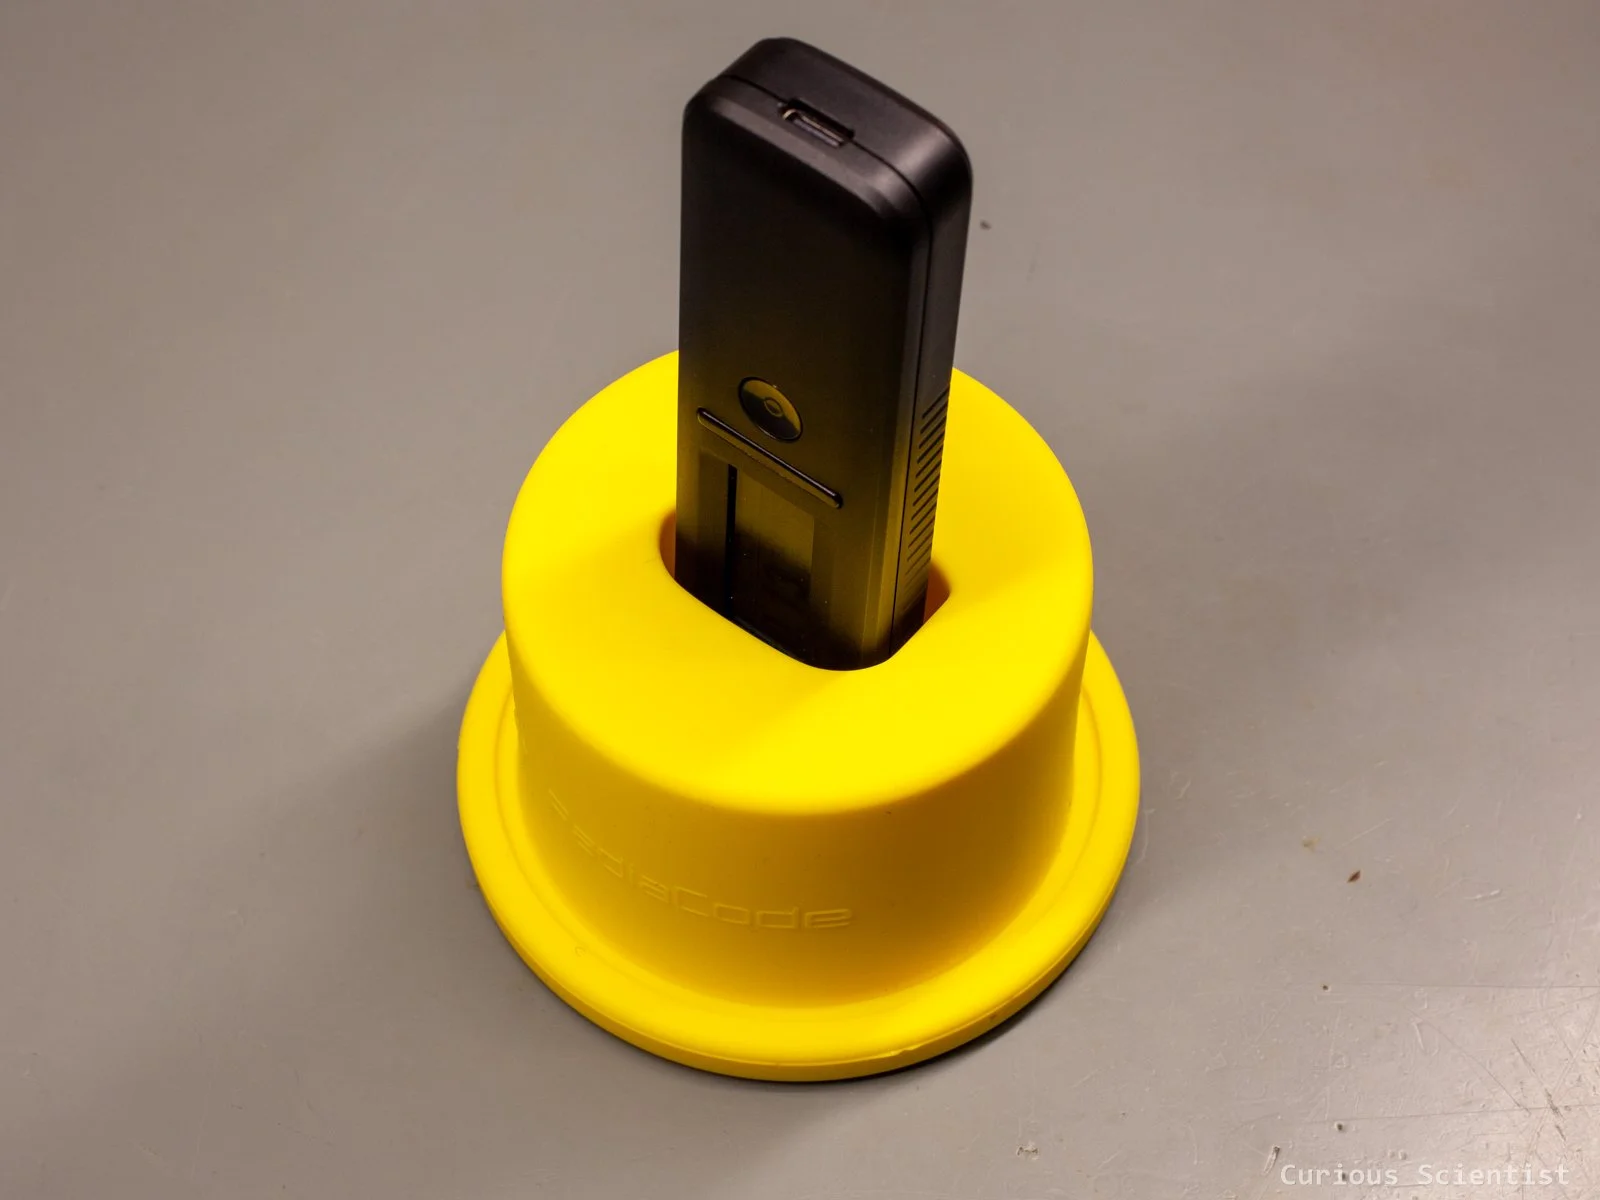
I also received a silicone container with a lid called a Marinelli Beaker. This container can be filled with food, soil or other mainly solid samples, and we can use the instrument to measure the radioactive contamination of the sample.
Finally, I also got a telescopic rod that can be used to attach the RadiaCode device to its end. The rod has a simple Velcro strap mount for the device, and at the grip end of the rod there is a standard tripod mount thread to allow attachments.